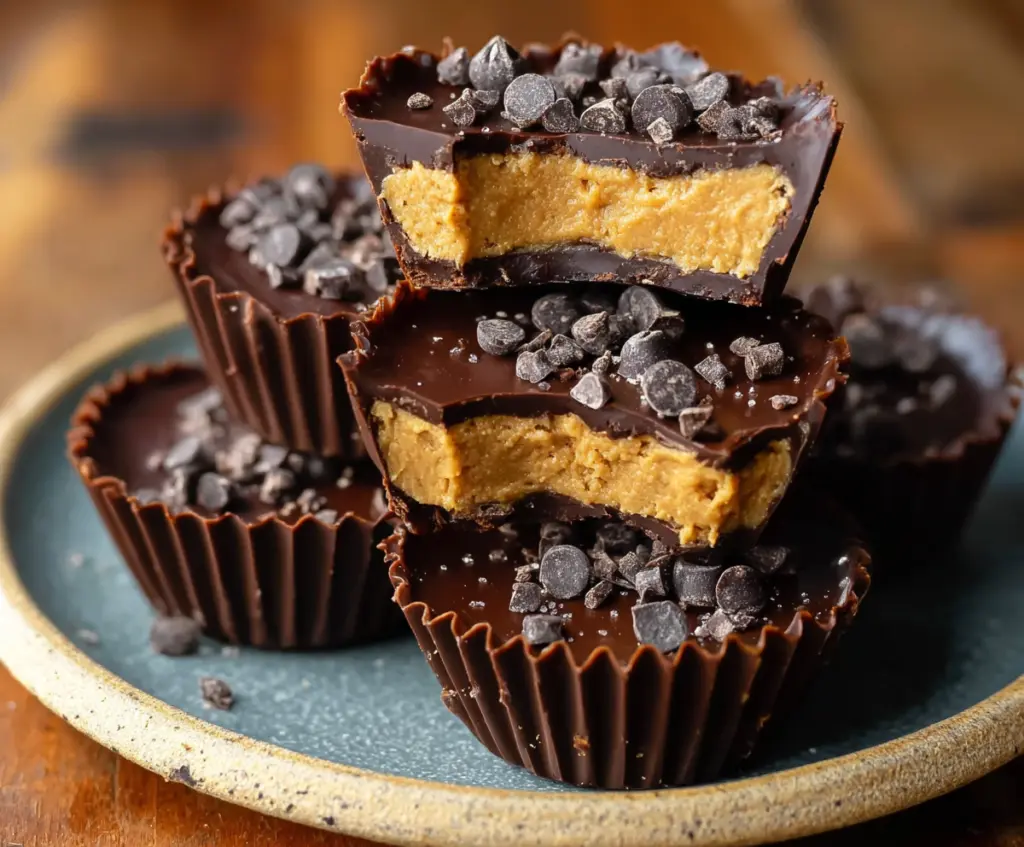
Protein Peanut Butter Cups
Protein Peanut Butter Cups are the perfect little treat when you want something sweet but also a bit nourishing. These cups combine creamy peanut butter with a rich chocolate coating,…
Tip: save now, cook later.Protein Peanut Butter Cups are the perfect little treat when you want something sweet but also a bit nourishing. These cups combine creamy peanut butter with a rich chocolate coating, packed with protein to keep you energized. They’re soft, chocolatey, and just the right size to satisfy a craving without going overboard.
I love making these because they’re simple and fun to customize. Sometimes I add a sprinkle of sea salt on top to balance the sweetness, or a bit of chopped nuts inside for extra crunch. When I’m in a hurry, I keep a batch in the fridge so I can grab one whenever I need a quick boost!
These cups are great for sharing, too. I often bring them to gatherings, and they’re always a hit because they feel like a treat but don’t leave you feeling guilty. Plus, they’re a nice little homemade snack that beats anything store-bought for taste and quality. I think you’ll have fun making and enjoying these as much as I do!
Key Ingredients & Substitutions
Natural Peanut Butter: This adds creaminess and flavor. I like creamy for smooth cups but crunchy adds a nice texture. If allergic, try almond or sunflower seed butter.
Protein Powder: Vanilla flavor blends well here, but unflavored works too. Choose whey or plant-based to fit your diet. If you don’t have protein powder, nut flour can work in a pinch.
Coconut Flour: It helps absorb moisture and gives body to the filling. You can swap with almond flour but use a bit less as it’s oilier.
Honey or Maple Syrup: These sweeteners balance the flavors. Use agave or a sugar-free syrup if you want a lower sugar option.
Dark Chocolate Chips: Choose chips with 60%-70% cocoa for a good balance of richness and sweetness. For a dairy-free option, pick vegan chocolate chips.
How Do You Get the Perfect Chocolate Shell Without It Cracking?
Melting and setting the chocolate right makes all the difference. Use these tips to get a smooth, shiny shell that snaps nicely:
- Melt chocolate slowly using short microwave bursts or a double boiler to avoid burning.
- Spread a thin, even layer on the bottom and sides, and chill before adding the filling.
- Pour filling carefully so you don’t break the bottom layer.
- Cover filling fully with chocolate and chill until firm to help the shell stay solid.
- Keep them refrigerated until ready to serve to prevent melting and cracking.
Equipment You’ll Need
- Mini muffin tin – perfect for shaping your peanut butter cups evenly.
- Silicone or paper cupcake liners – makes removing the cups easy and keeps them neat.
- Microwave-safe bowl or double boiler – to melt your chocolate smoothly without burning.
- Spoons – one for spreading chocolate and another for adding the filling.
- Mixing bowl – to combine your peanut butter filling ingredients thoroughly.
Flavor Variations & Add-Ins
- Swap peanut butter for almond or cashew butter for a different nutty flavor.
- Add a pinch of cinnamon or chili powder to the filling for a touch of spice.
- Mix in mini chopped nuts or crushed pretzels for extra crunch inside the cups.
- Top with shredded coconut or sea salt flakes for a tasty finish that adds texture.
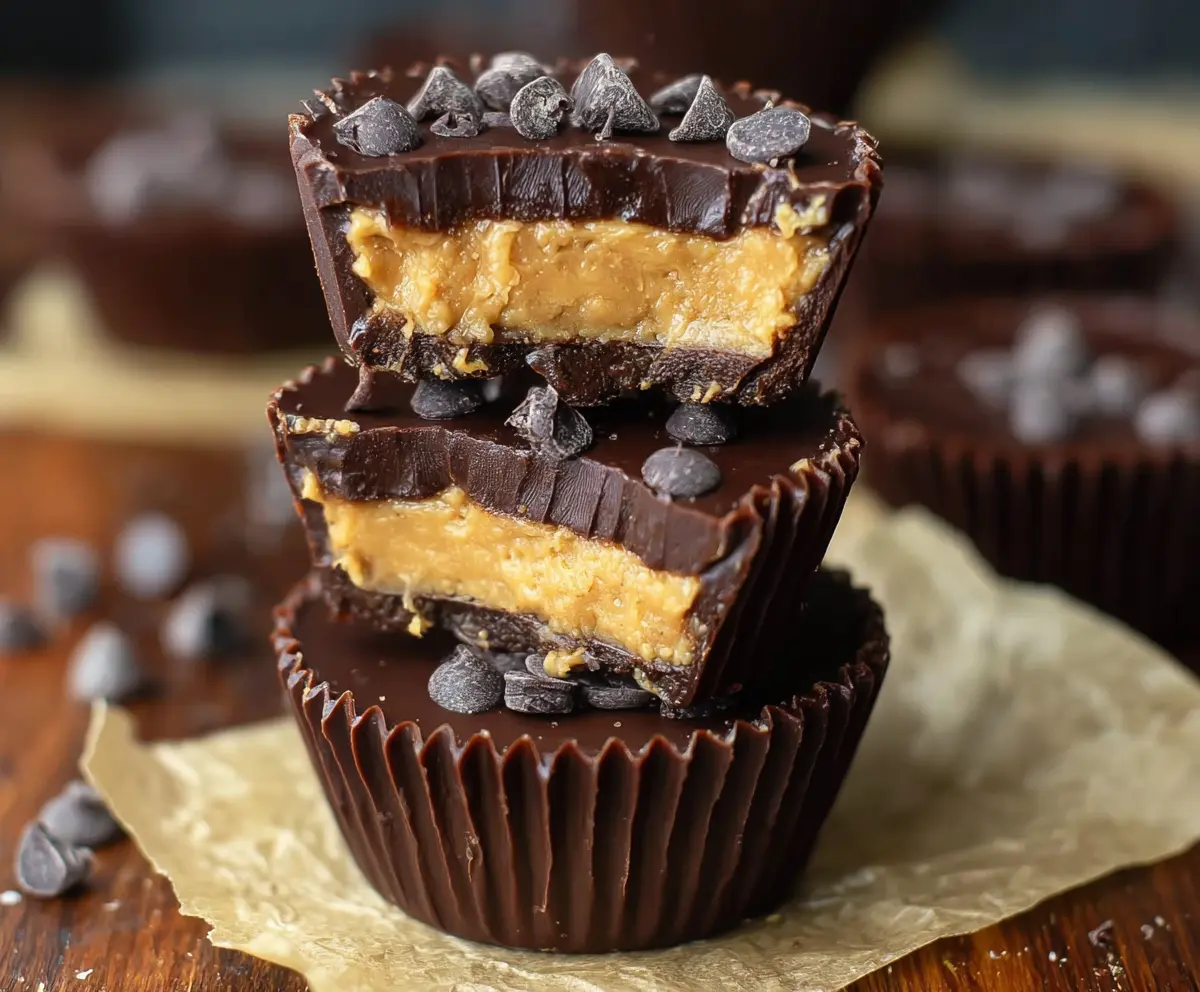
Protein Peanut Butter Cups
Ingredients You’ll Need:
For The Filling:
- 3/4 cup natural peanut butter (creamy or crunchy based on preference)
- 1/4 cup vanilla or unflavored protein powder (whey or plant-based)
- 2 tablespoons coconut flour (for texture and absorption)
- 3 tablespoons honey or maple syrup (adjust sweetness to taste)
- 1 teaspoon vanilla extract
- 1 pinch of salt (optional, enhances flavors)
For The Chocolate Coating:
- 1 cup dark chocolate chips (or chocolate melting wafers)
- Optional garnish: extra chocolate chips or sea salt flakes for topping
How Much Time Will You Need?
This recipe takes about 15 minutes to prepare, plus 1-2 hours chilling time for the chocolate to firm up. So plan ahead to let your peanut butter cups set nicely in the fridge before enjoying them.
Step-by-Step Instructions:
1. Make the Peanut Butter Filling:
In a mixing bowl, combine the peanut butter, protein powder, coconut flour, honey or maple syrup, vanilla extract, and salt. Stir everything until you have a thick, dough-like mixture. If it feels too dry, add a little more peanut butter or honey. If it’s too wet, sprinkle in some more coconut flour.
2. Melt the Chocolate:
Put the chocolate chips in a microwave-safe bowl and microwave in 20-30 second bursts, stirring after each until fully melted and smooth. Or melt the chocolate gently over simmering water using a double boiler method.
3. Build Your Cups:
Line a mini muffin tin with silicone or paper liners for easy removal. Spoon a bit of melted chocolate into the bottom of each liner and spread it evenly. This will be the base layer of your cups.
4. Add the Peanut Butter Layer:
Carefully place about 1 to 1.5 tablespoons of the peanut butter filling on top of the chocolate base in each liner. Press down gently to flatten and spread it out but keep it inside the edges.
5. Top with Chocolate:
Cover the peanut butter filling completely with another layer of melted chocolate. Smooth the tops with the back of a spoon. If you like, sprinkle some chocolate chips or sea salt on top for a little extra zing.
6. Chill and Enjoy:
Pop the tray in the refrigerator and let the peanut butter cups chill for at least 1 to 2 hours until the chocolate is firm. When ready, remove the cups from the liners and enjoy your tasty, protein-packed treat! Store any leftovers in an airtight container in the fridge for up to a week.
Can I Use Different Nut Butters Instead of Peanut Butter?
Absolutely! Almond butter, cashew butter, or sunflower seed butter work well as alternatives. Just keep in mind that flavor and texture might vary slightly.
How Should I Store These Protein Peanut Butter Cups?
Store them in an airtight container in the refrigerator for up to one week. For longer storage, you can freeze them for up to a month—just thaw in the fridge before eating.
Can I Make These Peanut Butter Cups Ahead of Time?
Yes! They keep great in the fridge, so you can prepare them a day or two ahead. Just keep them chilled, and they’ll stay fresh and delicious.
What If I Don’t Have Coconut Flour?
You can substitute coconut flour with almond flour or oat flour, but add it gradually since different flours absorb moisture differently. Adjust until you get a thick, dough-like consistency.