Valentine’s Heart Red Velvet Cake
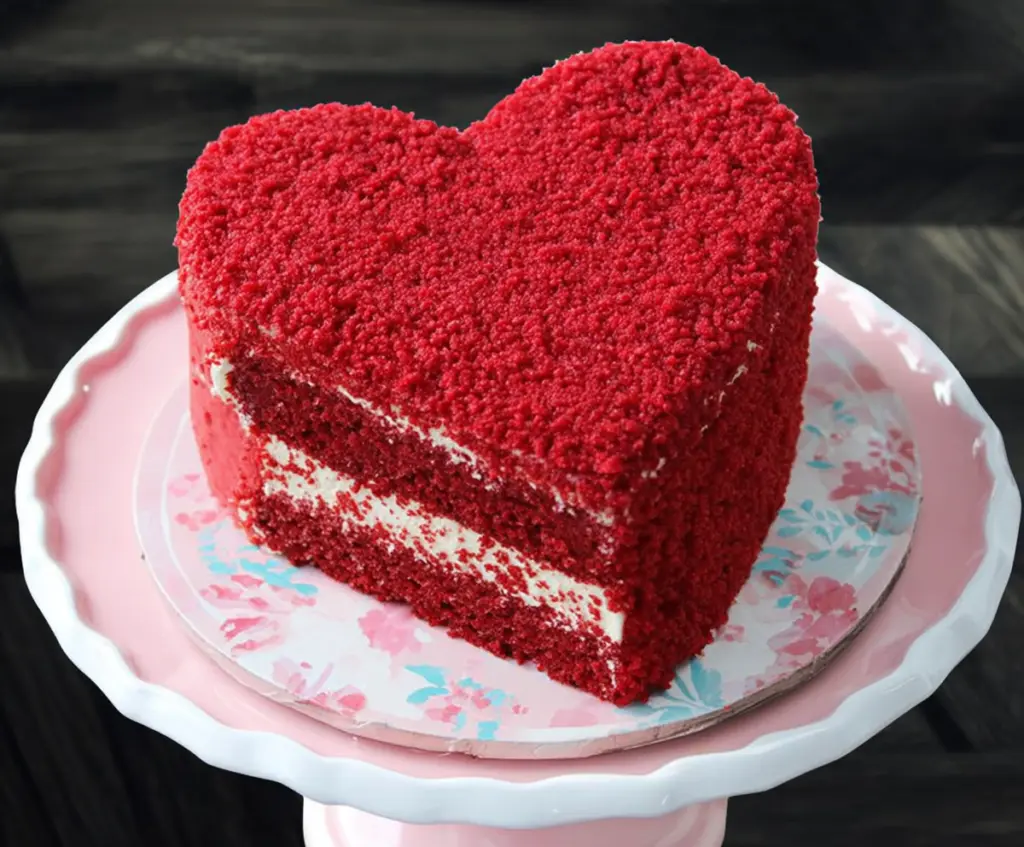
The Valentine's Heart Red Velvet Cake is a sweet and tender treat that's perfect for showing a little love. It's got that classic red velvet flavor—soft, slightly chocolaty cake with…
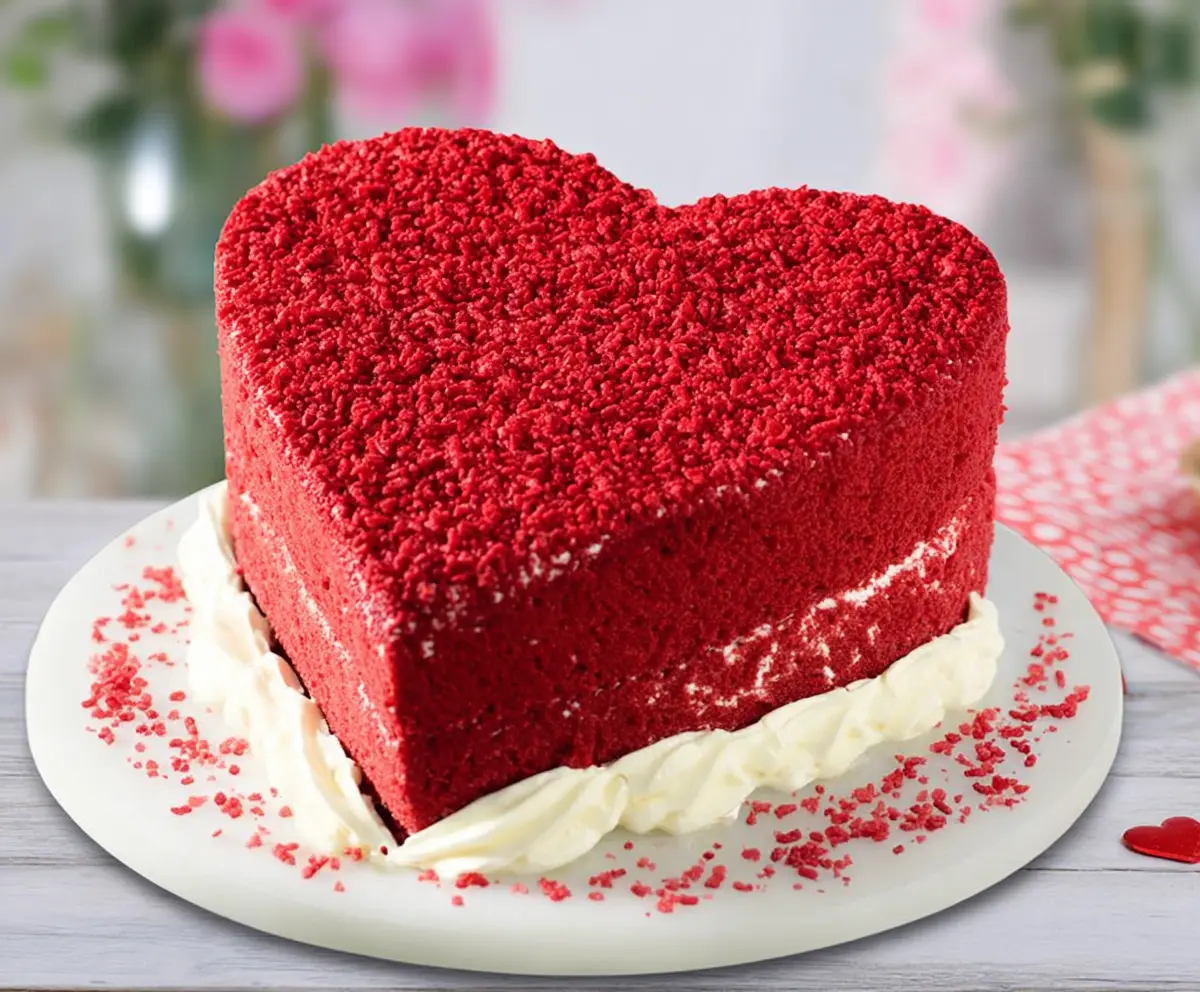
Tip: save now, cook later.The Valentine’s Heart Red Velvet Cake is a sweet and tender treat that’s perfect for showing a little love. It’s got that classic red velvet flavor—soft, slightly chocolaty cake with a beautiful red color that’s sure to catch your eye. And shaping it into a heart just adds that extra special touch, making it great for Valentine’s Day or any time you want to make someone smile.
I love making this cake because it feels so festive and fun every time I bake it. The cream cheese frosting is creamy and just the right balance of tangy and sweet, which goes perfectly with the moist cake. Baking this feels like sending a little bit of warmth through dessert, and I always enjoy sharing slices with friends and family.
One of my favorite ways to serve this cake is a bit chilled, straight from the fridge, with a hot cup of tea or coffee. It’s neat how something so simple—fluffy cake and smooth frosting—can make a moment feel a little more special. Whether you’re celebrating with loved ones or treating yourself, this cake always brings a smile and a happy heart.
Key Ingredients & Substitutions
Red food coloring: This gives the cake its signature red color. If you prefer, natural beet juice or powder can be used but expect a subtler hue.
Buttermilk: It keeps the cake tender and adds a slight tang. If you don’t have buttermilk, mix 1 cup milk with 1 tbsp vinegar or lemon juice and let sit for 5 minutes.
Cocoa powder: Adds a mild chocolate flavor that balances sweetness. Use unsweetened cocoa for best results.
Cream cheese: Essential for the frosting’s creamy tang. For a dairy-free option, try a vegan cream cheese substitute.
How Do You Make the Cake Shape Perfectly Heart-Shaped?
If you don’t have a heart-shaped pan, don’t worry! You can still get that lovely heart shape by using round pans:
- Bake the batter in two round pans.
- Let them cool completely, then cut one circle in half.
- Arrange the halves on either side of the whole round cake to form a heart.
- Trim edges to smooth the shape, then press the pieces together firmly.
- Crumb coat the cake with frosting to seal and chill before final frosting and decorating.
This way, you can create a cute heart without special pans, and it’s easier than you might think!
Equipment You’ll Need
- Heart-shaped cake pans (8-inch) – perfect for baking the cake in the right shape without extra work.
- Mixing bowls – I like having a few so I can separate dry and wet ingredients easily.
- Electric mixer or hand mixer – makes blending the frosting and batter smooth and quick.
- Spatula – great for scraping the bowl clean and spreading frosting evenly.
- Wire cooling rack – helps the cake cool evenly so the frosting doesn’t melt.
- Knife or cake leveler – handy for trimming and shaping the cake layers if needed.
Flavor Variations & Add-Ins
- Add a teaspoon of espresso powder to the batter to boost the chocolate flavor subtly.
- Swap the cream cheese frosting for mascarpone mixed with a little powdered sugar for a lighter, milder topping.
- Fold in fresh raspberries or strawberry pieces between the cake layers for a fruity surprise.
- Use white chocolate chips in the batter for extra texture and sweetness.
Valentine’s Heart Red Velvet Cake
Ingredients You’ll Need:
For the Cake:
- 2 ½ cups (312g) all-purpose flour
- 1 ½ cups (300g) granulated sugar
- 1 teaspoon baking soda
- 1 teaspoon fine salt
- 1 teaspoon cocoa powder
- 1 ½ cups (360ml) vegetable oil
- 1 cup (240ml) buttermilk, room temperature
- 2 large eggs, room temperature
- 2 tablespoons (30ml) red food coloring
- 1 teaspoon white distilled vinegar
- 2 teaspoons vanilla extract
For the Cream Cheese Frosting:
- 8 oz (225g) cream cheese, softened
- ½ cup (115g) unsalted butter, softened
- 4 cups (480g) powdered sugar
- 1 teaspoon vanilla extract
For Decoration:
- Reserved cake crumbs from trimming (for coating the cake)
How Much Time Will You Need?
This cake takes about 20 minutes for preparation and mixing, around 25-30 minutes for baking, plus 10 minutes of cooling time in the pans. Cooling completely on a rack may take another 30-45 minutes. Assembling and frosting the cake will take about 20 minutes, and chilling for at least 1 hour before serving will help the frosting set perfectly. So, plan for roughly 2.5 to 3 hours total from start to serving.
Step-by-Step Instructions:
1. Prepare the Oven and Pans:
Preheat your oven to 350°F (175°C). Grease and flour two 8-inch heart-shaped cake pans. If you don’t have heart-shaped pans, you can use round pans and shape the cake later. Make sure pans are ready before mixing your batter.
2. Mix Dry Ingredients:
In a medium-sized bowl, sift together the flour, baking soda, salt, and cocoa powder. Set this mixture aside while you prepare the wet ingredients.
3. Mix Wet Ingredients:
In a large bowl, whisk the sugar and vegetable oil until they’re well combined. Add eggs one at a time, beating after each one. Then mix in the buttermilk, red food coloring, vinegar, and vanilla extract, making sure everything is blended smoothly.
4. Combine Wet and Dry Ingredients:
Gradually add the dry ingredient mixture to the wet ingredients, mixing gently just until everything is combined and smooth. Be careful not to overmix; this keeps your cake tender and fluffy.
5. Bake the Cake:
Pour the batter evenly into your prepared pans. Bake for 25-30 minutes or until a toothpick inserted in the center comes out clean. When ready, let the cakes cool in the pans for 10 minutes, then transfer them to a wire rack to cool completely.
6. Prepare the Cream Cheese Frosting:
In a large bowl, beat the softened cream cheese and butter together until creamy and smooth. Gradually add powdered sugar, beating well after each addition, until the frosting is fluffy. Stir in the vanilla extract.
7. Assemble the Cake:
If needed, level your cakes by trimming the tops so they’re flat. Place one cake layer on your serving plate. Spread a thick, even layer of frosting on top. Carefully add the second cake layer over the frosting.
8. Frost and Decorate:
Use the remaining frosting to cover the outside of the cake with a smooth layer. Use the trimmed cake crumbs to coat the sides and top of the cake gently, pressing them into the frosting for that beautiful textured look.
9. Chill and Serve:
Place the cake in the refrigerator for at least one hour to let the frosting set. This makes cutting easier and helps keep the cake’s shape.
10. Enjoy!
Slice your cake with care and share the love with friends and family. Enjoy the moist, velvety texture combined with creamy, tangy cream cheese frosting. Perfect for Valentine’s Day or any special occasion!
Can I Use Frozen Red Velvet Cake Layers for This Recipe?
Yes, you can! Just make sure to thaw them completely in the refrigerator overnight before frosting and assembling. This helps the frosting stick better and prevents condensation from making the cake soggy.
How Should I Store Leftover Red Velvet Cake?
Store leftover cake in an airtight container in the refrigerator for up to 4 days. Bring slices to room temperature before serving to enjoy the best texture and flavor.
Can I Substitute the Buttermilk in This Recipe?
Definitely! If you don’t have buttermilk, mix 1 cup of milk with 1 tablespoon of lemon juice or vinegar. Let it sit for 5 minutes, then use it as a substitute.
What’s the Best Way to Make a Heart-Shaped Cake Without a Heart Pan?
Bake two round cakes, then cut one in half. Place the two halves on either side of the whole cake to form a heart. Trim edges for a smooth shape and frost to seal everything together.