

Brown Butter Garlic Mashed Rutabaga with Fresh Chives
The first thing you notice is how much water rutabaga holds after boiling. If it goes straight from the colander into the mash, the texture can turn loose before the…
Tip: save now, cook later.The first thing you notice is how much water rutabaga holds after boiling. If it goes straight from the colander into the mash, the texture can turn loose before the butter and cream even go in. I let the drained cubes sit uncovered in the hot pot for a couple of minutes, and that small pause gives this brown butter garlic mashed rutabaga a much silkier finish.
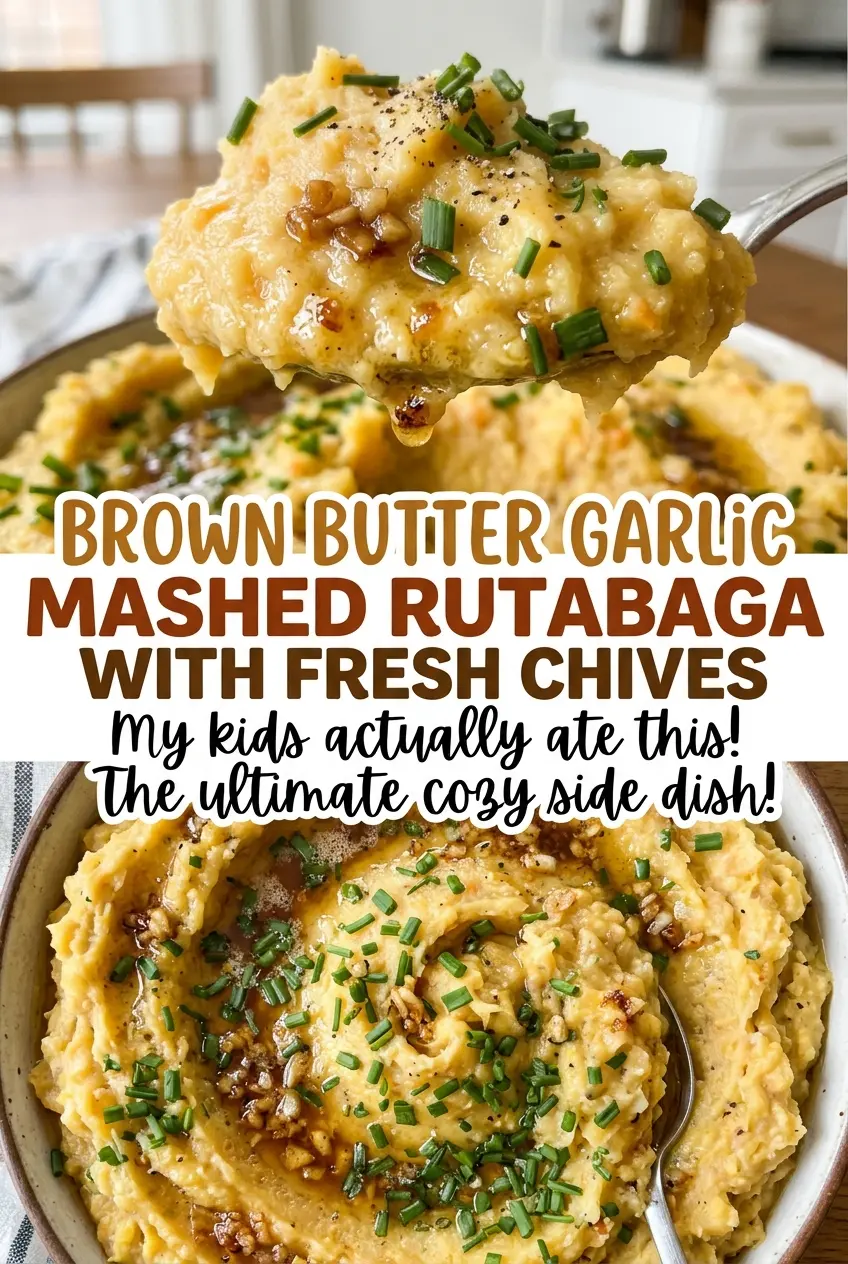
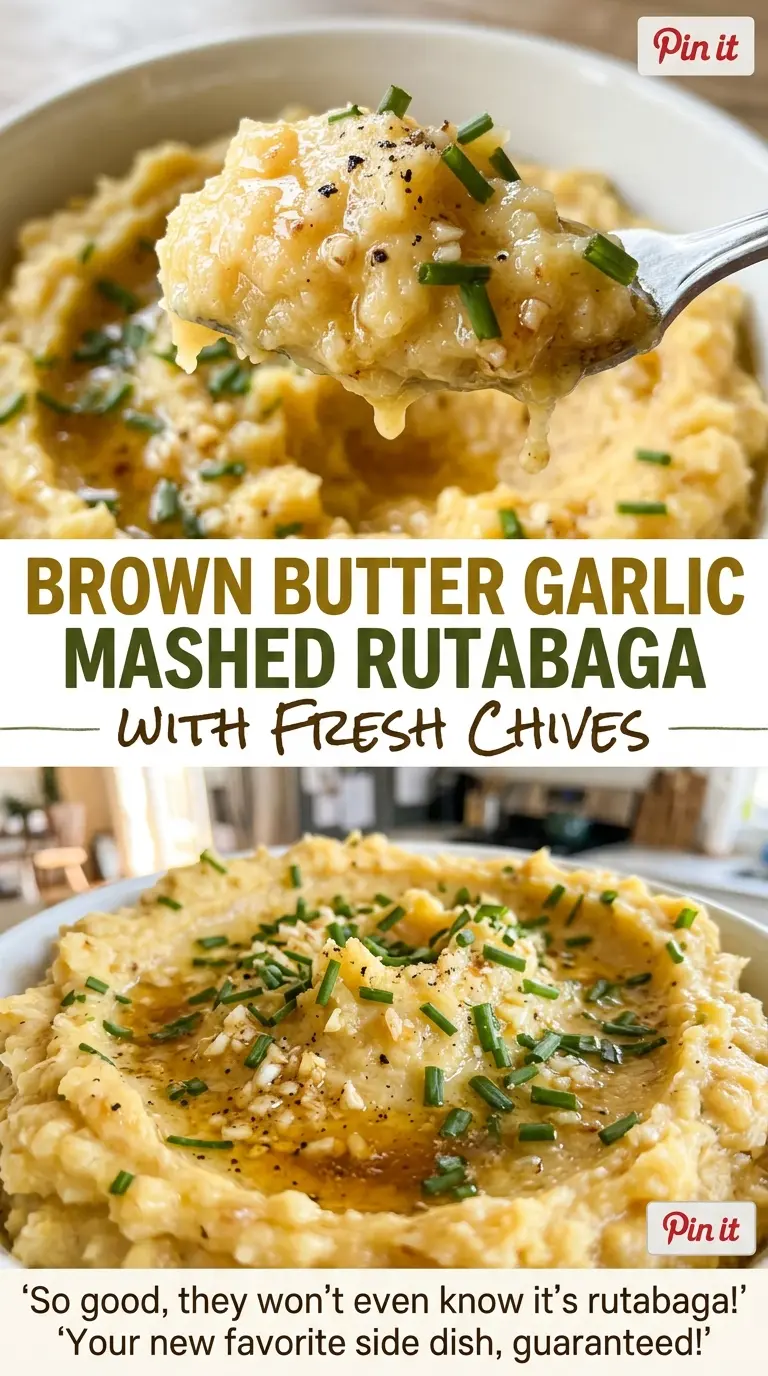
The butter brings a toasted, nutty note that balances rutabaga’s gentle sweetness, while garlic goes into the pan after the butter comes off the heat so it doesn’t scorch. I stir in warm cream at the end; cold cream can cool the mash down just when you want it ready to serve. Fresh chives give each bite a clean, savory finish, and the bowl comes to the table warm, soft, and flecked with green.
Kitchen Note
Watch the milk solids, not just the clock: they should turn golden brown, not dark brown. Take the skillet off the heat before stirring in the garlic, then return it to low heat only until fragrant so the garlic stays mellow instead of bitter.
Save this brown butter garlic mashed rutabaga for a cozy side dish with nutty browned butter, tender rutabaga, and fresh chives.
Why Rutabaga Mash Turns Watery Before You Add the Cream
Rutabaga can look drained and ready to mash while still holding plenty of water in its cut surfaces. That moisture doesn’t disappear when you add butter; it thins the mash and softens the browned-butter flavor. Drain the cubes thoroughly, return them to the hot pot, and let them sit uncovered for two minutes. The warm pot helps excess steam escape without needing another pan or extra cooking step.
Cutting the rutabaga into even 1-inch cubes helps the pieces become tender around the same time. If some are much larger than others, the small pieces can be ready while the centers of the big ones are still firm. Once the cubes are fork-tender, drain them rather than letting them linger in the cooking water. A drier base gives you better control as the warm cream and brown butter are stirred in, and the finished mash stays cohesive instead of pooling on the plate.
What Rutabaga, Brown Butter, and Warm Cream Each Bring
- Rutabaga — Choose firm roots that feel heavy for their size, with no soft or shriveled spots. Peeling matters here because the skin is tougher than the tender interior; cut the peeled vegetable into even cubes so they cook at a similar pace. Its sweet, earthy taste is the foundation of the dish, so another root vegetable won’t give quite the same result.
- Unsalted butter — Butter is the ingredient that browns, giving the mash its toasted aroma and deeper savory taste. Unsalted butter lets you control the seasoning with the kosher salt. Use a fresh stick with no stale or rancid smell; the quality is especially noticeable once the milk solids turn golden.
- Garlic — Freshly minced cloves release their aroma quickly in the warm butter. Jarred minced garlic won’t brown in quite the same way and can taste sharper, so fresh is the better fit for this short cooking time. For a gentler garlic presence, use less rather than letting it cook longer.
- Heavy cream — Warming the cream keeps it from cooling the hot rutabaga and helps it blend in smoothly. Heavy cream gives the mash a round, rich texture; a thinner dairy option would make it less full-bodied. Warm it gently before adding, without bringing it to a boil.
- Fresh chives — Finely chopped chives add a mild onion note and a fresh contrast to the browned butter. Their delicate flavor is best when they’re fresh and stirred in just before serving. Dried chives won’t give the same bright finish, so leave them out if fresh ones aren’t available.
Boiling, Browning, and Mashing Without Losing the Texture
Get the Rutabaga Tender All the Way Through
Put the peeled, 1-inch rutabaga cubes in a large pot, cover them with cold water by 1 inch, and add most of the kosher salt. Bring the water to a boil over high heat, then reduce the heat to keep a gentle boil. Cook for 25 to 35 minutes, until a fork slides into the cubes easily. If the center still feels firm, give the pot more time; tender pieces mash evenly, while undercooked pieces leave stubborn lumps.
Brown the Butter, Then Wake Up the Garlic
While the rutabaga cooks, melt the butter in a small skillet over medium heat. Swirl the pan as it cooks for 3 to 5 minutes; it will foam, and the milk solids will gradually turn golden brown. Take the skillet off the heat to stir in the minced garlic, then return it to low heat for 30 to 60 seconds, just until fragrant. Garlic can go from aromatic to scorched quickly, so don’t leave the skillet unattended at this stage.
Let Steam Escape Before You Mash
Drain the cooked rutabaga well and return it to the hot pot. Leave the pot uncovered for two minutes so excess moisture can steam away. Mash the cubes in the pot until they’re mostly smooth, breaking up any larger pieces as you go. If you mash before the rutabaga is tender, you’ll work harder for a less even texture.
Stir in the Richness and Finish with Chives
Add the brown butter and garlic, warmed cream, remaining salt, and black pepper to the mashed rutabaga. Stir until the mixture looks evenly combined and the cream is no longer visible in streaks. Fold in the finely chopped chives last so their fresh color stays clear against the creamy mash. Serve warm, while the butter is fragrant and the texture is soft.
Three Small Changes That Shift the Flavor or Texture
Make the Garlic a Quieter Note
Use fewer minced cloves while keeping the browning method the same. You’ll still get the toasted butter and a gentle garlic aroma, but the rutabaga’s own sweet, earthy taste will come through more clearly.
Let the Chives Lead
Stir in extra fresh chives for a more pronounced, oniony finish. Their brightness cuts through the richness, though the green flecks will stand out more than they do in the standard version.
Keep a Little More Texture
Stop mashing once the large pieces are broken down and the mixture is mostly smooth. This gives you a more rustic bowl with small soft pieces rather than a uniform mash; it doesn’t change the ingredient balance.
Storage and Reheating
- Refrigerator: Store leftovers in a covered container for up to 4 days. The mash will firm up as it chills.
- Freezer: Freeze in an airtight container for up to 2 months. Thaw it in the refrigerator; the texture may be a little less smooth after freezing.
- Reheating: Warm gently in a saucepan over low heat, stirring often until hot throughout. High heat can make the bottom catch before the center warms.
Questions That Come Up When Making Rutabaga Mash
Brown Butter Garlic Mashed Rutabaga with Fresh Chives
Ingredients
Method
- Put the rutabaga in a large pot and cover with cold water by 1 inch; add 2 teaspoons of the salt and bring to a boil over high heat.
- Reduce the heat to maintain a gentle boil and cook for 25 to 35 minutes, until the rutabaga is very tender when pierced with a fork.
- Drain the rutabaga well, return it to the hot pot, and let it sit uncovered for 2 minutes to steam off excess moisture.
- While the rutabaga cooks, melt the butter in a small skillet over medium heat and cook, swirling the pan, for 3 to 5 minutes, until the butter foams and the milk solids turn golden brown.
- Remove the skillet from the heat, stir in the garlic, then return it to low heat and cook for 30 to 60 seconds, until fragrant.
- Mash the rutabaga in the pot until mostly smooth, then stir in the brown butter and garlic, warmed cream, remaining 1/2 teaspoon salt, and black pepper.
- Stir in the chives and serve warm.