
Buffalo Cauliflower Tacos with Avocado Slaw
The batter looks loose when the cauliflower first goes in, but it should cling to the florets in a thin coat rather than sit in thick clumps. After the first…
Tip: save now, cook later.The batter looks loose when the cauliflower first goes in, but it should cling to the florets in a thin coat rather than sit in thick clumps. After the first bake, those edges turn lightly brown and the centers get tender. That’s the point when these Buffalo cauliflower tacos are ready for their buttery hot sauce.
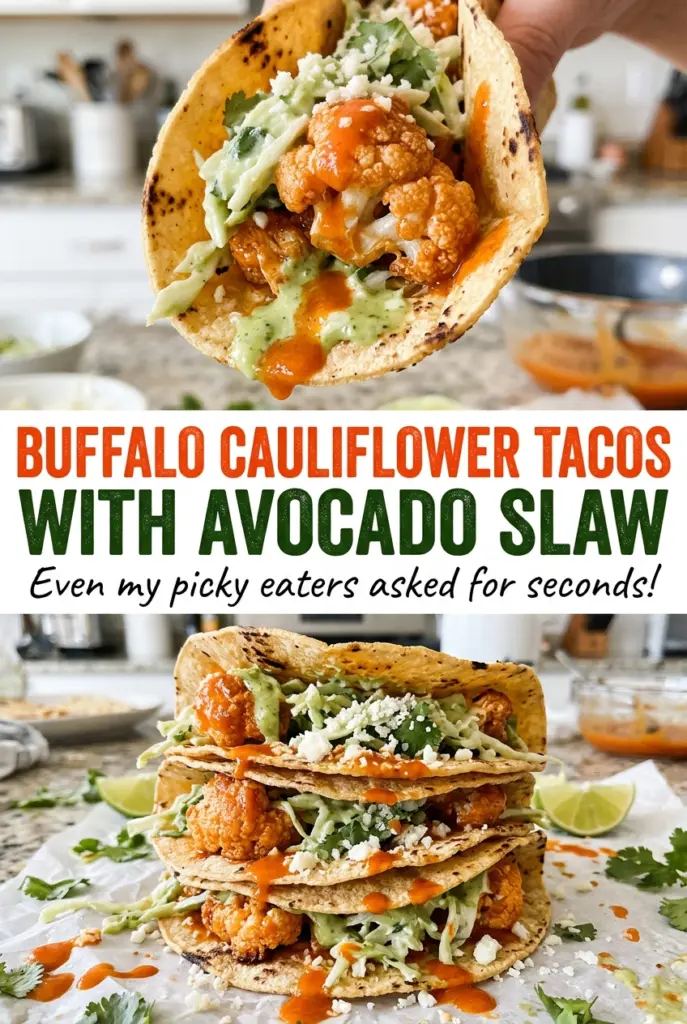
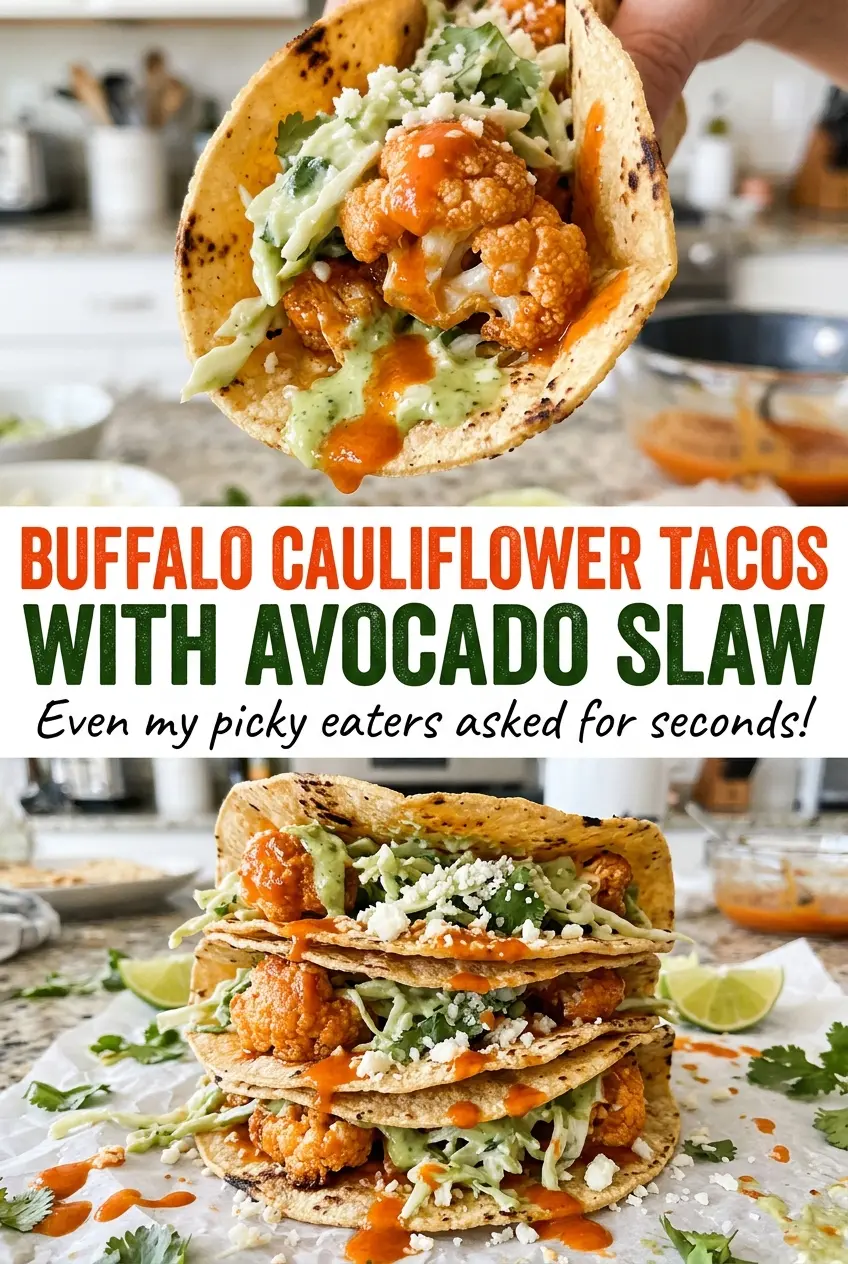
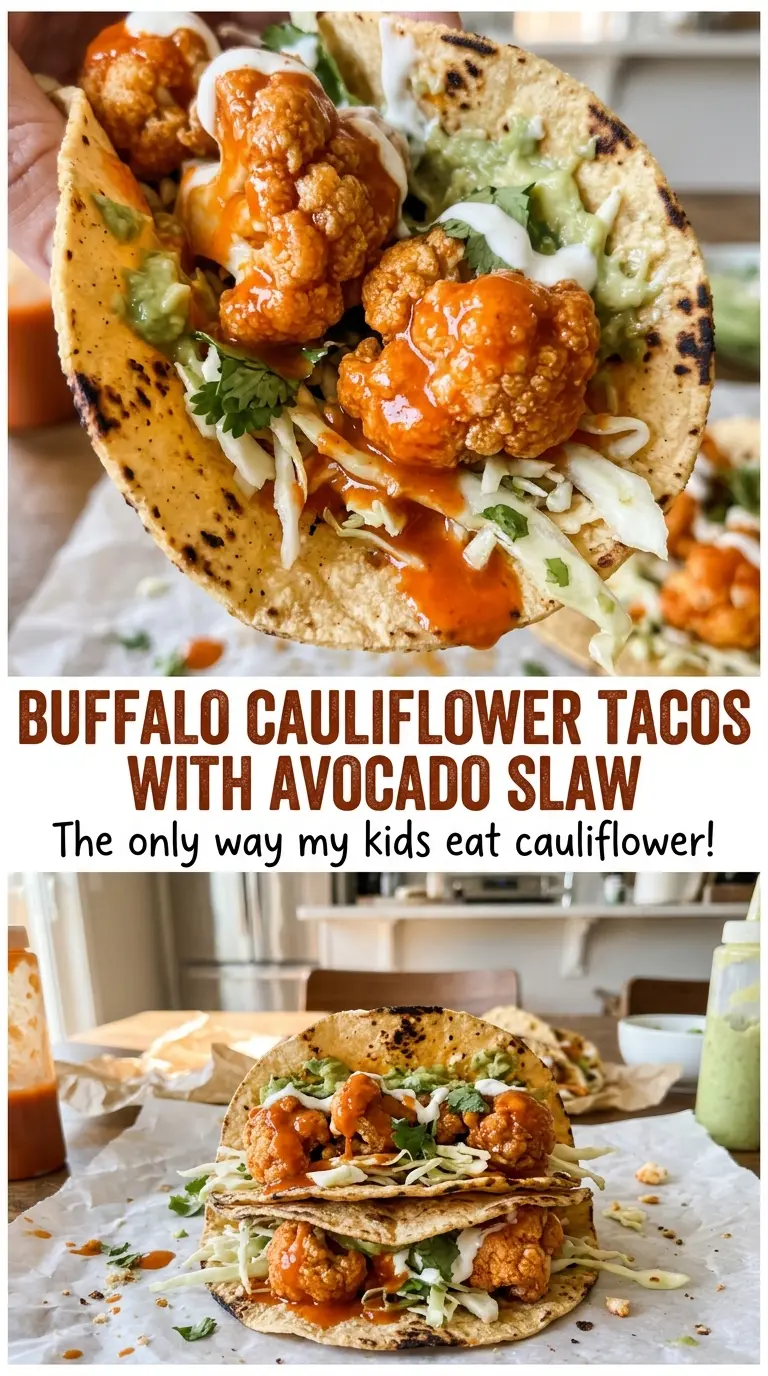
I bake the cauliflower before adding the sauce so the florets have time to brown instead of steaming under a wet coating. Then they go back in the oven just long enough for the buffalo sauce to cling and the edges to deepen in color. Cool avocado slaw brings a creamy, tangy contrast, and warm corn tortillas make the whole thing easy to fold and eat.
Kitchen Note
The corn tortillas need just 30 to 45 seconds between damp paper towels. I stop as soon as they’re pliable; heating them too long makes them limp and harder to handle.
Save these Buffalo cauliflower tacos for a night when you want browned, spicy florets balanced with cool avocado slaw.
Why the Cauliflower Needs a Plain Roast Before It Meets Buffalo Sauce
It’s easy to want to coat the florets in hot sauce from the start, but that puts moisture on the batter before it has a chance to brown. Baking the coated cauliflower first gives the flour-and-milk layer time to set against the hot pan. The florets turn tender, and their surfaces pick up color without the buffalo sauce getting in the way.
Butter stirred into cayenne pepper hot sauce makes a richer coating than hot sauce alone. But that mixture belongs on cauliflower that’s already roasted: the second trip to the oven gives it time to cling, and the edges brown without leaving the florets swimming in sauce. Spread everything out in a single layer for both bakes. If the pieces overlap, trapped steam works against the browned finish you’re after.
This two-part approach also makes the texture easier to judge. The first bake handles tenderness; the short sauced bake handles the buffalo coating. You don’t have to leave the cauliflower in the oven until the sauce dries out or the florets lose their bite.
How the Flour, Buffalo Sauce, and Avocado Shape Each Bite
- Cauliflower — A firm, fresh head cuts into florets that roast at a similar pace. Keep the pieces close in size; large chunks may still be firm when the smaller ones are tender. Frozen cauliflower releases extra moisture, so fresh is the better choice here.
- Flour and milk — Together, they make the thin coating that helps the spices cling to the florets. Plain dairy milk works well; an unsweetened plant milk is a useful swap if you’re avoiding dairy. For a gluten-free version, use a cup-for-cup gluten-free flour blend in place of the all-purpose flour.
- Garlic powder and smoked paprika — These season the coating before the buffalo sauce goes on. Garlic powder blends smoothly into the batter, while smoked paprika adds a gentle smoky note; either is fine from a standard pantry jar.
- Cayenne pepper hot sauce and butter — The hot sauce brings the sharp, peppery heat, and butter rounds it out so it coats rather than tastes thin and vinegary. Use a hot sauce whose heat you enjoy on its own; a milder cayenne sauce is the easiest way to lower the heat.
- Avocado, sour cream, and lime — A ripe avocado mashes into the creamy base, sour cream adds tang, and lime keeps the slaw lively against the spicy cauliflower. Plain Greek yogurt can replace the sour cream one-for-one, though the dressing will taste a little tangier.
- Green cabbage and corn tortillas — Finely shredded cabbage keeps a crisp bite under the creamy dressing; plain bagged shredded cabbage works if you want to skip chopping. Corn tortillas bring a distinct corn flavor, while flour tortillas are a flexible alternative if that’s what you have.
How to Get the Buffalo Coating to Cling Without Losing the Roasted Edges
Make a Smooth, Light Batter
Whisk the flour, milk, garlic powder, and smoked paprika in a large bowl until the mixture is smooth. Add the bite-size cauliflower florets and toss until each piece has a light coating. If you see thick pockets of batter, keep tossing so they spread out instead of baking into clumps. A thin coat is what you want, not a heavy shell.
Roast Until Tender and Lightly Browned
Heat the oven to 425°F and line a large rimmed baking sheet with parchment paper. Arrange the coated florets in a single layer, leaving a little room between pieces, and bake for 20 to 25 minutes. Turn them once so more than one side has contact with the hot pan. They’re ready for sauce when tender and lightly browned.
Stir Together the Sauce and Bake Again
Melt the butter in a microwave-safe bowl, then stir in the cayenne pepper hot sauce until combined. Toss the roasted cauliflower in the sauce and return it to the baking sheet in a single layer. Bake for 8 to 10 minutes, until the sauce clings to the florets and the edges are browned. If the florets are piled together, spread them out before this final bake.
Mix the Slaw and Fill the Tortillas
Mash the avocado with the sour cream, lime juice, chopped cilantro, kosher salt, and water until mostly smooth. Toss in the finely shredded cabbage so the creamy mixture coats it without completely hiding the cabbage. Warm the corn tortillas between damp paper towels in the microwave for 30 to 45 seconds, until pliable. Divide the cauliflower and slaw among the tortillas and serve.
Three Useful Ways to Adjust the Flour, Dairy, or Heat
Use a Cup-for-Cup Gluten-Free Flour Blend
Replace the all-purpose flour with the same volume of a cup-for-cup gluten-free blend. The coating may bake up a little more delicate, but the cauliflower still gets a seasoned layer that holds the buffalo sauce.
Make the Tacos Dairy-Free
Use unsweetened plant milk in the batter, dairy-free butter in the buffalo sauce, and dairy-free sour cream in the slaw, each in the same amount as its original ingredient. The filling will be less buttery and the slaw’s tang will depend on the dairy-free sour cream you choose.
Turn Up the Heat
Choose a hotter cayenne pepper hot sauce for a stronger kick while keeping the butter in the sauce. The slaw stays cool and creamy, but each taco will have a more persistent heat.
Storage and Reheating
- Refrigerator: Store the cauliflower and avocado slaw separately in airtight containers and use within 3 to 4 days. The cauliflower coating softens in storage, and the slaw loses some of its fresh texture.
- Freezer: Skip freezing assembled tacos or the slaw; the tortillas and cabbage turn soft, and the avocado dressing doesn’t keep its texture. The cooked cauliflower also softens after thawing, so this dish is best made fresh.
- Reheating: Reheat the cauliflower on a baking sheet in a 400°F oven until it reaches 165°F. The microwave is faster but softens the coating further; warm the tortillas separately and add the cold slaw after reheating.
Questions That Come Up When the Cauliflower Comes Out of the Oven
Buffalo Cauliflower Tacos with Avocado Slaw
Ingredients
Equipment
Method
- Preheat the oven to 425°F.
- Line a large rimmed baking sheet with parchment paper.
- Whisk the flour, milk, garlic powder, and smoked paprika in a large bowl until smooth.
- Add the cauliflower and toss to coat.
- Arrange the florets in a single layer on the baking sheet.
- Bake for 20 to 25 minutes, turning once, until tender and lightly browned.
- Melt the butter in a microwave-safe bowl.
- Stir in the hot sauce.
- Toss the baked cauliflower with the sauce.
- Return the cauliflower to the baking sheet and bake for 8 to 10 minutes, until the sauce clings to the florets and the edges are browned.
- Mash the avocado with the sour cream, lime juice, cilantro, salt, and water in a medium bowl until mostly smooth.
- Toss the cabbage with the avocado mixture.
- Warm the tortillas in the microwave between damp paper towels for 30 to 45 seconds, until pliable.
- Divide the buffalo cauliflower and avocado slaw among the tortillas and serve.