
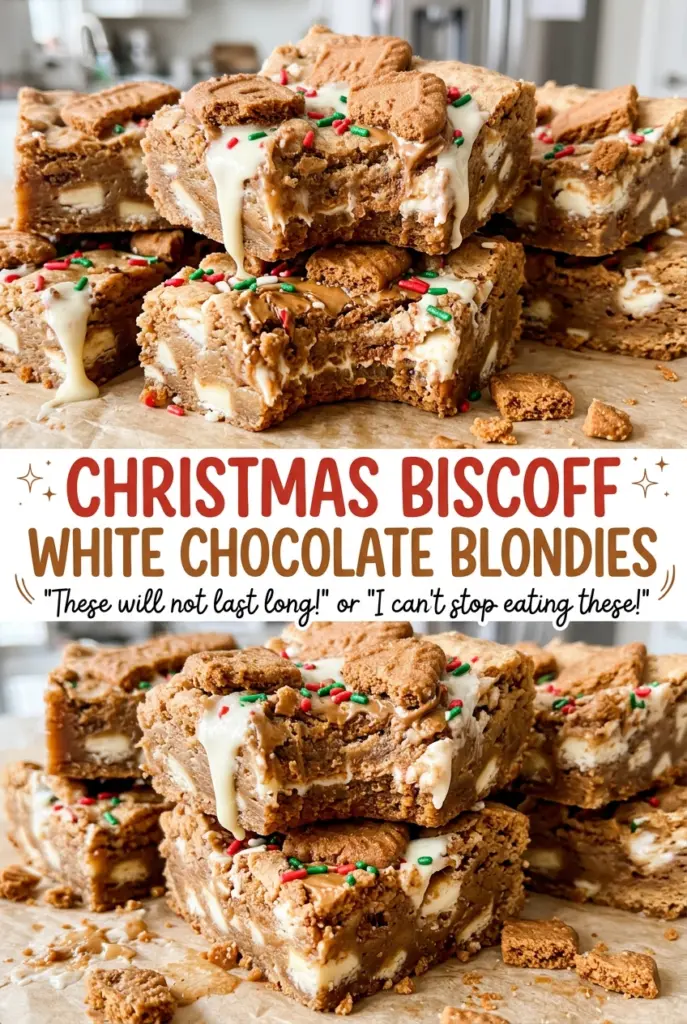
Christmas Biscoff White Chocolate Blondies
The edges turn lightly golden before the middle looks fully baked, which is exactly the cue I watch for with blondies. These Christmas Biscoff white chocolate blondies come out of…
Tip: save now, cook later.The edges turn lightly golden before the middle looks fully baked, which is exactly the cue I watch for with blondies. These Christmas Biscoff white chocolate blondies come out of the oven with a set top and a center that still leaves a few moist crumbs on the toothpick. They finish settling as they cool, so pulling them at the right moment keeps the squares tender instead of dry.
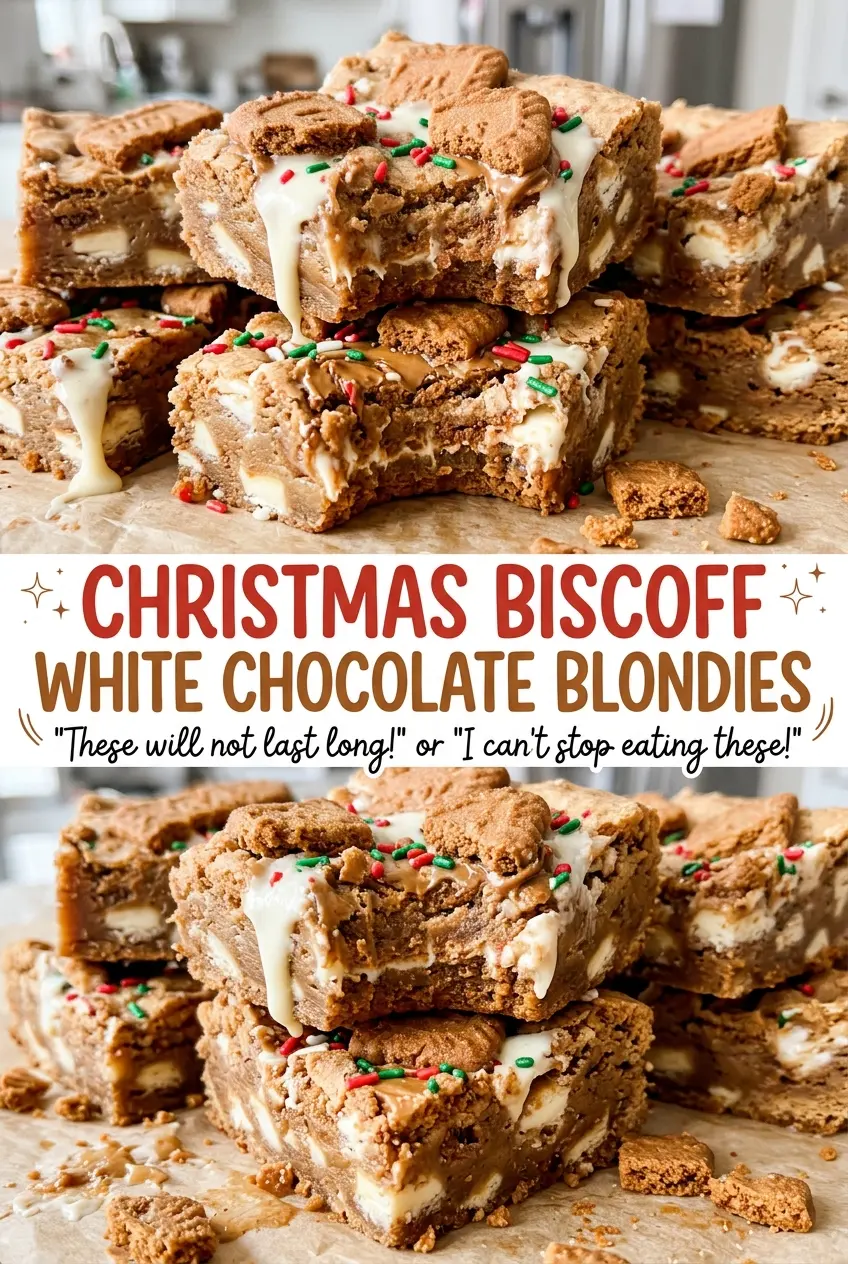
Biscoff cookie butter is whisked right into the butter and brown sugar, giving the whole batch its spiced cookie flavor rather than leaving it in a topping that might slice unevenly. White chocolate chips bring creamy pockets of sweetness, while the red and green sprinkles make the bars look ready for a holiday plate. Let the pan cool completely before cutting; the finished squares hold their shape and show off all those colorful bits.
Kitchen Note
Let the melted butter cool slightly before you whisk it with the cookie butter and sugar. Butter that’s still hot can make the egg mixture harder to combine smoothly.
Save these Christmas Biscoff white chocolate blondies for a festive bake: spiced cookie butter, white chocolate chips, and a bright sprinkle finish.
Why the Biscoff Flavor Belongs in Every Bite
A spoonful of cookie butter on top might look striking, but it would give you pockets of concentrated spread instead of the even, spiced flavor these bars are built around. Whisking the Biscoff into the butter and brown sugar makes it part of the batter from the start. That means the base tastes like cookie butter all the way through, with the white chocolate arriving as a sweeter contrast rather than taking over.
The balance matters because white chocolate is sweet and creamy, while Biscoff brings a toasted, spiced cookie character. Red and green sprinkles add a festive look, but they aren’t meant to carry the flavor. Together, the ingredients make a dense blondie rather than a fluffy cake-like bar. Keep the mix-ins distributed through the batter, and each cut square gets a little of the white chocolate without losing that cookie-butter center.
There’s no separate frosting or topping to mask the texture. The surface sets in the oven, and the center stays tender as the pan cools. That’s why the toothpick cue matters more than waiting for a completely clean pick.
What Each Ingredient Brings to These Biscoff Blondies
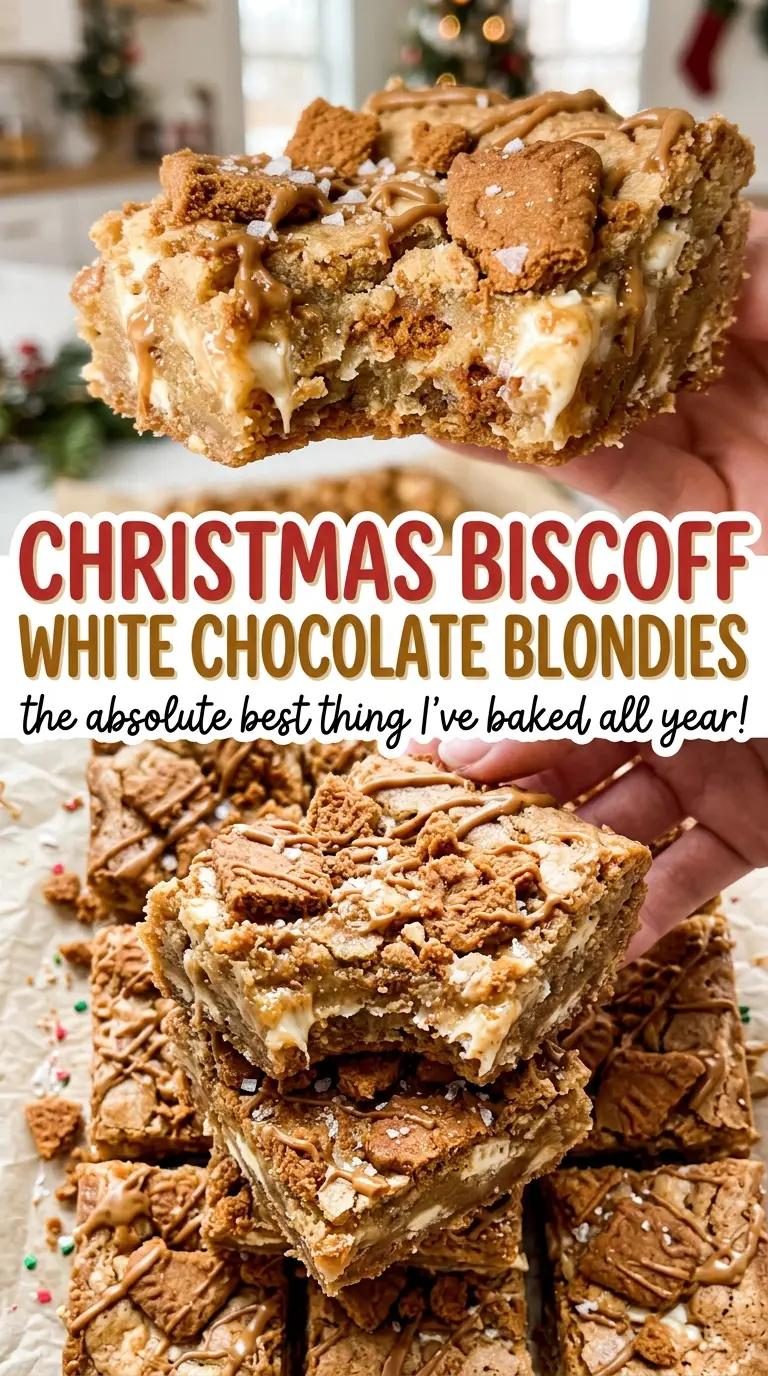
- Biscoff cookie butter — This is the defining flavor and the ingredient that makes these different from a plain brown-sugar blondie. A smooth spread whisks evenly into the melted butter and sugar; a different cookie butter may have a different sweetness or texture, so the flavor won’t match exactly.
- Unsalted butter and light brown sugar — The butter gives the batter richness, and packed light brown sugar brings moisture and a mild molasses note. Unsalted butter keeps the salt level predictable. The brown sugar should be packed into the measuring cup so the amount is consistent.
- Eggs and vanilla extract — Eggs bind the batter and help the squares hold together after cooling. Vanilla rounds out the cookie-butter and white-chocolate flavors; pure or imitation extract both work here, so use what you keep on hand.
- All-purpose flour, baking powder, and table salt — Flour gives the bars their structure, while a small amount of baking powder provides lift without turning the batter into a cake. Whisk these dry ingredients together before folding them in so the baking powder and salt don’t collect in one spot.
- White chocolate chips — Chips hold their shape as small sweet pockets in the baked bars. Use chips you enjoy eating on their own; there’s no need to seek out a specialty brand.
- Red and green Christmas sprinkles — These bring the holiday color throughout the squares. Fold them in gently so the colors stay distinct rather than streaking through the batter.
How to Mix and Bake the Blondies Without Drying the Center
Line the 9-inch pan for easy lifting
Heat the oven to 350°F and line a 9-inch square pan with parchment paper. Leave enough parchment overhanging the sides to lift the cooled blondies out in one piece. A snug lining helps the batter reach the corners without leaving gaps. The overhang also keeps you from having to dig a knife around the edges of the pan.
Whisk a smooth cookie-butter base
In a large bowl, whisk the melted, slightly cooled butter with the brown sugar and Biscoff until the mixture looks smooth. Whisk in the eggs and vanilla next, scraping through the mixture so no streaks of egg remain. The wet ingredients should look evenly combined before the flour goes in. If the cookie butter is still sitting in thick clumps, keep whisking until the base is uniform.
Fold in the flour, chips, and sprinkles
In a separate medium bowl, whisk together the flour, baking powder, and salt. Fold that dry mixture into the wet ingredients just until no dry flour remains; extra mixing once the flour disappears can make the bars tougher. Fold in the white chocolate chips and sprinkles, distributing them without crushing the colorful pieces. Spread the batter evenly in the lined pan so it bakes to a consistent thickness.
Use the moist-crumb cue, then cool fully
Bake for 25 to 30 minutes, until the top is set and the edges are lightly golden. A toothpick inserted in the center should come out with a few moist crumbs, not wet batter and not completely clean. Cool the blondies in the pan for about 1 hour before lifting them out by the parchment. Cut into 16 squares once they’re completely cool so the centers have time to set.
Easy Ways to Adapt the Blondies for Different Occasions
A gluten-free batch
Replace the all-purpose flour with the same amount of a cup-for-cup gluten-free baking blend made to replace wheat flour. The bars may have a slightly more delicate crumb, so let them cool completely in the pan before lifting and cutting.
A less colorful, year-round version
Leave out the red and green sprinkles when you want the same Biscoff and white chocolate blondies without the holiday look. The bars will lose the bright flecks, but the cookie-butter base and white chocolate stay the focus.
Small squares for a dessert tray
For bite-size portions, cut the cooled slab into 32 small squares instead of 16. The ingredients and bake stay the same; the smaller pieces are easier to arrange on a mixed dessert tray and give you more portions.
Storage and Reheating
- Refrigerator: Store the cut blondies in an airtight container for up to 4 days. Chilling makes them firmer, so let a square sit briefly at room temperature before eating if you prefer a softer bite.
- Freezer: They freeze well for up to 2 months. Wrap the cooled squares individually, place them in a freezer-safe container, and thaw at room temperature.
- Reheating: They’re good at room temperature, but you can warm one square in the microwave for about 8 seconds. Longer heating can make the white chocolate overly soft and the bar hot in spots.
Questions That Come Up When Baking Biscoff Blondies
Christmas Biscoff White Chocolate Blondies
Ingredients
Equipment
Method
- Heat the oven to 350°F.
- Line a 9-inch square baking pan with parchment paper, leaving enough overhang to lift out the blondies.
- In a large bowl, whisk the melted butter, brown sugar, and Biscoff cookie butter until smooth.
- Whisk in the eggs and vanilla extract.
- In a medium bowl, whisk together the flour, baking powder, and salt.
- Fold the dry mixture into the wet mixture just until no dry flour remains.
- Fold in the white chocolate chips and red and green Christmas sprinkles.
- Spread the batter evenly in the prepared pan.
- Bake for 25 to 30 minutes, until the top is set, the edges are lightly golden, and a toothpick inserted in the center comes out with a few moist crumbs.
- Cool completely in the pan, about 1 hour.
- Lift out using the parchment and cut into 16 squares.