
Christmas White Chocolate Raspberry Bundt Cake
The first time I cut into a raspberry Bundt cake, the filling had crept right to the edge and left a sticky stripe on the pan. Keeping the preserves in…
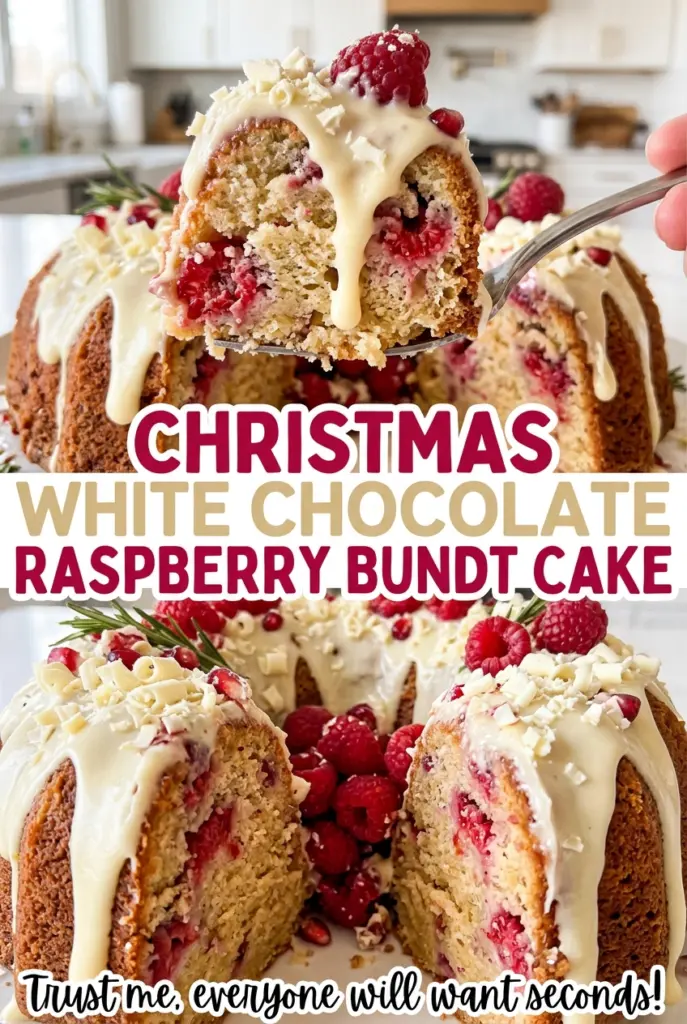
Tip: save now, cook later.The first time I cut into a raspberry Bundt cake, the filling had crept right to the edge and left a sticky stripe on the pan. Keeping the preserves in a neat ring, away from the center tube and sides, gives this Christmas White Chocolate Raspberry Bundt Cake a pretty ribbon without letting the fruit take over every slice.
The batter gets its tender crumb from softened butter creamed with sugar, then room-temperature eggs and sour cream. I add the flour mixture in stages and stop mixing as soon as it’s combined; that keeps the cake from turning tough. A few gentle knife arcs make a swirl, not a fully pink batter.
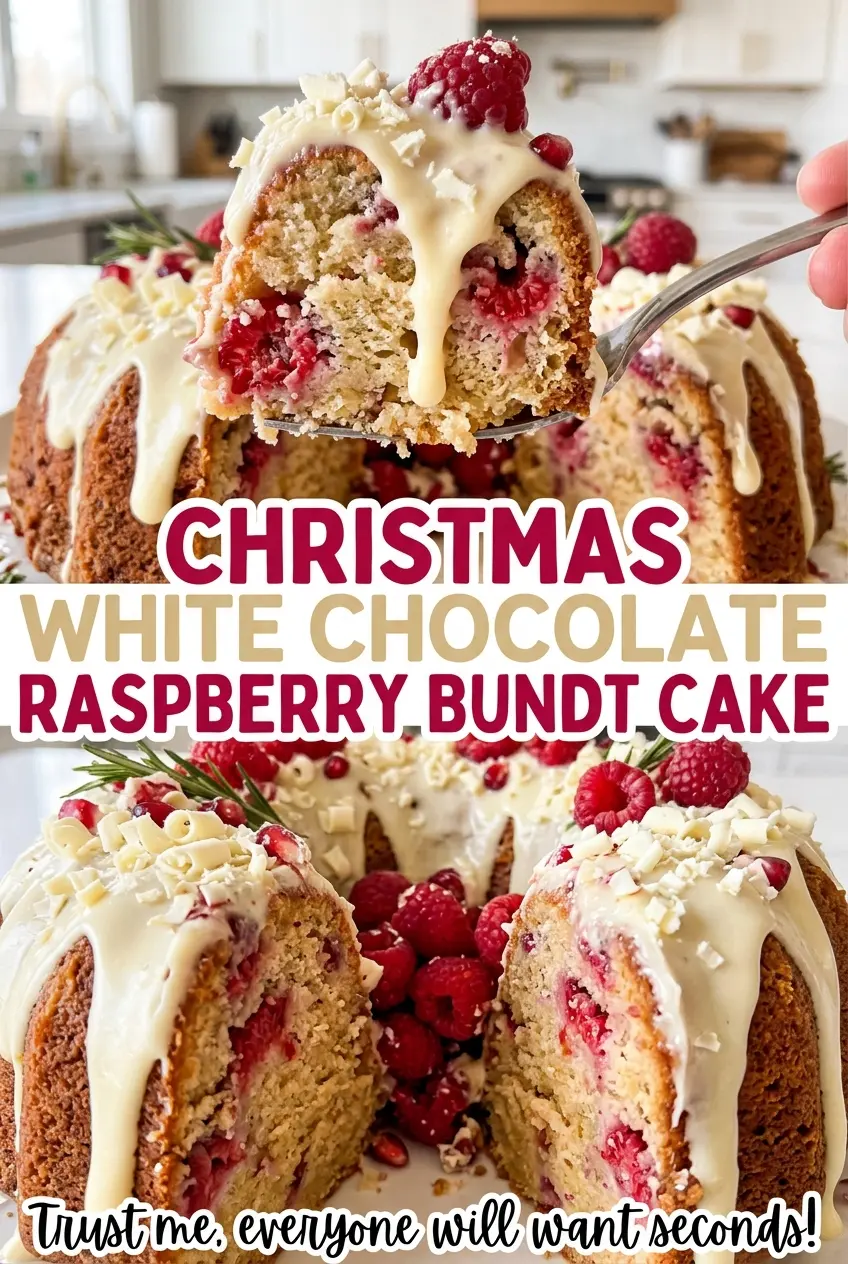
Once the cake is cool, a white chocolate and cream glaze settles over the ridges with a soft sheen. The slices have a buttery vanilla crumb, a bright raspberry center, and just enough sweetness on top.
Kitchen Note
Chop the white chocolate finely before you warm the cream. The small pieces soften more evenly during the two-minute rest, which makes it much easier to whisk the glaze smooth.
Save this Christmas white chocolate raspberry Bundt cake for its tender vanilla crumb, bright berry ribbon, and smooth white chocolate glaze.
Why the Raspberry Ribbon Needs a Buffer Around It
A Bundt pan has a center tube and tall outer walls, so a stripe of filling placed too close to either edge can end up exposed when the cake is turned out. The preserves belong in a ring over the first layer of batter, with a little plain batter between the fruit and both sides of the pan. That buffer lets the cake surround the filling instead of letting jam press against the pan.
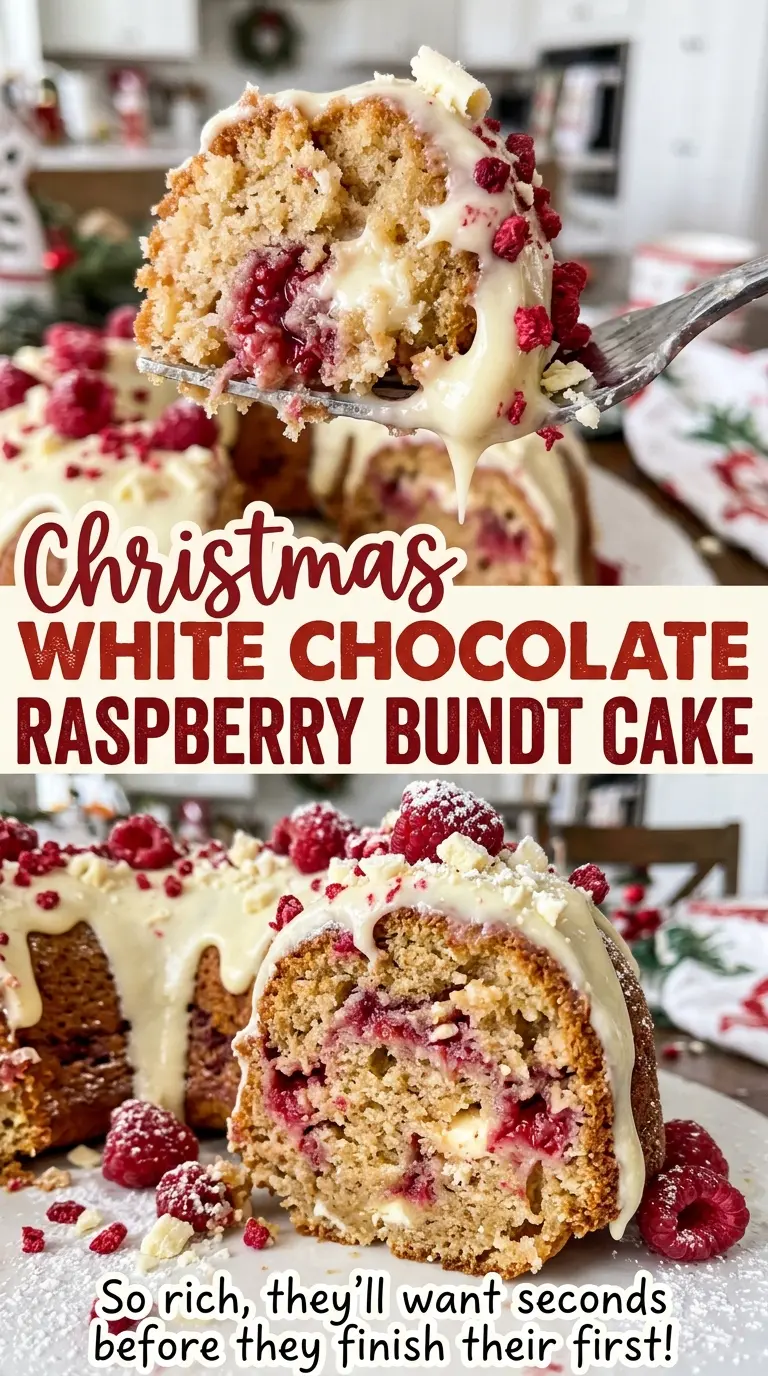
There’s a balance to the swirl, too. The preserves should stay in a distinct ribbon, not disappear into the batter. A few light arcs with a knife pull the layers together; lots of stirring smears the fruit through the cake and makes the pattern less defined. When you slice it, you’ll see a clean sweep of raspberry against the pale crumb rather than an all-over pink tint.
This placement also makes each slice feel balanced: enough fruit to cut through the buttery cake, without a heavy pocket of preserves at the edge. Take a moment to spread the bottom batter evenly before adding the filling, and the ribbon will have a more even path around the finished cake.
What Gives This Bundt Its Tender Crumb and Bright Ribbon
- All-purpose flour — It gives the cake enough structure to hold its Bundt shape around the preserves. A standard all-purpose flour is a good fit here; swapping in a different flour changes the crumb, so I keep this one as written.
- Butter, sugar, and eggs — Creaming softened butter with sugar builds the base of the cake, while the eggs help bind the batter. Let the butter soften and bring the eggs to room temperature so they blend into the creamed mixture evenly.
- Sour cream — Its richness keeps the crumb moist and adds a gentle tang that balances the sweet glaze. Room-temperature sour cream blends more smoothly; a thinner dairy product won’t give quite the same texture.
- Seedless raspberry preserves — The thick, smooth fruit makes a defined ribbon without seeds interrupting the tender slices. If you need a substitute, a thick seedless raspberry jam is the closest match; a loose or runny spread is more likely to wander through the batter.
- White chocolate and heavy cream — Together they make a soft, pourable glaze that sets on the cooled cake. Use white chocolate you enjoy eating on its own, and chop it finely so the cream can melt it evenly.
- Baking spray with flour — This is worth using in a detailed Bundt pan because it coats the ridges as well as the broad surfaces. A generous, even coating helps the cake release with its pattern intact.
Build the Batter, Keep the Ribbon, Then Glaze
Coat the Pan and Mix the Dry Ingredients
Heat the oven to 350°F and generously coat a 12-cup Bundt pan with baking spray. Whisk the flour, baking powder, baking soda, and salt in a medium bowl so the leavening is spread through the flour. Take a moment to reach the bottom and sides of the bowl; pockets of baking soda can leave an unpleasant taste in the finished cake.
Cream the Butter and Finish the Batter
Beat the softened butter and sugar with an electric mixer on medium speed for 3 to 4 minutes, until the mixture looks pale and fluffy. Add the eggs one at a time, then mix in the vanilla. Add the flour mixture in three additions, alternating with the sour cream in two additions, beginning and ending with flour. Keep the mixer on low and stop as soon as the last streaks of flour disappear; beating past that point can make the cake dense.
Layer the Raspberry Filling
Spoon half the batter into the prepared pan and spread it into an even layer. Spoon the seedless preserves in a ring over the batter, keeping the fruit away from the center tube and pan sides. Cover with the remaining batter, then draw a knife through it in a few gentle arcs. Avoid stirring in circles, which can blur the ribbon into the surrounding batter.
Bake Until the Cake Is Set
Bake for 55 to 65 minutes, until the cake is golden. Test with a wooden pick in the cake itself, not in the raspberry ribbon; it should come out clean or with a few moist crumbs. Cool the cake in its pan for 15 minutes, then invert it onto a wire rack. Let it cool completely before glazing, or the warm surface will loosen the topping.
Whisk and Pour the White Chocolate Glaze
Place the chopped white chocolate in a heatproof bowl. Heat the cream in a small saucepan until steaming, pour it over the chocolate, and let it stand for 2 minutes before whisking until smooth. Let the glaze cool until it’s slightly thickened but still pourable. Pour it over the cooled cake and give it about 20 minutes to set before serving.
Three Ways to Change the Cake Without Losing Its Character
Make It Gluten-Free
Replace the all-purpose flour with a cup-for-cup gluten-free baking blend formulated for cakes, preferably one with xanthan gum already included. Keep the other ingredients and method the same; the crumb may be a little more delicate, so cool the cake completely before slicing.
Serve It Without the Glaze
Leave off the white chocolate glaze for a less-sweet cake with the raspberry ribbon as the main accent. The plain top won’t have the same smooth finish, but the cake is still easy to slice once it has cooled completely.
Make a Vanilla Bundt Without the Fruit
Skip the raspberry preserves and spoon all the batter into the prepared pan. You’ll have a straightforward sour cream Bundt with vanilla in the foreground; keep the white chocolate glaze for a sweet finish or leave it off for a more restrained cake.
Storage and Reheating
- Refrigerator: Store the glazed cake covered for 3 to 4 days. The crumb firms up when chilled; let a slice stand briefly before serving.
- Freezer: For the best texture, freeze the cooled cake before glazing. Wrap it tightly and freeze for up to 2 months; thaw it in the refrigerator, then glaze before serving.
- Reheating: No reheating is needed. Warming a glazed slice can melt the white chocolate topping, so serve it at room temperature instead.
Questions That Come Up While Baking This Bundt
Christmas White Chocolate Raspberry Bundt Cake
Ingredients
Equipment
Method
- Heat the oven to 350°F.
- Generously coat a 12-cup Bundt pan with baking spray.
- Whisk the flour, baking powder, baking soda, and salt in a medium bowl.
- Beat the butter and sugar in a large bowl with an electric mixer on medium speed for 3 to 4 minutes, until light and fluffy.
- Beat in the eggs one at a time, then mix in the vanilla.
- Add the flour mixture in three additions, alternating with the sour cream in two additions and beginning and ending with flour; mix on low just until combined.
- Spoon half the batter into the pan and spread it evenly.
- Spoon the raspberry preserves in a ring over the batter, keeping them away from the center tube and pan sides.
- Cover with the remaining batter and gently draw a knife through it in a few arcs to create a swirl.
- Bake for 55 to 65 minutes, until golden and a wooden pick inserted into the cake (not the raspberry swirl) comes out clean or with a few moist crumbs.
- Cool the cake in the pan for 15 minutes.
- Invert the cake onto a wire rack and cool completely.
- Place the white chocolate in a heatproof bowl.
- Heat the cream in a small saucepan until steaming, then pour it over the chocolate.
- Let stand for 2 minutes, then whisk until smooth.
- Let the glaze cool until slightly thickened but pourable.
- Pour the glaze over the cooled cake.
- Let it set for about 20 minutes before serving.