
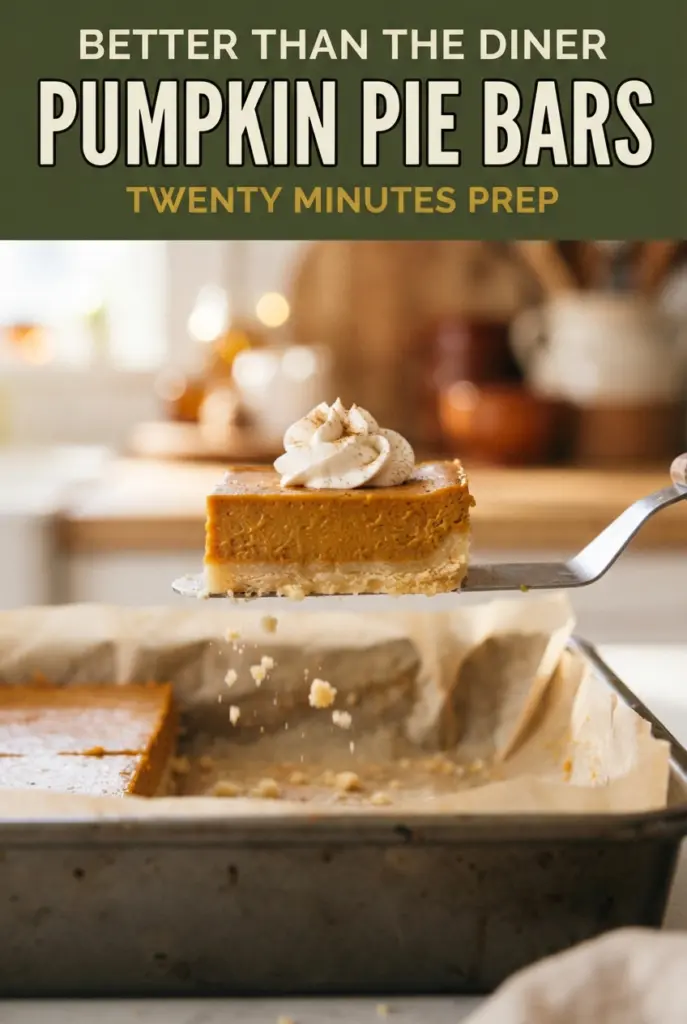
Classic Pumpkin Pie Bars with Buttery Shortbread Crust
Silky pumpkin filling over a tender shortbread crust gives you all the comfort of pumpkin pie without the nerve-racking part of rolling dough or worrying about a soggy bottom. These…
Tip: save now, cook later.Silky pumpkin filling over a tender shortbread crust gives you all the comfort of pumpkin pie without the nerve-racking part of rolling dough or worrying about a soggy bottom. These bars slice cleanly, hold their shape on a dessert table, and still taste like the pie people line up for first at Thanksgiving.
The crust matters here. A press-in shortbread base bakes up buttery and firm enough to support the custard, and because it’s baked before the filling goes in, it stays distinct instead of turning gummy. The filling leans on evaporated milk for that classic pie texture: rich, smooth, and just firm enough after chilling to cut into neat squares.
Below, I’ll walk through the one step that keeps the bars from weeping when you cut them, plus a few easy ways to adapt them if you need to change the crust or make them ahead.
The shortbread crust stayed crisp under the pumpkin layer, and the bars cut into neat squares after chilling overnight. I brought them to work and everyone kept asking for the recipe because the spice balance was spot on.
These pumpkin pie bars bake up with a clean slice and a buttery crust that holds every layer together.
Save these pumpkin pie bars for your easiest Thanksgiving dessert
The Part That Keeps the Bars from Going Soggy
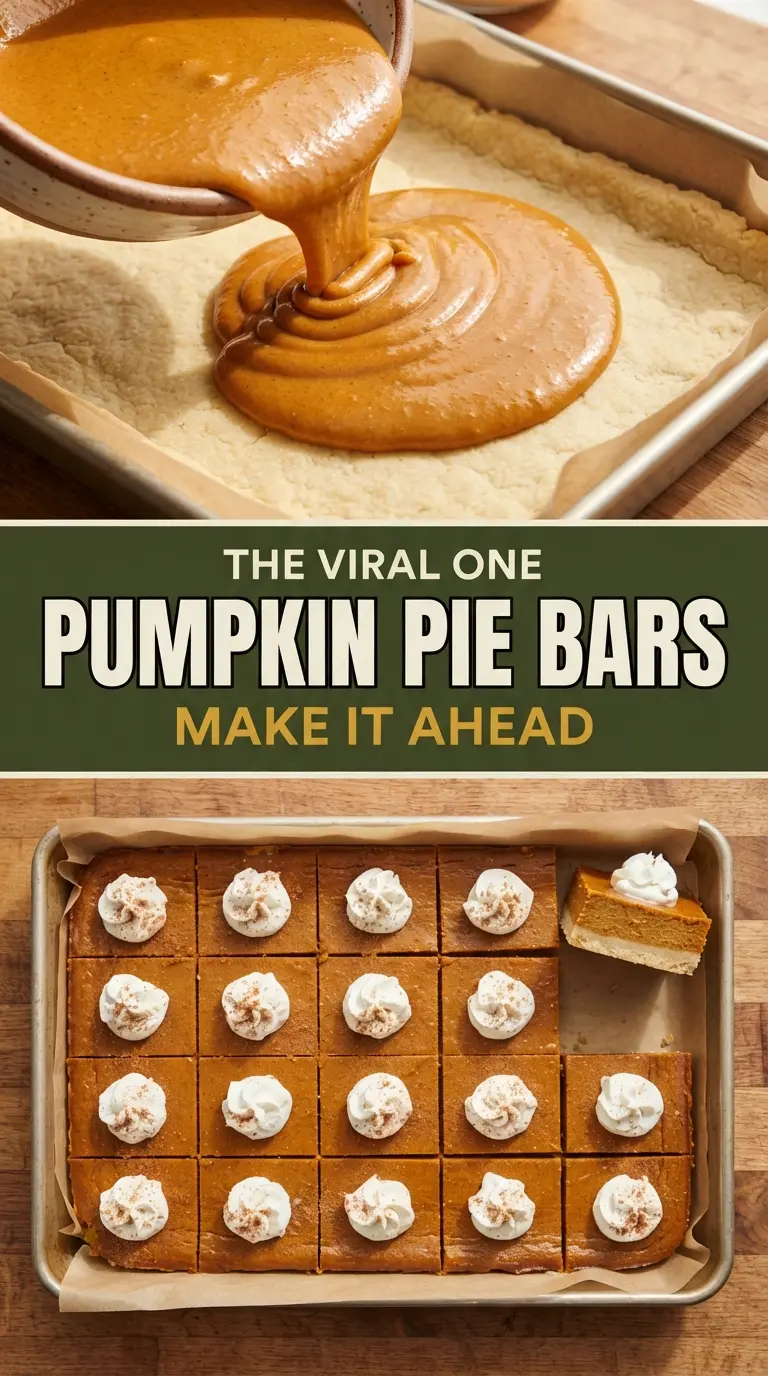
The crust gets a full bake before the filling goes in, and that’s what keeps these bars sturdy. If you pour pumpkin custard onto raw dough, the bottom stays soft and the bars never slice cleanly. Here, the shortbread has time to set into a real layer with a dry surface, so the filling sits on top instead of sinking in.
Warm crust also helps. The filling goes into the pan right after the crust comes out, which gives the bottom layer a head start and helps the bars bake evenly from the edges inward. The center should still have a slight jiggle when it comes out of the oven; if you wait until it looks fully firm, it usually ends up overbaked and dry after chilling.
- Butter — Softened butter gives the crust its tender, sandy texture. Cold butter won’t cream into the dough properly, and melted butter makes the crust greasy instead of short and crisp.
- Pumpkin puree — Use plain pumpkin puree, not pumpkin pie filling. The pie filling already has sugar and spices added, which throws off the balance and makes the bars taste muddy.
- Evaporated milk — This brings the custard richness and that classic pumpkin pie texture without making the filling heavy. Regular milk works in a pinch, but the bars won’t set up as plush.
- Brown sugar plus granulated sugar — Brown sugar adds depth and a little molasses warmth, while granulated sugar keeps the sweetness clean. Using only brown sugar makes the filling taste darker and heavier.
- Spices — Cinnamon, ginger, nutmeg, and cloves give the filling its familiar pie aroma. Freshly ground spices aren’t required, but old spices will taste flat, and you’ll notice it here.
Building the Crust and Custard in the Right Order
Pressing and Baking the Shortbread Base
Mix the softened butter with the powdered sugar and salt until it looks smooth and creamy, then stir in the flour just until the dough comes together. It should hold when you press it, but it won’t be sticky like cookie dough. Press it evenly into the lined pan, especially into the corners, because thin spots brown too fast and can crack when you cut the bars later. Pricking the surface with a fork keeps the crust from puffing into uneven ridges.
Whisking the Filling Until It’s Completely Smooth
Whisk the pumpkin, evaporated milk, eggs, sugars, spices, salt, and vanilla until the mixture looks fully uniform and glossy. Any streaks of egg white or clumps of spice will show up in the baked bars, so this is worth an extra minute. Don’t whip a ton of air into it; too much foaming can leave little bubbles on the surface and make the top look rough instead of silky.
Baking Until the Center Still Moves Slightly
Pour the filling over the warm crust and bake until the edges are set and the center gives just a small wobble when you nudge the pan. That jiggle is what you want. The custard keeps cooking from residual heat as it cools, and the bars finish setting in the fridge. If you wait until the middle is completely firm in the oven, the texture turns chalky after chilling.
Cooling Before You Cut
Let the bars cool on the counter first, then refrigerate until fully chilled. Cutting them warm is the fastest way to get a messy pan and a filling that smears. A long chill gives the custard enough structure to release in clean squares, and it also helps the spice flavor settle in. Use the parchment overhang to lift the slab out before slicing.
Three Ways to Adapt These Pumpkin Pie Bars
Gluten-Free Crust
Use a good 1:1 gluten-free flour blend in place of the all-purpose flour. The crust will still press together and bake up tender, though it may be a touch more delicate when warm, so chill it well before slicing.
Dairy-Free Version
Swap the butter for a firm plant-based butter that’s meant for baking and use an unsweetened canned coconut milk instead of evaporated milk. The filling will still set, but it tastes a little more coconut-forward and the crust won’t have quite the same dairy sweetness.
Extra-Spiced Holiday Bars
Add an extra ¼ teaspoon of cloves or a pinch of allspice if you want a stronger bakery-style spice note. Go slow with this change; cloves can take over fast, and the filling tastes best when the spices support the pumpkin instead of hiding it.
Storage and Reheating
- Refrigerator: Store covered for up to 5 days. The crust stays firm, and the filling slices even better after the first day.
- Freezer: These freeze well. Wrap the cut bars individually, then store in an airtight container for up to 2 months; thaw overnight in the refrigerator.
- Reheating: Serve chilled or let the bars sit at room temperature for 15 to 20 minutes. Don’t microwave them for long stretches or the custard will soften and the crust loses its texture.
Answers to the Questions Worth Asking
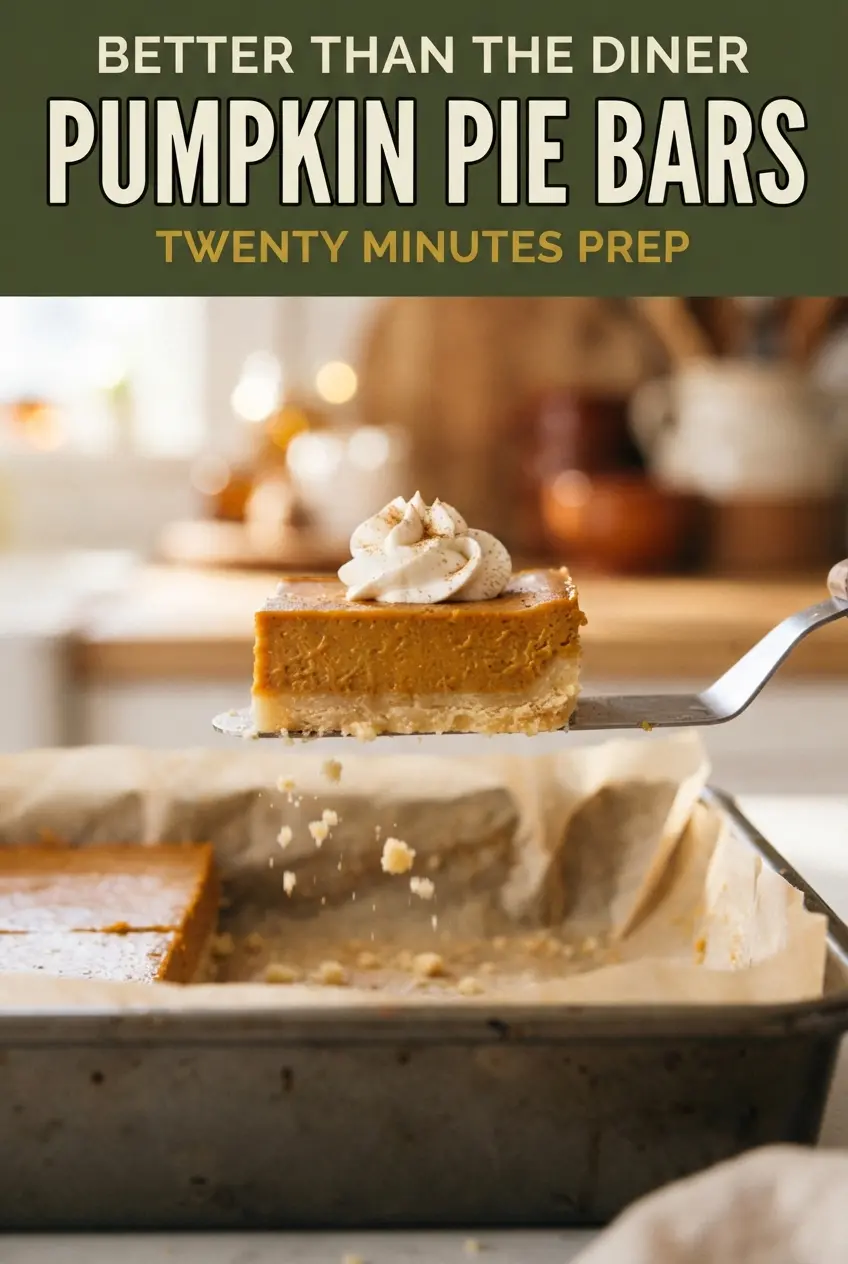
Classic Pumpkin Pie Bars with Buttery Shortbread Crust
Ingredients
Equipment
Method
- Preheat the oven to 350°F and line a 9x13-inch pan with parchment paper, leaving an overhang on the long sides.
- Stir the softened butter, powdered sugar and salt until smooth, then add the flour and stir into a soft dough.
- Press the dough evenly into the pan and prick all over with a fork to prevent bubbles.
- Bake for 18–20 minutes at 350°F, until the edges are lightly golden.
- Whisk the pumpkin puree, evaporated milk, eggs, both sugars, spices, salt and vanilla until smooth.
- Pour the filling over the warm crust and bake at 350°F for 30–35 minutes, until the edges are set and the center has only a slight jiggle.
- Cool the bars at room temperature for 1 hour.
- Refrigerate for at least 3 hours, until firm.
- Lift out with the parchment, cut into 24 bars, and top each with whipped cream and a pinch of cinnamon.