Coconut Domes with Chocolate Spread
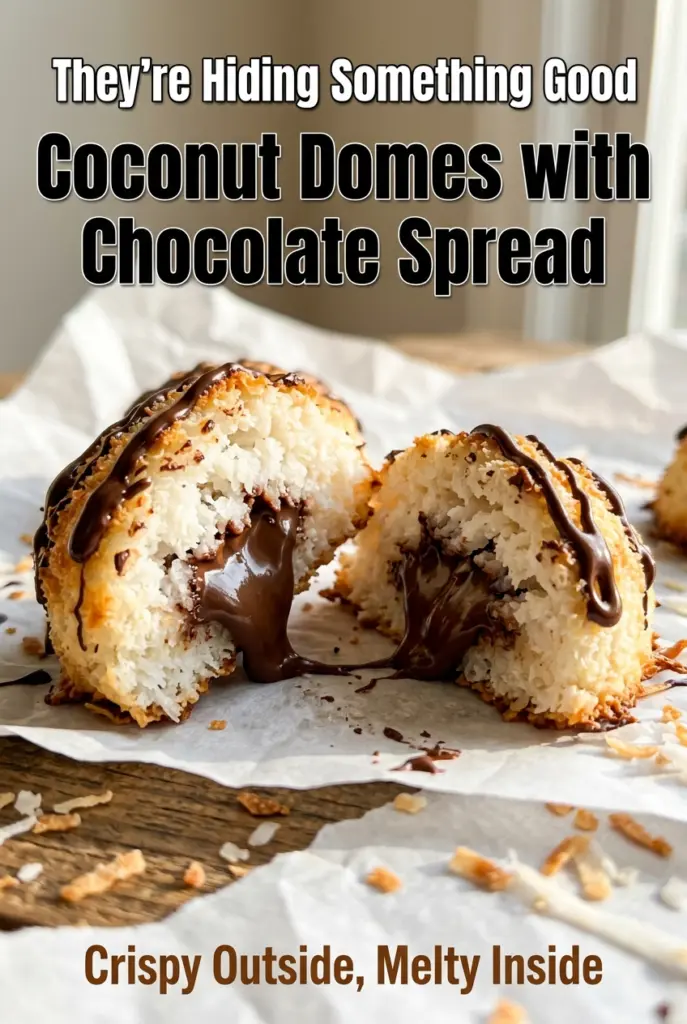
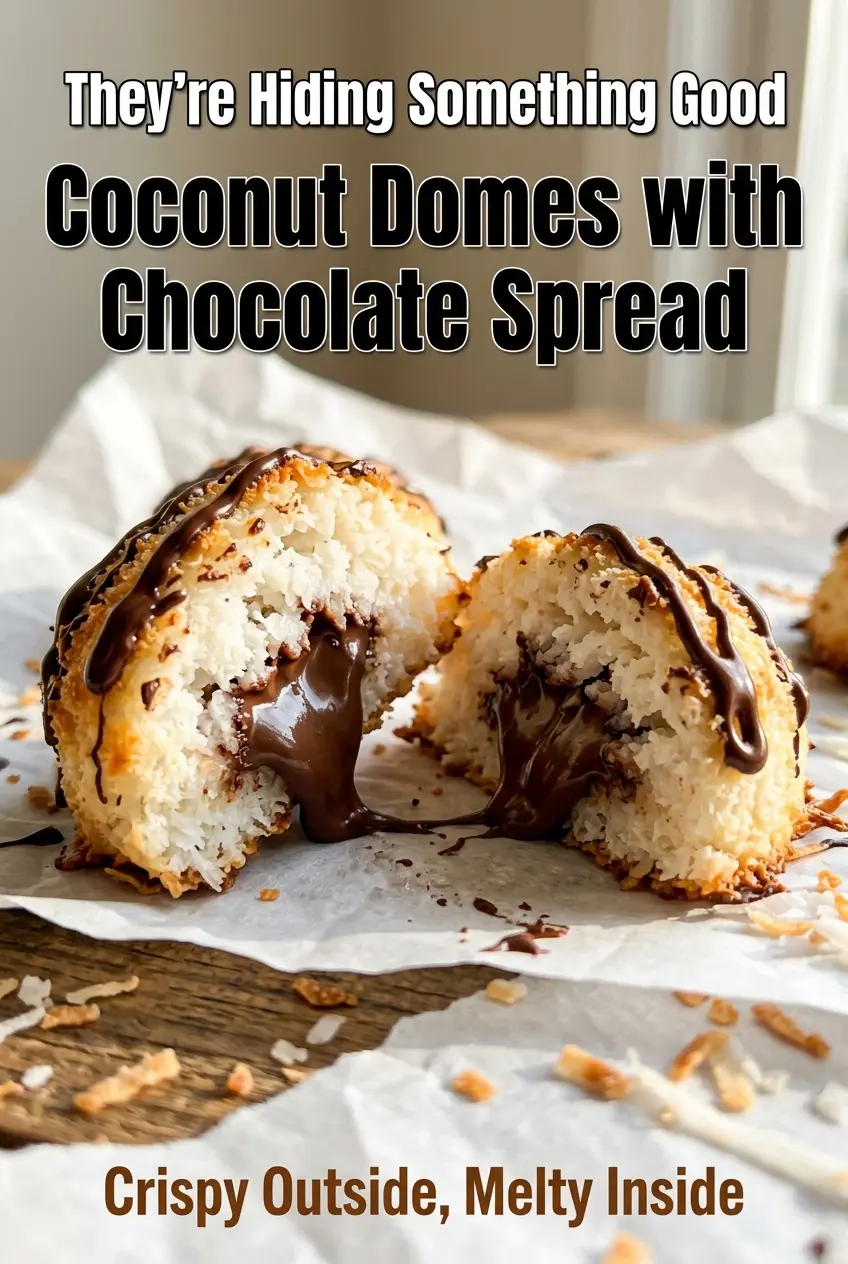
These coconut domes bake up with a lightly crisp shell and a soft center that stays tender instead of turning dry and crumbly. The chocolate spread tucked inside melts into…
Tip: save now, cook later.These coconut domes bake up with a lightly crisp shell and a soft center that stays tender instead of turning dry and crumbly. The chocolate spread tucked inside melts into a rich pocket that runs the moment you break one open, which is exactly why these disappear fast once they hit the plate.
The trick is in the balance: condensed milk gives the coconut mixture enough sweetness and stickiness to hold its shape, while the whipped egg whites keep the texture airy instead of dense. Cold chocolate spread matters here too. If it’s too soft before baking, it can leak into the coconut shell instead of staying in that little hidden center.
Below, I’ll walk through the part that matters most: shaping the domes so they seal cleanly around the filling. I’ve also added a few smart swaps and storage notes, since these are the kind of treats people ask about after the first batch disappears.
The coconut stayed soft and chewy, and the chocolate center didn’t disappear into the dough like I expected. I chilled the spread first and got that perfect little pocket of melty chocolate in the middle.
Save these coconut domes for the kind of chocolate-filled bite that stays soft, holds its shape, and comes out with a golden shell every time.
The Secret to Keeping the Chocolate in the Middle
With filled coconut domes, the biggest failure point is a filling that escapes before the shells set. The mixture needs to be sticky enough to mold, but not so wet that it slumps in the oven. That’s why the condensed milk and whipped egg whites work together here: one gives structure, the other gives lift.
Cold filling is the other piece of the puzzle. Thick chocolate spread stays tucked into the cavity long enough for the coconut shell to firm up around it. If you use a runnier spread, or if the domes sit too loosely in the mold, the filling can bleed out and leave you with an empty center. Pressing the coconut mixture firmly around the filling is what creates that neat hidden pocket.
- Desiccated coconut — Unsweetened coconut gives the right texture and keeps the domes from becoming cloying. Fine shreds work best because they pack together cleanly; very coarse coconut can leave gaps in the shell.
- Sweetened condensed milk — This is the binder and the sweetness in one ingredient. There isn’t a true substitute that gives the same stickiness and caramelized richness, though a thick plant-based condensed milk can work if you need a dairy-free version.
- Egg whites — Whipped soft peaks lighten the mixture so the domes bake up tender instead of dense. Don’t skip the whipping step, because unwhipped whites make the texture heavier and a little chewy in the wrong way.
- Chocolate spread — A cold, thick spread is what gives you the molten center without leaking everywhere. Nutella-style spreads work well, but any similar hazelnut-cocoa spread will do as long as it’s not too loose.
- Dark chocolate and toasted coconut flakes — These are finishing touches, not required for structure, but they add contrast. The drizzle gives a clean, glossy look, and the toasted flakes echo the coconut flavor without making the domes sweeter.
How to Shape, Seal, and Bake Them Without Losing the Center
Building the Coconut Shell
Mix the coconut, condensed milk, vanilla, and salt first, then fold in the whipped egg whites gently so you don’t knock out all the air. The final mixture should clump when squeezed in your hand and hold a rough mound without dripping. If it seems wet, it’s usually because the coconut is too fine or the egg whites were overmixed into the base.
Forming the Hidden Pocket
Press about half of the coconut mixture into the mold and up the sides, leaving a clear hollow in the middle for the chocolate spread. That cavity needs to be deep enough to hold the filling but not so thin at the bottom that it breaks open during baking. Cold chocolate spread goes in next, and a small cap of coconut mixture should cover it completely with no seams showing.
Baking Until Set, Not Dry
Bake until the domes are golden on the edges and just firm when lightly touched. If you leave them in until they look deeply browned, the coconut dries out and the center loses that soft bite. Let them rest in the mold for a few minutes after baking so they can set enough to lift out cleanly without cracking.
Finishing for the Best Texture
Cool them fully before drizzling with melted dark chocolate, or the drizzle will slide right off. Toasted coconut flakes add a little crunch and help the tops look finished instead of flat. These are excellent at room temperature, but a brief warm-up makes the filling soft and glossy again.
Three Smart Ways to Adjust These Coconut Domes
Dairy-Free Version
Use a dairy-free condensed milk and a dairy-free chocolate spread. The domes will still hold together well, but the flavor will be a little less caramel-rich than the classic version. Keep the filling cold, because plant-based spreads can soften faster once the oven heat hits them.
Extra Chocolate Center
For a more pronounced middle, freeze small teaspoons of chocolate spread for 15 to 20 minutes before filling. The center stays more defined while the outer shell bakes, which gives you that clear contrast between the crisp coconut edge and the soft interior.
Gluten-Free and Naturally Flourless
These are already gluten-free as written, which makes them handy for mixed dessert platters. The texture comes entirely from coconut, egg whites, and condensed milk, so you don’t need flour or starch to get a shape that bakes up properly.
Storage and Reheating
- Refrigerator: Store in an airtight container for up to 4 days. The coconut shell stays chewy, though the filling firms up when chilled.
- Freezer: Freeze well for up to 2 months. Wrap individually and thaw in the refrigerator so the chocolate center doesn’t separate from the shell.
- Reheating: Warm for 8 to 10 seconds in the microwave just until the center softens. Too much heat will make the chocolate spread thin and the coconut shell dry at the edges.
Questions I Get Asked About This Recipe
Coconut Domes with Chocolate Spread
Ingredients
Equipment
Method
- Preheat your oven to 325°F (165°C). Line a sheet pan with parchment paper and lightly grease a silicone dome mold or a muffin tin.
- In a large mixing bowl, combine desiccated coconut, sweetened condensed milk, vanilla extract, and salt. Stir until evenly mixed so the mixture holds its shape when pressed.
- In a separate clean bowl, beat egg whites with a hand mixer until soft peaks form. Gently fold the egg whites into the coconut mixture to lighten the texture.
- Scoop about 1½ tablespoons of the coconut mixture into each dome mold. Press it firmly against the sides and bottom to create a hollow cavity in the center.
- Spoon 1 teaspoon of cold chocolate spread into each cavity. Cover with another small scoop of coconut mixture and press the edges together to seal completely.
- Bake the domes for 18–22 minutes until golden on the outside and firm to the touch. Leave them in the molds during the next cooling step.
- Let the domes cool in the mold for 10 minutes. Transfer to a wire rack to cool completely.
- Once cooled, drizzle with melted dark chocolate and scatter toasted coconut flakes over the top. Serve at room temperature or slightly warmed for a gooier center.