
Easy Halloween Ghost Brownies: Fudgy & Spooky Party Treats
The chocolate and butter turn glossy before there’s even flour in the bowl, and that’s when I know these brownies are headed toward a dense, fudgy center. I learned to…
Tip: save now, cook later.The chocolate and butter turn glossy before there’s even flour in the bowl, and that’s when I know these brownies are headed toward a dense, fudgy center. I learned to trust the toothpick with a few moist crumbs instead of waiting for it to come out clean; that small difference keeps the squares from baking up dry.
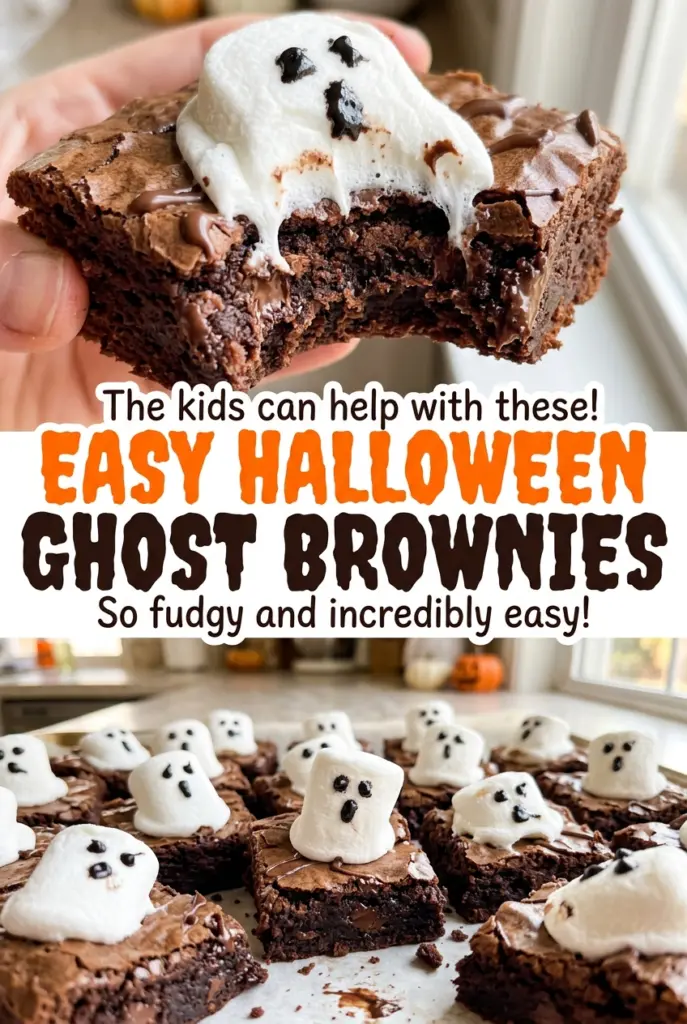
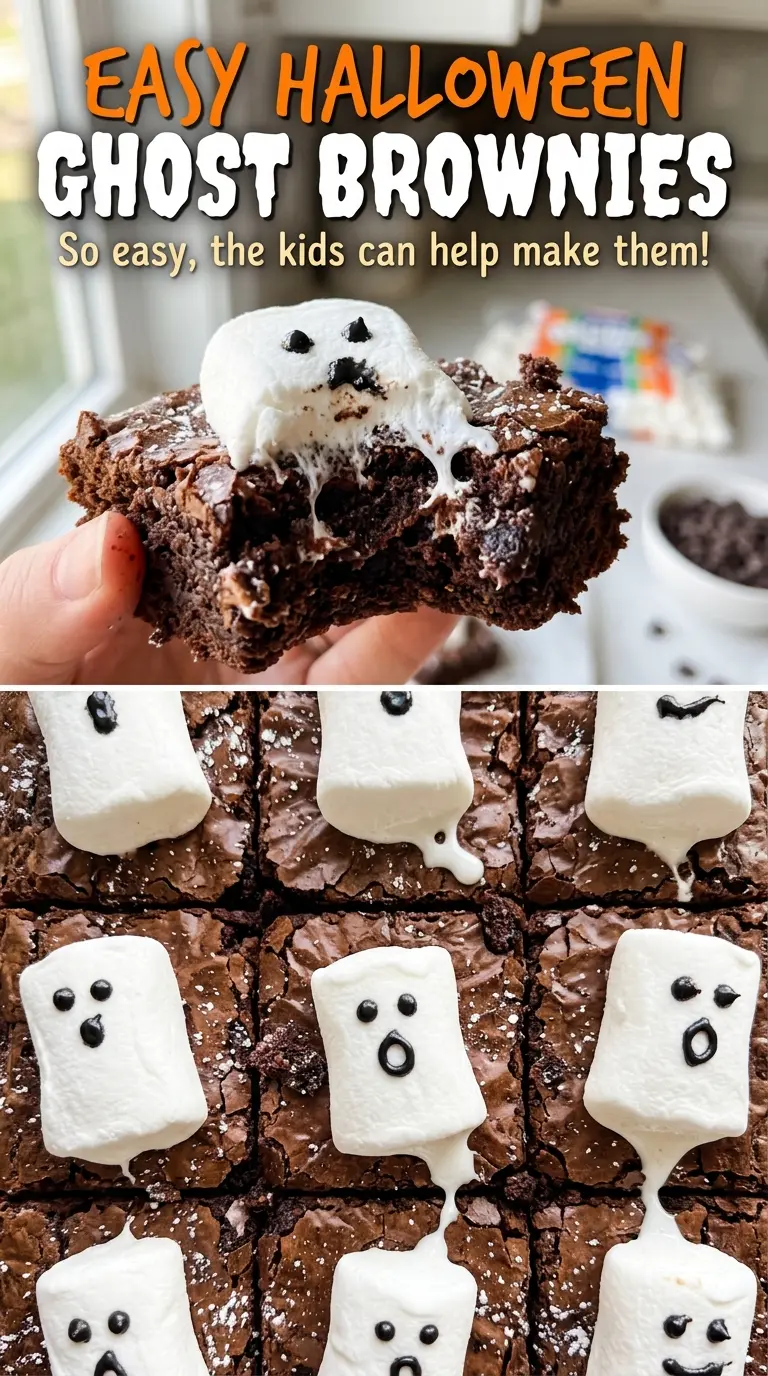
These Halloween ghost brownies start with a straightforward chocolate batter, then get their spooky shape from a marshmallow under a blanket of white candy coating. The marshmallow gives each ghost height, while the coating drips onto the brownie like a little robe. No piping skills needed.
I like that the brownies can be baked and cooled before the decorating starts, which takes the pressure off when you’re putting together a party treat. The finished squares have a rich chocolate base, a soft marshmallow center, and bright little chocolate-chip eyes.
Kitchen Note
When the candy coating looks almost smooth, stop heating and keep stirring. The warmth left in the bowl will finish melting small pieces, and it’s easier to keep the coating fluid than to rescue it after overheating.
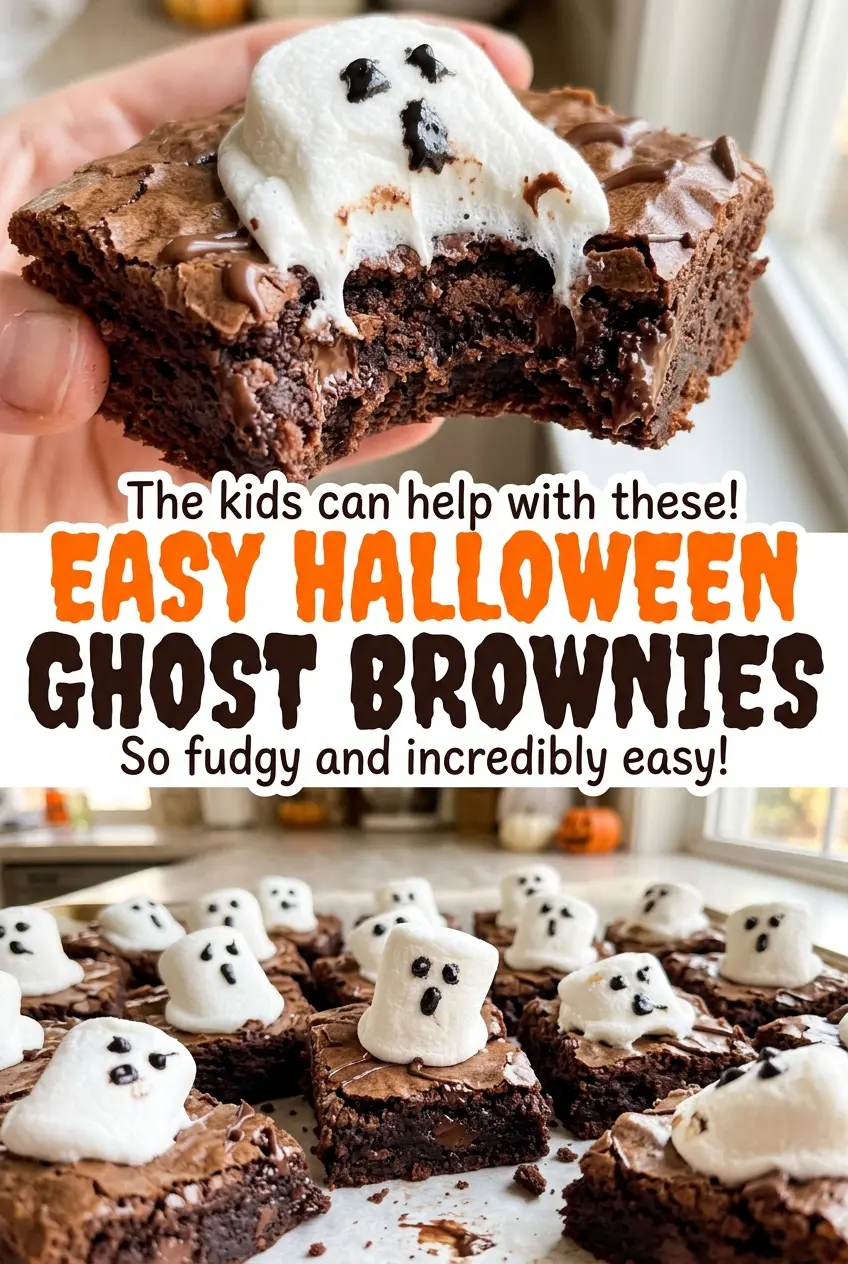
Save these Halloween ghost brownies for a party tray with fudgy chocolate squares, marshmallow ghosts, and simple chocolate-chip eyes.
Why an Uneven White-Coating Drip Makes a Better Ghost
A perfectly smooth, evenly coated marshmallow can look more like a candy dome than a ghost. The little drips down the sides are what give these their character: they read as a simple robe, and the brownie underneath gives the white shape a dark frame. That contrast is what makes the faces recognizable even though the decoration is intentionally minimal.
Think of the coating as part of the silhouette, not a frosting layer that needs to be level. A spoonful over the top lets it fall naturally, and the brownie catches the drips at the base. The result doesn’t need identical edges from square to square; small differences make the tray look hand-decorated. Two mini chocolate chips are enough to give each marshmallow a face without crowding the white space.
The square shape helps, too. Each brownie gives the marshmallow a stable place to sit and leaves a dark border visible around the ghost. That balance keeps the topping from disappearing into the chocolate base.
What Each Chocolate Layer Brings to These Ghost Brownies
- Semisweet chocolate and butter — These form the rich base of the brownie batter. Chopped chocolate melts evenly, and a semisweet variety keeps the finished squares chocolate-forward without making them overly sweet. A familiar grocery-store baking chocolate works well here; the flavor is noticeable, so choose one you enjoy eating.
- Granulated sugar and eggs — Sugar sweetens the dark chocolate and contributes to the brownie’s tender, dense texture. Room-temperature eggs blend into the melted mixture more smoothly than cold ones, so take them out of the refrigerator before you start.
- All-purpose flour and cocoa powder — Flour gives the brownies enough structure to hold their shape under the ghosts, while unsweetened cocoa deepens the chocolate flavor. Measure the flour without packing it down; extra flour can make a fudgy brownie feel more cake-like.
- White candy melts and coconut oil — Candy melts are useful here because they set into a firm coating at room temperature. Coconut oil loosens the melted coating so it can flow over the marshmallows instead of sitting in a thick cap. Use plain coconut oil so it doesn’t add a competing flavor.
- Large marshmallows — Their rounded tops create the ghost shape without needing a mold. Set each one in the center of a brownie so there’s room for the coating to drape around it.
- Mini chocolate chips — These make compact eyes that stay in proportion to the marshmallow. Have them ready before you start spooning on the coating, since the eyes need to go on while it’s still wet.
From Glossy Brownie Batter to Set Ghost Toppers
Make a smooth chocolate base
Heat the oven to 350°F, grease a 9×13-inch pan, and line it with parchment paper with overhang on two sides. In a medium microwave-safe bowl, combine the butter pieces and chopped semisweet chocolate. Microwave in 30-second bursts, stirring between each, until the mixture is melted and smooth; pause to stir well so the chocolate doesn’t overheat at the edges.
Whisk gently once the eggs go in
Whisk the sugar into the melted chocolate mixture, then add the eggs one at a time and whisk in the vanilla. Stir in the flour, cocoa powder, and salt just until no dry streaks remain. Stop there rather than beating the batter; once flour is added, extra mixing can make the brownies tougher. Spread the batter evenly in the prepared pan.
Bake, cool, and cut clean squares
Bake for 24 to 29 minutes, until the edges are set and a toothpick inserted in the center comes out with a few moist crumbs rather than wet batter. Let the brownies cool completely in the pan on a rack for at least 2 hours. The parchment overhang makes it easy to lift the slab out without breaking the edges. Cut it into 16 squares once it’s fully cool.
Drape the ghosts and add their faces
Arrange the brownies on a parchment-lined baking sheet and place one marshmallow in the center of each square. Microwave the white candy melts with the coconut oil in 20-second bursts, stirring between each, until smooth. Spoon the coating over each marshmallow and let it drape down onto the brownie. Press two mini chocolate chips onto each marshmallow while the coating is wet, then let everything set at room temperature for 20 to 30 minutes.
Two Easy Ways to Change the Party Tray
Make eight double-ghost squares
For larger party portions, cut the cooled brownie slab into eight squares instead of 16. Place two marshmallows on each square and give each ghost two chocolate-chip eyes, using the same candy coating to cover them. The bigger pieces feel more dramatic on a dessert table, though they’re richer and less tidy to pick up than the smaller squares.
Leave half the brownies plain
Decorate eight squares as ghosts and leave the other eight bare. You’ll have the same fudgy brownie base in two formats, with plain pieces for anyone who prefers less sweetness and decorated ones for the Halloween centerpiece. Set the undecorated squares on the same tray, or keep them separate so the white coating stays neat.
Storage and Reheating
- Refrigerator: Keep the brownies in an airtight container for up to 4 days. The marshmallows and candy coating will become firmer when chilled.
- Freezer: Freeze the undecorated brownie slab, tightly wrapped, for up to 2 months. Thaw it completely before cutting and adding the ghosts; the finished marshmallow topping doesn’t keep its texture as well after freezing.
- Reheating: These are best served at room temperature rather than reheated. Don’t microwave decorated pieces, since the candy coating can melt and the marshmallow can turn sticky.
Questions That Come Up While Making Ghost Brownies
Easy Halloween Ghost Brownies: Fudgy & Spooky Party Treats
Ingredients
Equipment
Method
- Heat the oven to 350°F.
- Grease a 9x13-inch baking pan and line it with parchment paper, leaving an overhang on two sides.
- Combine the butter and semisweet chocolate in a medium microwave-safe bowl.
- Microwave in 30-second bursts, stirring between each, until melted and smooth.
- Whisk the sugar into the chocolate mixture.
- Whisk in the eggs one at a time, then whisk in the vanilla.
- Stir in the flour, cocoa powder, and salt just until no dry streaks remain.
- Spread the batter evenly in the prepared pan.
- Bake for 24 to 29 minutes, until the edges are set and a toothpick inserted in the center comes out with a few moist crumbs, not wet batter.
- Cool completely in the pan on a rack, at least 2 hours.
- Lift the brownies out using the parchment and cut into 16 squares.
- Arrange the brownies on a parchment-lined baking sheet.
- Place one marshmallow in the center of each square.
- Microwave the candy melts and coconut oil in a microwave-safe bowl in 20-second bursts, stirring between each, until smooth.
- Spoon the coating over each marshmallow so it drapes down onto the brownie.
- While the coating is still wet, press 2 mini chocolate chips onto each marshmallow for eyes.
- Let the coating set at room temperature for 20 to 30 minutes.