
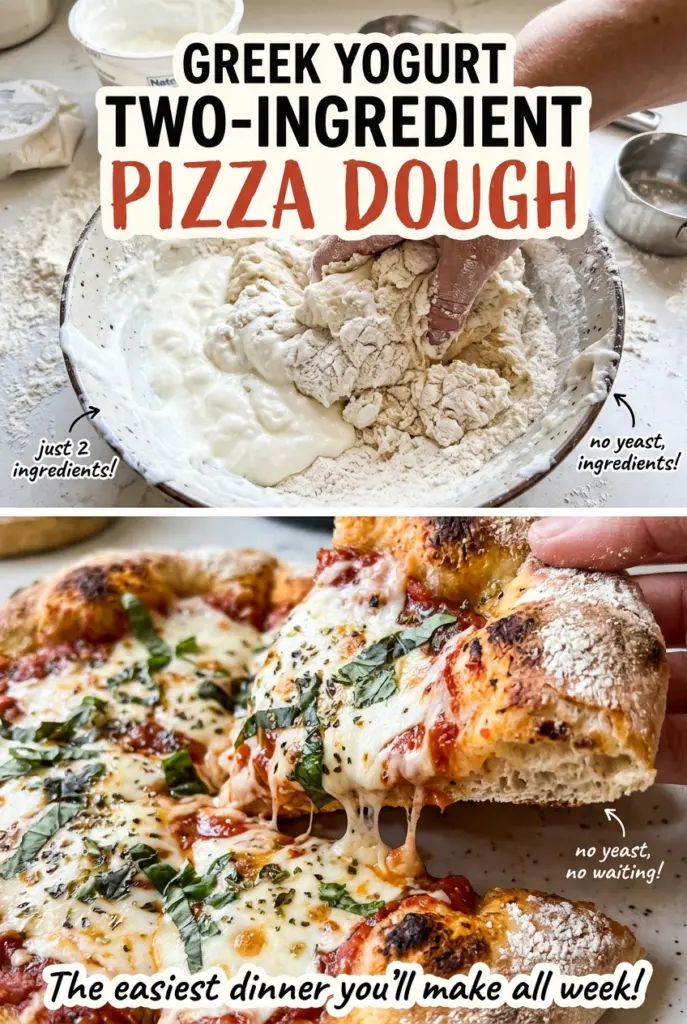
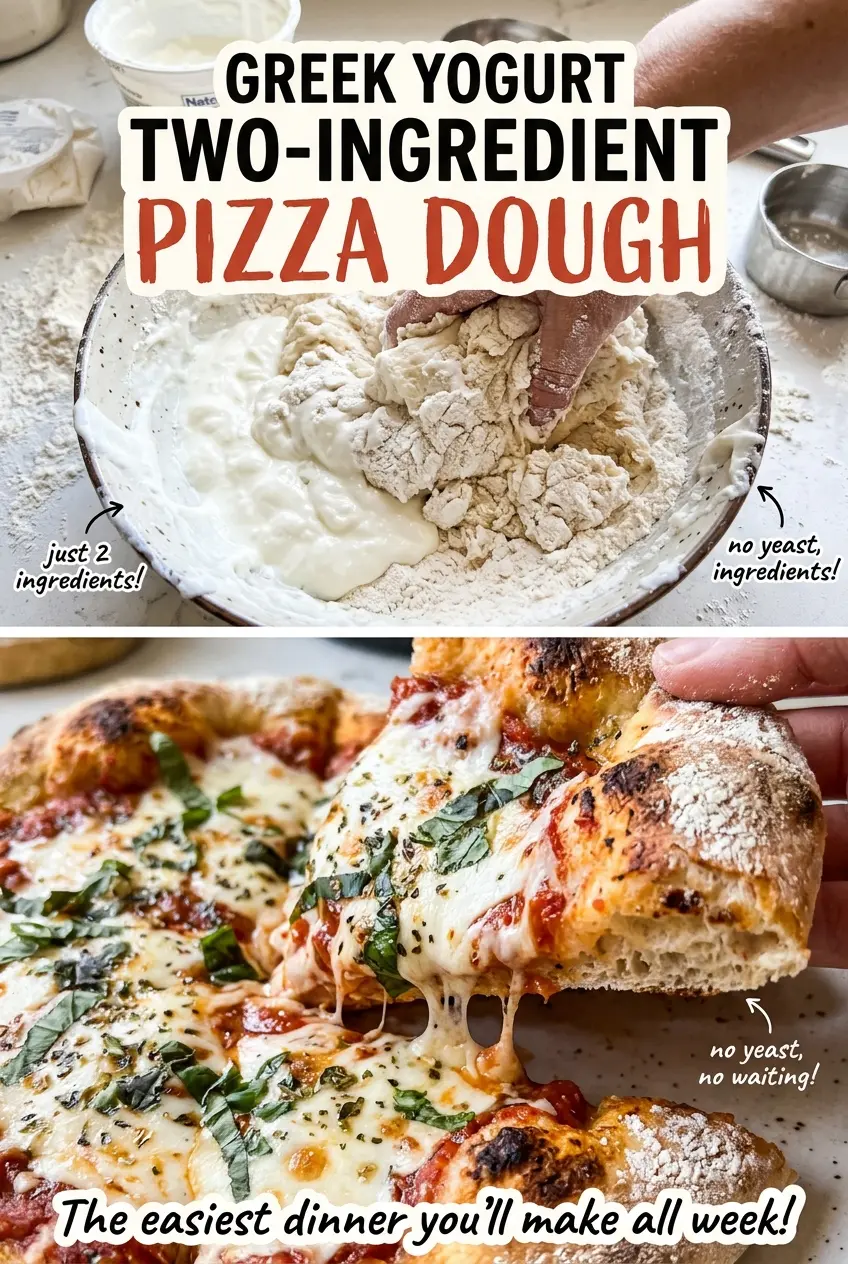
Greek Yogurt Two-Ingredient Pizza Dough
The fork starts to drag as soon as the yogurt meets the flour, and the mixture turns shaggy before it looks anything like pizza dough. That’s normal. Greek yogurt two-ingredient…
Tip: save now, cook later.The fork starts to drag as soon as the yogurt meets the flour, and the mixture turns shaggy before it looks anything like pizza dough. That’s normal. Greek yogurt two-ingredient pizza dough comes together without yeast or a long rise, but it does need a few minutes of hands-on kneading before it’s ready to roll.
I use plain, whole-milk Greek yogurt because its thick texture gives the dough enough moisture without making it loose. Self-rising flour handles the lift, while the short covered rest lets the dough relax so it rolls more easily. You’ll end up with a smooth, slightly tacky dough that rolls into a 12-inch round and is ready for toppings and baking.
Kitchen Note
I set the two portions of flour out separately before I start. It’s an easy detail to miss, and keeping the kneading flour aside means I can work it in gradually instead of making the first mix too firm.
Save this Greek yogurt pizza dough for a quick homemade crust that needs no yeast or rise time.
Why This Dough Rests for 10 Minutes Instead of Proofing
This dough doesn’t follow the usual yeast-pizza timeline. Self-rising flour gives it lift, so there’s no yeast to activate and no proofing stage where you wait for the dough to double. The covered 10-minute rest serves a different purpose: the flour has a chance to absorb moisture, and the dough can relax after kneading.
That pause matters when you roll the dough. If you skip it, the dough may spring back more readily instead of settling into the shape you want. Keep it covered while it rests so the surface doesn’t dry out. It won’t puff up like yeast dough during that time, and that’s not a sign that anything went wrong. Think of the rest as a brief reset between kneading and rolling, not a rise.
It’s also why this dough is best handled gently once it’s smooth. You’re looking for a workable base, not the airy, elastic structure of a long-fermented pizza dough. After its short rest, roll it between parchment sheets and you can move straight on to topping and baking.
The Two Ingredients That Give This Crust Its Structure

- Self-rising flour — This isn’t interchangeable with plain all-purpose flour at a one-to-one ratio. Self-rising flour contains the leavening needed for this quick dough, so using plain flour alone would leave out an important part of how the crust is made. Check the bag before you begin; the label needs to say self-rising. A fresh bag from the grocery store is fine, and there’s no need to seek out a specialty brand.
- Plain, whole-milk Greek yogurt — Thick Greek yogurt brings moisture and richness while keeping the dough firm enough to knead. Plain is important; a sweetened or flavored yogurt changes the dough in ways this savory crust doesn’t need. Choose a yogurt with a thick, spoonable consistency. If all you have is regular plain yogurt, drain it through a fine-mesh sieve until it’s thick like Greek yogurt, then measure what you need. Using it unstrained can make the dough wetter and harder to handle.
The flour and yogurt work as a pair, so pay attention to their texture rather than trying to compensate with a different ingredient. The yogurt should be thick, and the flour should be self-rising. Those two details do more for a dependable dough than choosing a particular brand.
From Shaggy Dough to a 12-Inch Round Without Overflouring
Bring the Yogurt and Flour Together
Add the first portion of self-rising flour and the yogurt to a medium bowl. Stir with a fork until no large pockets of dry flour remain and the mixture gathers into shaggy clumps. It won’t look smooth yet, so don’t keep stirring in an effort to make it silky in the bowl. That rough, uneven stage is ready to turn out for kneading.
Knead Until Smooth and Slightly Tacky
Turn the dough onto a clean work surface and knead in the reserved flour a little at a time. Keep working it by hand for 5 to 7 minutes, pressing and folding until it becomes smooth. The finished dough should feel slightly tacky, not wet enough to smear across the counter. If you add the reserved flour all at once, it’s harder to judge the texture as it changes.
Give the Dough Its Covered Rest
Cover the kneaded dough and leave it for 10 minutes. This short pause gives the dough time to relax before you roll it, which makes shaping easier. Keep it covered rather than leaving it exposed on the counter. Don’t wait for it to double in size; this is a rest, not a yeast rise.
Roll Between Parchment Sheets
Set the dough between two sheets of parchment paper and roll it into a 12-inch round about 1/4 inch thick. The parchment keeps the dough contained and makes it easier to roll without dusting the surface with extra flour. When the round is even, peel off the top sheet. The dough is then ready to top and bake.
Two Ways to Shape the Same One-Batch Dough
Make two smaller personal bases
After the covered rest, divide the dough into two portions and roll each between parchment. You’ll get two smaller crusts instead of one 12-inch round, which is handy when you want separate toppings. Keep the dough around the same thickness so both bases are similarly shaped.
Roll a rectangle for easy slicing
Keep the same dough and thickness, but roll it into a rectangle rather than a circle. This shape is easier to cut into strips or squares after baking, and it fits a rectangular baking surface more neatly. Use the parchment to help keep the edges from sticking as you shape it.
Keeping the Dough
- Refrigerator: For make-ahead prep, cover the dough and refrigerate it for up to 24 hours. It may feel firmer when cold; let it sit until it’s pliable enough to roll.
- Freezer: I don’t recommend freezing this dough. The lift from self-rising flour may be less dependable after freezing and thawing, so the baked crust can turn out denser.
- Reheating: This is unbaked dough, so reheating doesn’t apply. Once it’s rolled and topped, use it for baking rather than trying to warm the raw dough first.
Questions That Come Up While Mixing This Yogurt Dough
Greek Yogurt Two-Ingredient Pizza Dough
Ingredients
Method
- Add 1 1/2 cups of the flour and the Greek yogurt to a medium bowl, and stir with a fork until a shaggy dough forms.
- Turn the dough onto a clean work surface and knead in the remaining 1/4 cup flour, a little at a time, until the dough is smooth and slightly tacky, 5 to 7 minutes.
- Cover the dough and let it rest for 10 minutes.
- Place the dough between two sheets of parchment paper and roll it into a 12-inch round about 1/4 inch thick.
- Remove the top sheet; the dough is ready to top and bake.