
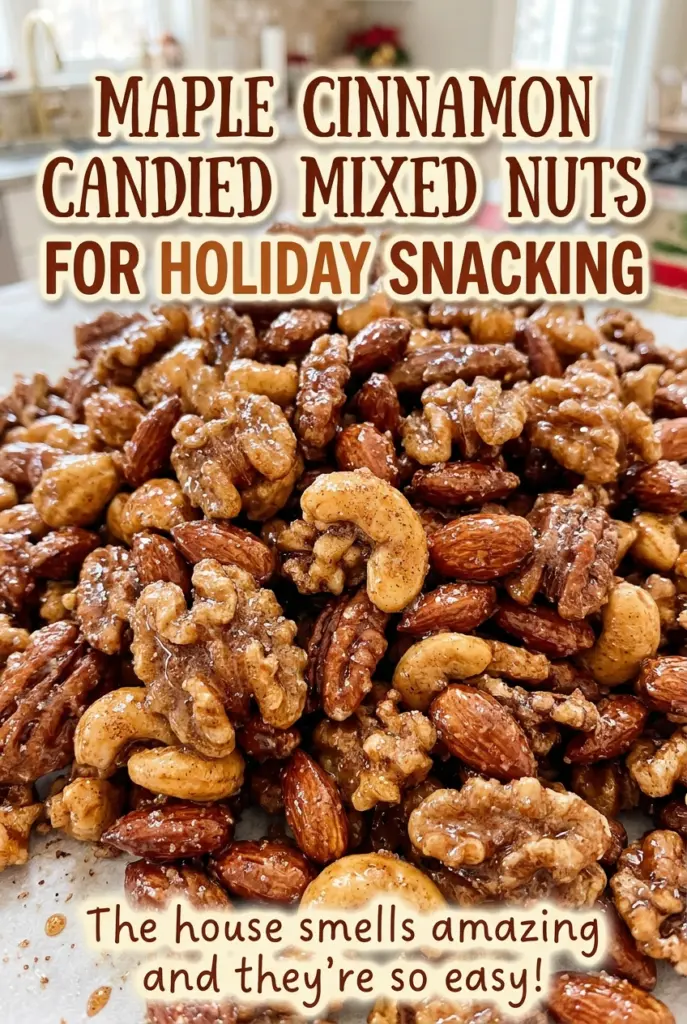
Maple Cinnamon Candied Mixed Nuts for Holiday Snacking
When the nuts come out of the oven, the maple coating can still look a little soft; the real change happens while they cool. I learned not to judge the…
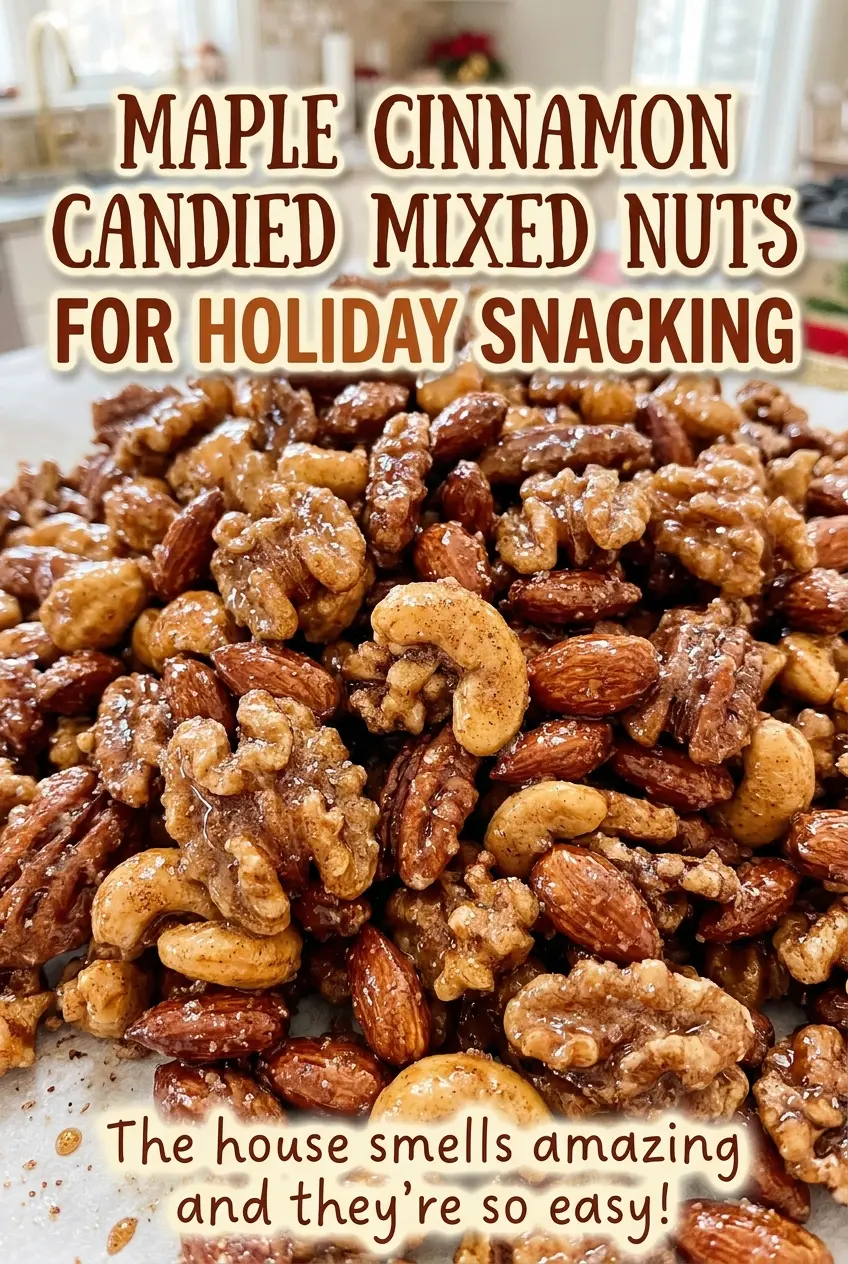
Tip: save now, cook later.When the nuts come out of the oven, the maple coating can still look a little soft; the real change happens while they cool. I learned not to judge the batch by a warm pecan. These maple cinnamon candied mixed nuts bake low and slow until the sugary film dries, then settle into a crisp, lightly sweet shell that doesn’t bury the flavor of the nuts.
Whisking the egg white only until foamy gives the maple and brown sugar something to cling to without turning the bowl into stiff meringue. I toss the nuts until every piece has a thin coating, then keep them in a single layer and stir on schedule so the coating dries all around instead of pooling in sticky patches. The cinnamon stays warm and subtle, while the maple and toasted nuts still come through. Once cooled, they’re easy to tuck into a jar or set out for holiday snacking.
Kitchen Note
Stop whisking when the egg white is loose and covered with small bubbles; it doesn’t need peaks. That foamy stage makes the binder easy to toss through the nuts.
Save these maple cinnamon candied mixed nuts for holiday snacking—crisp, warmly spiced, and easy to make ahead.
Why These Nuts Need to Dry, Not Turn Dark
This coating behaves differently from a thick candy shell. The egg white helps the sweet mixture cling in a fine layer, and the low oven gives that layer time to dry without asking the nuts to sit in a bubbling pan of caramel. You’re looking for an even coating that feels dry, not a deep brown color. Waiting for the nuts to darken is likely to take them past the texture you want.
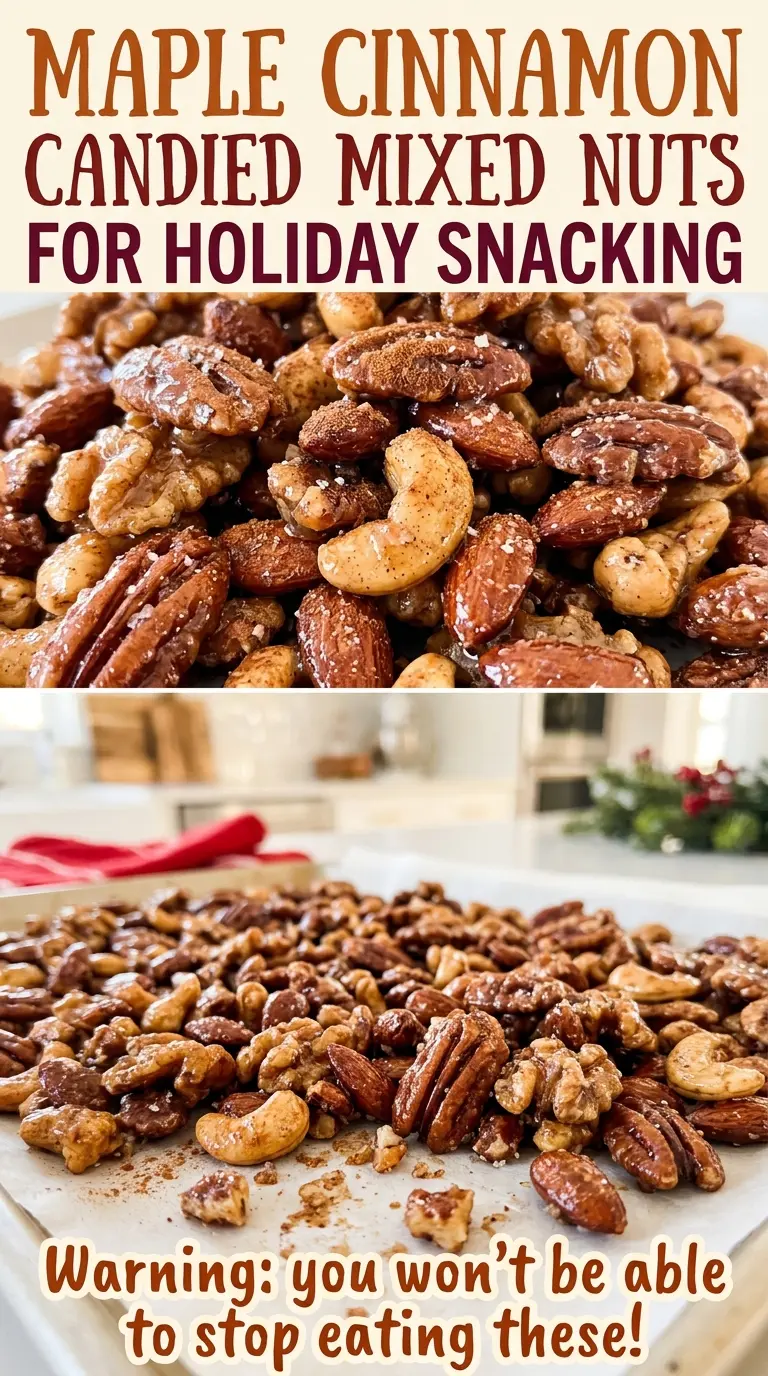
That distinction is useful because the nuts won’t look completely finished the instant you pull the pan out. A warm coating can still seem soft, even when it has dried enough in the oven. The final texture becomes clearer after cooling, when the thin sugary layer firms around each nut. Keeping the pieces spread out also matters: crowded nuts trap moisture against one another, while a single layer gives the coating room to dry all the way around. Think crisp, lightly coated nuts—not a solid cluster of brittle.
What Each Ingredient Brings to the Coating
- Egg white — It’s the binder that helps the maple and sugar coat the nuts rather than slide to the bottom of the bowl. Separate it carefully; even a little yolk makes the white harder to foam. There’s no need to buy a special grade of egg for this.
- Pure maple syrup — This gives the coating its recognizable maple note. Pure syrup matters more for flavor than for appearance, so use a bottle you enjoy tasting; pancake syrup won’t give the same maple character. Honey can work as a swap, though the flavor will be more floral and less distinctly maple.
- Light brown sugar — Its gentle molasses flavor rounds out the maple without taking over the nuts. Dark brown sugar works in the same role if that’s what you have, but it brings a deeper molasses taste. Break up any hard lumps before stirring it into the bowl.
- Raw unsalted mixed nuts — Starting with raw nuts gives them the full bake to toast as the coating dries. Freshness matters more than choosing a premium mix; avoid nuts that smell stale or oily. Unsalted nuts also let the measured salt season the coating instead of competing with salt already on the nuts.
- Cinnamon and kosher salt — Cinnamon gives the sugar a gentle warmth, while salt keeps the sweetness from tasting flat. Fresh, fragrant ground cinnamon has a clearer aroma, but an everyday jar works. Kosher salt is a good fit here because its clean salinity doesn’t add another flavor.
Getting an Even Coating From Bowl to Baking Sheet
Set Up the Pan Before Mixing
Heat the oven to 250°F and line a rimmed baking sheet with parchment paper. A rimmed pan keeps loose nuts from sliding off when you stir, and parchment makes it easier to lift them away once cooled. Have the bowl and pan ready before you start coating the nuts, since the mixture is easiest to spread while it’s freshly tossed.
Foam the Egg White, Then Add Maple
Whisk the egg white in a large bowl until it looks foamy, with small bubbles across the surface. Whisk in the maple syrup until the two are combined. Don’t keep going until the white forms peaks; that’s more foam than this coating needs. The goal is a loose, bubbly base that can be stirred through the nuts.
Season and Coat Every Nut
Stir the brown sugar, cinnamon, and kosher salt into the egg-white mixture. Add the raw mixed nuts and toss until you don’t see dry pockets of sugar or bare patches on the nuts. Scrape along the bottom of the bowl as you toss, where loose sugar tends to collect. If a few nuts stick together in the bowl, separate them before spreading everything on the pan.
Bake Until the Surface Looks Dry
Spread the coated nuts in a single layer on the parchment-lined baking sheet. Bake for 60–75 minutes, stirring every 15 minutes so the coating dries evenly and the nuts don’t stay stuck together. The coating should look dry rather than wet or glossy when they’re ready. Start checking at the 60-minute mark; if you still see tacky patches, continue baking and keep using the dry-coating cue.
Let the Coating Set Completely
Take the pan from the oven and leave the nuts on the baking sheet to cool completely, about 30 minutes. Don’t pile them into a bowl while they’re warm, because the coating needs that time to firm up. Once cool, the pieces should separate more easily and feel crisp instead of sticky. Serve them then, or transfer them to storage.
Three Ways to Change the Flavor or Make a Vegan Batch
Make It With Pecans Only
Use 3 cups of raw unsalted pecans instead of mixed nuts. The batch will have a more uniform shape and a buttery pecan-forward taste; keep the pieces in a single layer so the coating can dry around them.
Give the Cinnamon a Bigger Spice Note
Replace the ground cinnamon with the same amount of pumpkin pie spice. The coating will have more layered baking-spice flavor, with less of cinnamon’s direct warmth.
Make the Coating Vegan
Replace the egg white with 2 tablespoons aquafaba and use vegan-certified brown sugar. Whisk the aquafaba until foamy just as you would the egg white; the finished coating may be a little less crisp, but it still clings to the nuts.
Storage and Reheating
- Refrigerator: Refrigeration isn’t necessary; store the cooled nuts in an airtight container at cool room temperature for up to 2 weeks to preserve their crisp coating.
- Freezer: Freeze the cooled nuts in an airtight freezer-safe container for up to 2 months. Thaw them while the container is still closed to limit condensation on the coating.
- Reheating: No reheating is needed. If frozen, let the sealed container return to room temperature before opening it.
Questions That Come Up When Making Candied Nuts
Maple Cinnamon Candied Mixed Nuts for Holiday Snacking
Ingredients
Equipment
Method
- Heat the oven to 250°F.
- Line a rimmed baking sheet with parchment paper.
- In a large bowl, whisk the egg white until foamy.
- Whisk in the maple syrup.
- Stir in the brown sugar, cinnamon, and salt.
- Add the mixed nuts and toss until evenly coated.
- Spread the nuts in a single layer on the prepared baking sheet.
- Bake for 60–75 minutes, stirring every 15 minutes, until the coating is dry.
- Cool the nuts completely on the baking sheet, about 30 minutes, before serving or storing.