
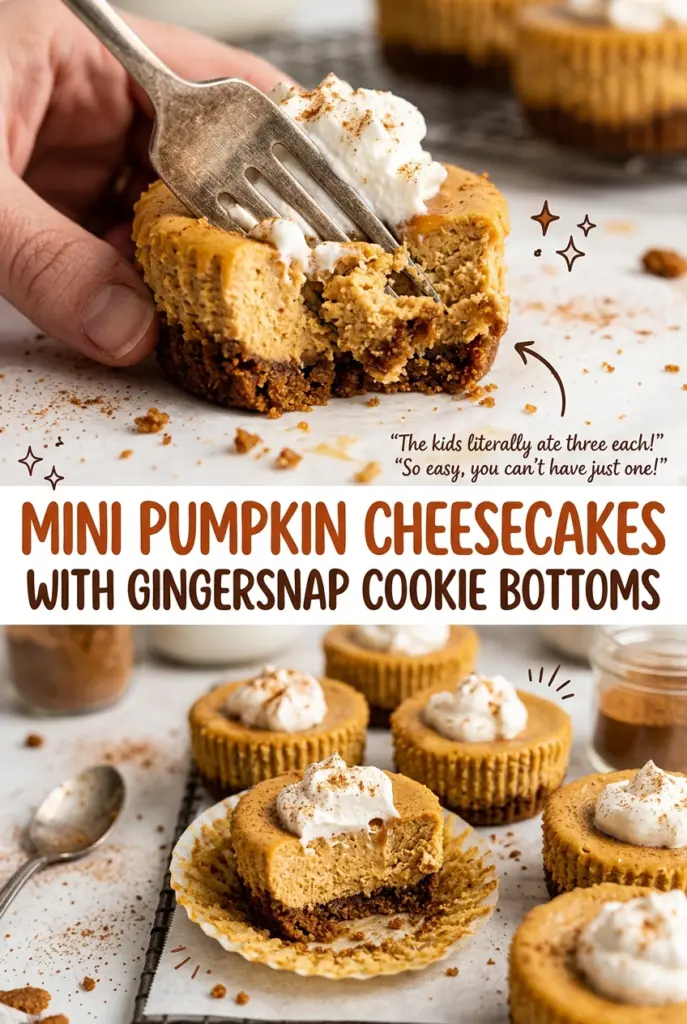
Mini Pumpkin Cheesecakes with Gingersnap Cookie Bottoms
When you press the gingersnap crumbs into muffin liners, they should hold together instead of skittering back across the pan. That quick check saves you from a loose base under…
Tip: save now, cook later.When you press the gingersnap crumbs into muffin liners, they should hold together instead of skittering back across the pan. That quick check saves you from a loose base under these mini pumpkin cheesecakes with gingersnap cookie bottoms. The crust gets a short bake before the filling goes in, so it stays distinct beneath the creamy pumpkin layer. I like that a standard muffin pan gives you 12 individual portions, ready to chill and serve without slicing a whole cheesecake.
The filling comes together smoothly when the cream cheese is softened before you start. I beat it until there are no lumps, then add the eggs one at a time and stop mixing as soon as they disappear into the batter. That keeps the pumpkin filling tender instead of airy or puffed. After a gentle bake and a full chill, each mini has a creamy center and a firm, gingery bottom.
Kitchen Note
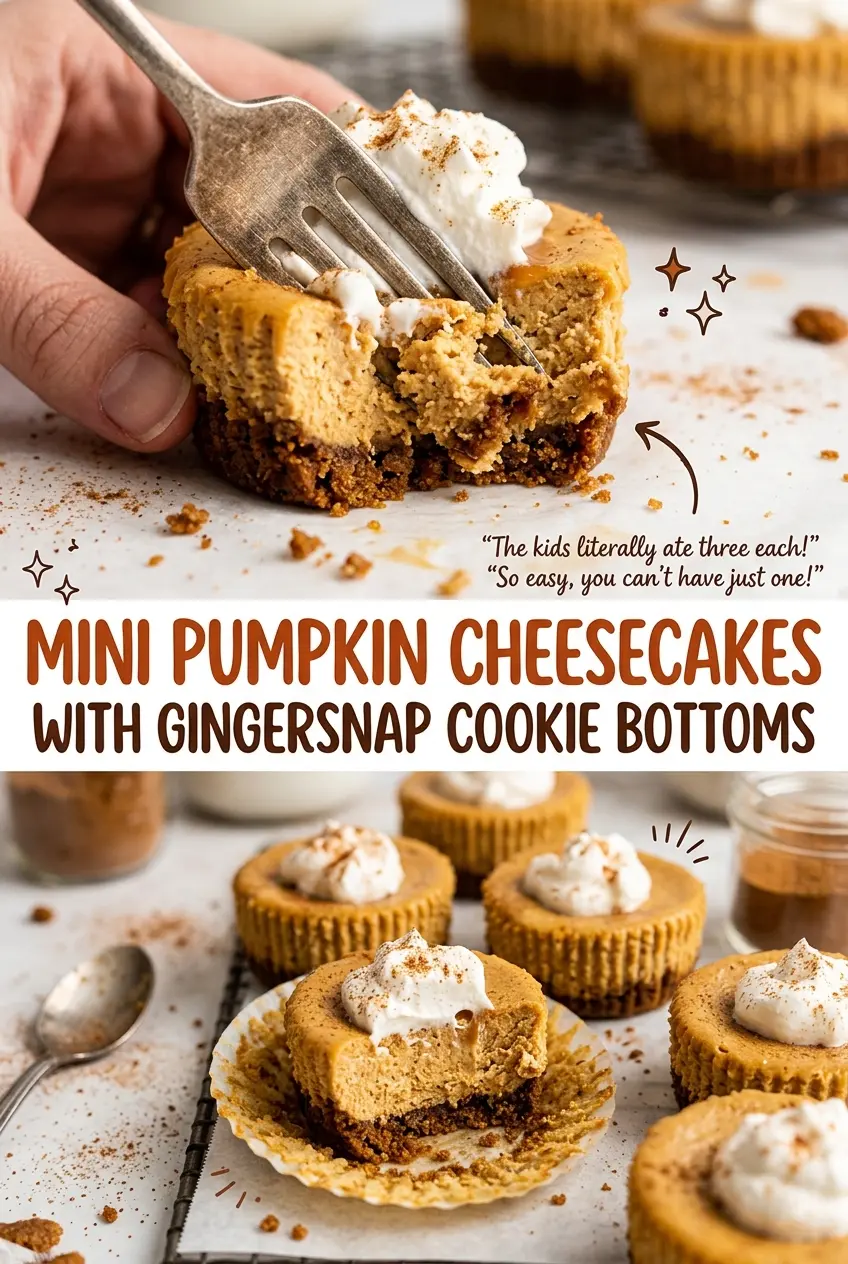
I scrape down the bowl after beating the cream cheese with the sugar and flour. A little cream cheese clinging to the sides can leave pale, dense streaks in the finished filling, so take a moment to bring it all back into the batter.
Save these mini pumpkin cheesecakes with their crisp gingersnap bottoms for a make-ahead dessert with individual portions and a creamy pumpkin center.
Why Beating the Eggs Past Smooth Can Leave Cracks
Cheesecake filling needs the eggs to hold everything together, but it doesn’t benefit from being whipped fluffy. Beating the eggs for too long works extra air into the batter. That air expands in the oven, then settles as the cheesecakes cool, which can leave cracked or sunken tops. Add each egg separately and stop as soon as it’s incorporated; the batter should look smooth, not foamy.
The pumpkin makes this filling softer than a plain cheesecake batter, so a gentle hand matters even more. You don’t need a perfectly puffed top or a firm center while the pan is still in the oven. The edges will set first, and the center finishes firming as the cheesecakes cool and chill. Keeping the mixing restrained helps the tops stay even and the texture creamy.
What the Gingersnaps, Pumpkin, and Flour Each Bring
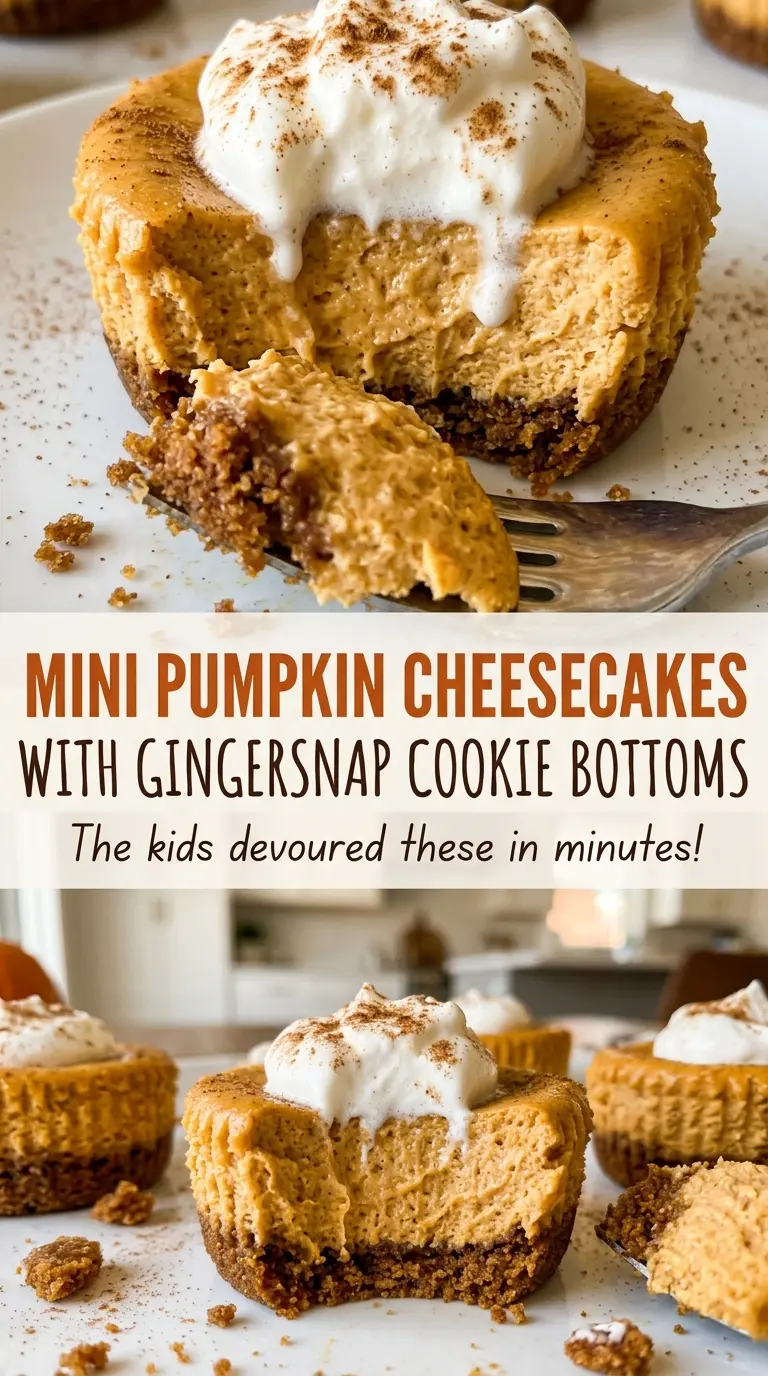
- Gingersnap cookie crumbs — Their toasted ginger flavor gives the buttery base a sharper contrast to the mellow pumpkin filling. Fine, evenly crushed crumbs pack best; store-bought cookies work just as well as a name brand. For a gluten-free version, use gluten-free gingersnaps, as described below.
- Unsalted butter — Melted butter coats the crumbs and helps them hold together after baking. Any standard unsalted butter is fine here; even moisture matters more than choosing a specialty brand.
- Cream cheese — This provides the tangy, dense body that makes the filling taste like cheesecake rather than pumpkin custard. Let it soften before mixing so it blends smoothly; a block-style cream cheese is the most reliable choice for a thick baked filling.
- Pumpkin puree — Plain puree brings pumpkin flavor and moisture without extra sweetener or spice. Check the label carefully: pumpkin pie filling is already sweetened and seasoned, which changes the balance of this batter.
- Eggs, flour, and pumpkin pie spice — Room-temperature eggs blend into the cream cheese more readily, while the flour helps the pumpkin-rich filling set. Fresh pumpkin pie spice gives the minis their warm aroma; if your spice has been sitting open for years, its flavor will be muted.
Build the Gingersnap Base Before the Pumpkin Filling
Press and briefly bake the crumb layer
Heat the oven to 325°F and line a 12-cup standard muffin pan with paper liners. Stir the gingersnap crumbs with the melted butter and sugar until the crumbs look evenly moistened, then divide them among the cups and press firmly into the bottoms. Bake the crusts for 5 to 7 minutes. Set the pan aside while you prepare the filling.
Beat the cream cheese until smooth
Start with softened cream cheese and beat it until smooth before adding anything else. Beat in the sugar and flour until combined, stopping to scrape the bowl as needed. If you see lumps at this point, keep mixing and scraping before moving on; they’re harder to smooth out once the pumpkin and eggs are in.
Add the pumpkin and mix in the eggs gently
Mix in the pumpkin puree, then add the eggs one at a time, mixing just until each one is incorporated. Stir in the vanilla, pumpkin pie spice, and salt. The finished batter should look even, with no ribbons of cream cheese or streaks of egg. Avoid beating it until it’s airy.
Bake until the edges set, then chill completely
Divide the filling evenly over the crusts and bake for 18 to 22 minutes. Look for set edges and centers that still have a slight jiggle; the centers shouldn’t look liquid, but they won’t be firm yet. Cool the pan on a wire rack for 30 minutes, then cover and refrigerate the cheesecakes in the pan for at least 4 hours, until fully chilled.
Three Ways to Adapt These Pumpkin Cheesecake Minis
Make the batch gluten-free
Use gluten-free gingersnaps for the crumbs and replace the all-purpose flour with a measure-for-measure gluten-free flour blend in the same quantity. The filling should set well, though the crust may have a slightly different crunch depending on the cookies you use.
Keep the pumpkin flavor, soften the spice
Leave out the pumpkin pie spice for a milder, more direct pumpkin-and-vanilla flavor. The filling will still have its cheesecake tang and the gingersnap base will keep its ginger note, but the warm spice in the filling won’t be as pronounced.
Skip the crust for crustless cheesecake cups
Keep the paper liners but leave out the crumb base, then portion the filling into the lined muffin cups. Bake until the edges are set and the centers still jiggle, then cool and chill as usual. These cups are softer to handle, so serve them in their liners.
Make-Ahead and Storage
- Refrigerator: Keep the covered cheesecakes in the pan for up to 4 days. The gingersnap crust gradually softens as it sits.
- Freezer: Freeze the chilled minis until firm, then wrap individually or store them in an airtight container for up to 1 month. Thaw overnight in the refrigerator.
- Serving: Serve them cold; they don’t need reheating. Peel away the paper liners just before serving for the neatest edges.
Questions That Come Up With Mini Pumpkin Cheesecakes
Mini Pumpkin Cheesecakes with Gingersnap Cookie Bottoms
Ingredients
Equipment
Method
- Heat the oven to 325°F.
- Line a 12-cup standard muffin pan with paper liners.
- Stir the gingersnap crumbs, melted butter, and sugar together until evenly moistened.
- Divide the crumb mixture among the liners and press firmly into the bottoms.
- Bake for 5 to 7 minutes.
- Set the pan aside while you make the filling.
- Beat the cream cheese until smooth.
- Beat in the sugar and flour until combined, scraping down the bowl as needed.
- Mix in the pumpkin puree.
- Add the eggs one at a time, mixing just until incorporated.
- Mix in the vanilla, pumpkin pie spice, and salt.
- Divide the filling evenly among the crusts.
- Bake for 18 to 22 minutes, until the edges look set and the centers still have a slight jiggle.
- Cool in the pan on a wire rack for 30 minutes.
- Cover and refrigerate in the pan for at least 4 hours, until fully chilled.