
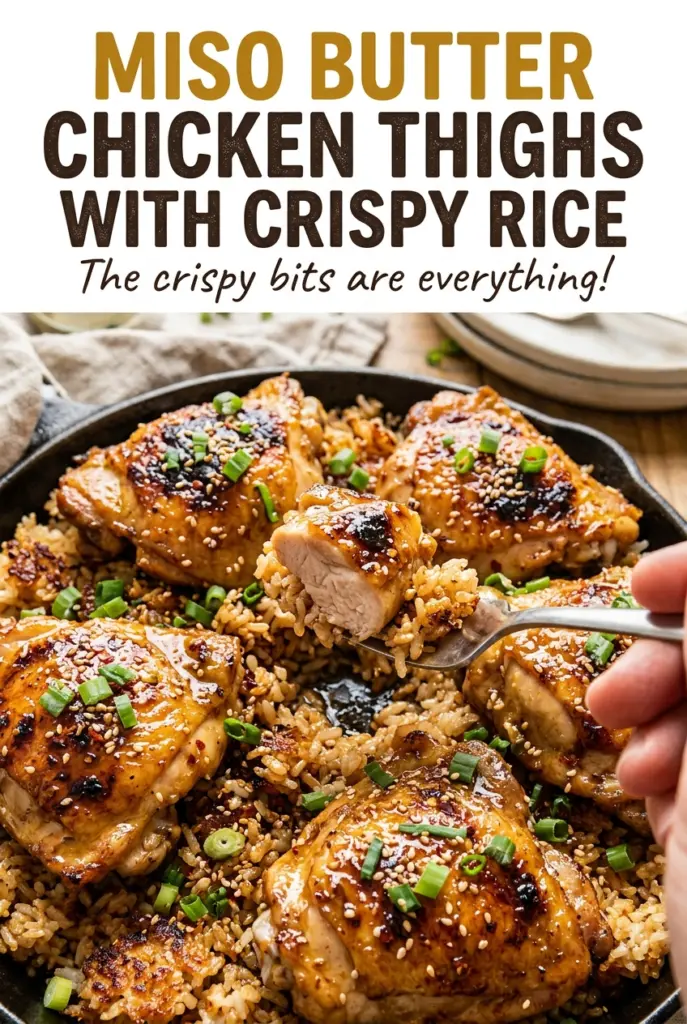
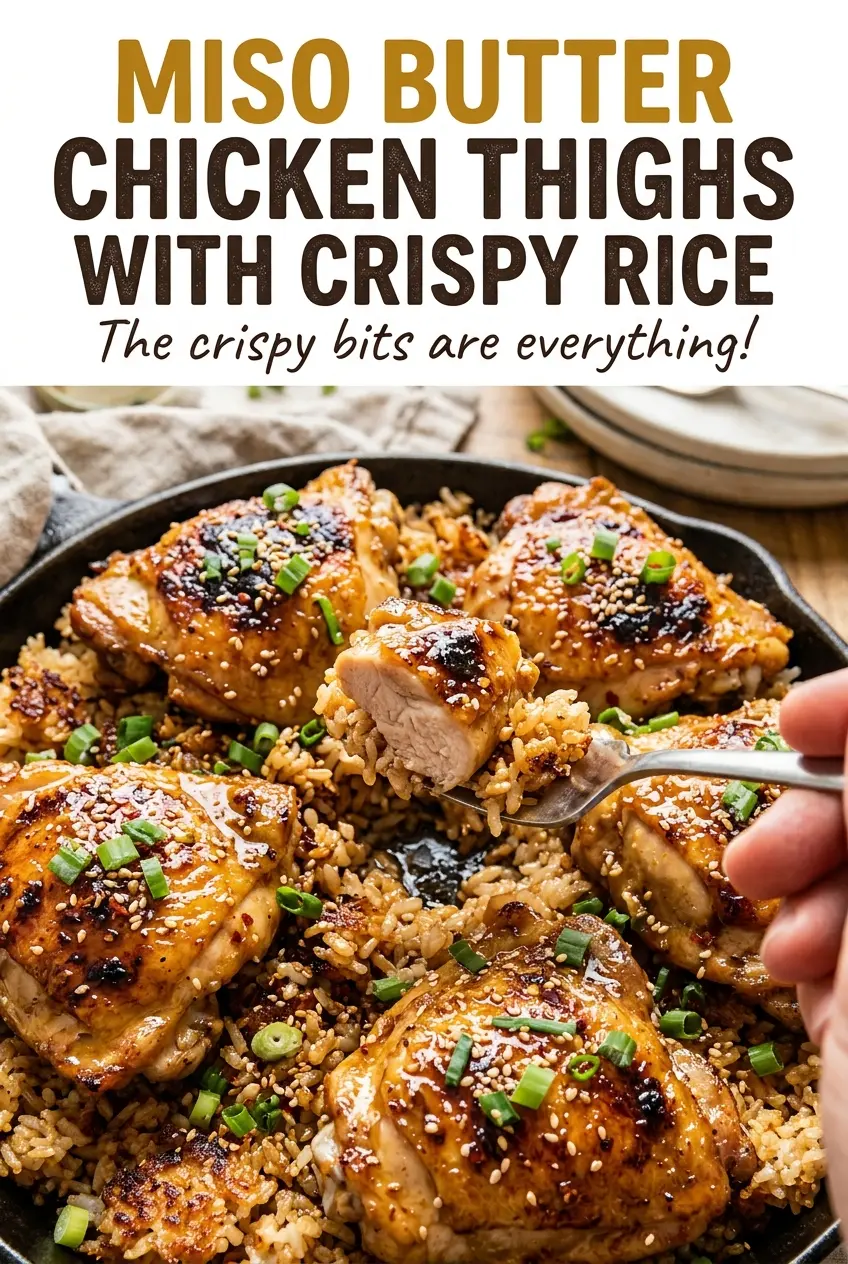
Miso Butter Chicken Thighs with Crispy Rice
The rice is the quiet part of dinner until you peek underneath and find a crisp, golden crust. I press cold cooked rice into the skillet and leave it alone;…
Tip: save now, cook later.The rice is the quiet part of dinner until you peek underneath and find a crisp, golden crust. I press cold cooked rice into the skillet and leave it alone; stirring too soon breaks up the layer before it has a chance to crisp. That crunchy rice is exactly what I want beside these miso butter chicken thighs.
The chicken gets a quick brush with a buttery mixture of white miso, honey, soy sauce, garlic, and ginger, then the oven does the rest. I like this method because the thighs stay tender while the glaze brings savory-sweet flavor to every bite. A final brush of the reserved miso butter gives the chicken a fresh finish, and the rice makes the whole plate feel complete.
Kitchen Note
I set aside the finishing butter before it goes anywhere near the raw chicken. That clean portion is ready for brushing on after baking, so it adds a fresh layer of miso flavor instead of picking up raw-chicken juices.
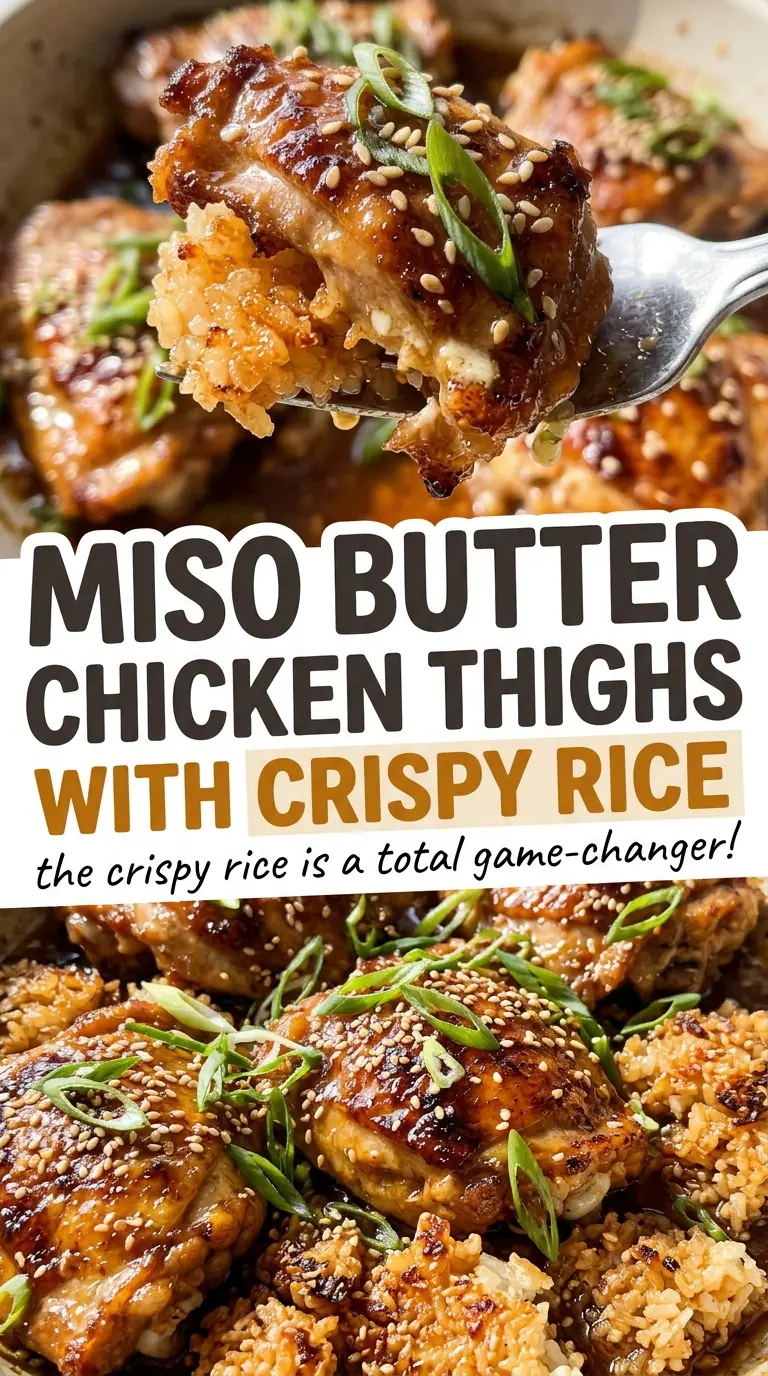
Save these miso butter chicken thighs with crispy rice for a dinner that pairs tender, savory-sweet chicken with a golden, crunchy rice layer.
Why thighs are the safer choice under a honey-miso glaze
Boneless, skinless chicken thighs have a little more room for timing variation than lean chicken breast. That matters here because the honey in the glaze needs time in the oven to mingle with the miso, butter, garlic, and ginger. Thighs stay tender through that bake, while a leaner cut can dry out before the same glaze has finished cooking.
Keeping the thighs in a single layer also helps them bake evenly, so one piece isn’t tucked beneath another and cooking at a different pace. Use the thickest thigh as your doneness check rather than judging by color alone. The glaze will look glossy and the chicken will smell fragrant, but those cues don’t tell you whether the center is cooked through. A thermometer gives you the dependable answer without leaving the chicken in the oven longer than it needs.
What the miso, butter, and cold rice each bring to the plate
- Boneless, skinless chicken thighs — They suit the bake time and stay juicy under the glaze. Chicken breast isn’t a direct swap because it cooks differently and is more likely to dry out at the same timing.
- White miso — This is the savory backbone of the butter mixture, with a mellow fermented taste that doesn’t overpower the honey and ginger. White miso is the right choice for its gentle flavor; red miso tastes stronger and saltier, so it won’t give the same balance.
- Unsalted butter — Melted butter helps the miso and seasonings coat the chicken. Unsalted butter keeps the seasoning in your hands alongside the kosher salt and soy sauce. For a dairy-free version, use an equal amount of stick-style dairy-free butter; the glaze may taste a little less rich.
- Honey and soy sauce — Honey rounds out the salty miso and soy, while soy sauce adds depth. Maple syrup can stand in for the honey in the same amount, with a more noticeable maple flavor. For a gluten-free adaptation, replace the soy sauce with the same amount of tamari and choose a gluten-free white miso.
- Fresh garlic and ginger — Minced garlic and freshly grated ginger give the butter mixture a bright, aromatic edge. Fresh ginger matters most here; dried ginger has a different, less lively taste.
- Cold cooked short-grain rice — Short-grain rice sticks together into a layer that can crisp as one piece, and chilling cooked rice helps it stay distinct in the skillet. Long-grain rice won’t hold together in quite the same way. Use a neutral oil so the rice can brown without an assertive oil flavor.
How to bake the chicken and crisp the rice without losing the texture
Season the thighs in one layer
Heat the oven to 400°F and arrange the chicken in a single layer in a 9×13-inch baking dish. Season it with 1/2 teaspoon of the kosher salt and the black pepper, spreading the pieces out so they aren’t stacked. If a thigh is folded over on itself, flatten it into a more even shape in the dish. Even thickness helps the pieces cook at a similar pace.
Whisk the miso butter before it reaches the chicken
Melt the butter in a small bowl, then whisk in the white miso, honey, soy sauce, garlic, and ginger until the mixture looks cohesive. Set aside 2 tablespoons before brushing the rest over the thighs; keeping that portion separate gives you a clean finishing brush after the bake. Coat the chicken with the remaining mixture, including the edges. Bake for 25 to 30 minutes, until the thickest part of each thigh reaches 165°F.
Rest and finish the chicken
Take the chicken out of the oven and brush it with the reserved miso butter. Let it rest for 5 minutes before serving. The short rest gives the juices time to settle back into the meat, and the finishing butter stays glossy on the hot surface. Keep the thighs in the baking dish while they rest so the juices don’t run across your counter.
Let the rice develop a golden underside
Heat the neutral oil in a 12-inch nonstick skillet over medium heat. Add the cold cooked rice, sprinkle it with the remaining 1/4 teaspoon of kosher salt, and press it into an even layer. Cook it undisturbed for 12 to 15 minutes, checking underneath with a thin spatula; moving it around too often prevents a unified crust from forming. When the bottom is crisp and golden, loosen the rice and serve it with the chicken.
Simple swaps that keep the chicken and rice in balance
Make the glaze dairy-free
Replace the unsalted butter with an equal amount of stick-style dairy-free butter. It still gives the miso mixture a buttery base, though the finished glaze won’t have quite the same richness as one made with dairy butter.
Use a gluten-free soy sauce swap
Use tamari in place of the soy sauce, keeping the same amount, and choose a gluten-free white miso. The savory balance stays close to the original, so the honey and ginger still come through.
Trade the honey for maple syrup
Use the same amount of maple syrup instead of honey in the miso butter. The glaze will still bring sweetness, but expect a more distinct maple note beside the savory miso.
Storage and Reheating
- Refrigerator: Cool leftovers within 2 hours, then store the chicken and rice in separate airtight containers for up to 3 days. The rice will lose its crisp underside in the refrigerator.
- Freezer: Freeze the cooled chicken and rice separately in airtight containers for up to 2 months. Thaw in the refrigerator; the rice will be softer after freezing and thawing.
- Reheating: Warm the chicken covered in a 325°F oven until hot throughout, or heat it in the microwave in short bursts. Reheat the rice in a nonstick skillet over medium heat with a little neutral oil to bring back some crispness; the microwave won’t restore its golden crust.
Questions I get asked about miso butter chicken and crispy rice
Miso Butter Chicken Thighs with Crispy Rice
Ingredients
Equipment
Method
- Heat the oven to 400°F.
- Arrange the chicken thighs in a single layer in a 9x13-inch baking dish and season with 1/2 teaspoon of the kosher salt and the black pepper.
- Melt the butter in a small bowl, then whisk in the miso, honey, soy sauce, garlic, and ginger; set aside 2 tablespoons of the mixture and brush the rest over the chicken.
- Bake for 25-30 minutes, until the thickest part of each thigh reaches 165°F.
- Brush the chicken with the reserved miso butter and let it rest for 5 minutes.
- Heat the oil in a 12-inch nonstick skillet over medium heat.
- Add the rice, sprinkle with the remaining 1/4 teaspoon kosher salt, and press it into an even layer.
- Cook undisturbed for 12-15 minutes, checking underneath with a thin spatula, until the bottom is crisp and golden; loosen the rice and serve it with the chicken.