
Old-Fashioned Banana Pudding with Homemade Vanilla Custard
The custard should coat the back of your spoon before it ever meets the bananas; if it still pours like milk, the layers won’t hold together once chilled. I learned…
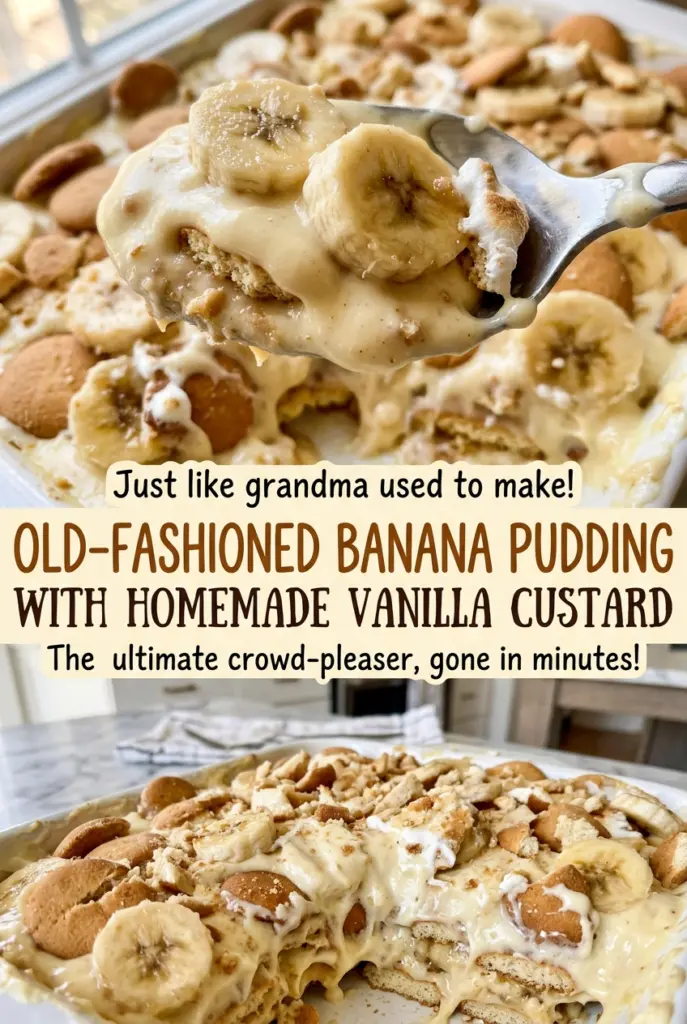
Tip: save now, cook later.The custard should coat the back of your spoon before it ever meets the bananas; if it still pours like milk, the layers won’t hold together once chilled. I learned to watch the pan closely instead of trusting the clock alone, because the change from thin to thick happens quickly near the end. This old-fashioned banana pudding gets its body from homemade vanilla custard, layered with vanilla wafers and sliced bananas, then finished with a baked meringue.
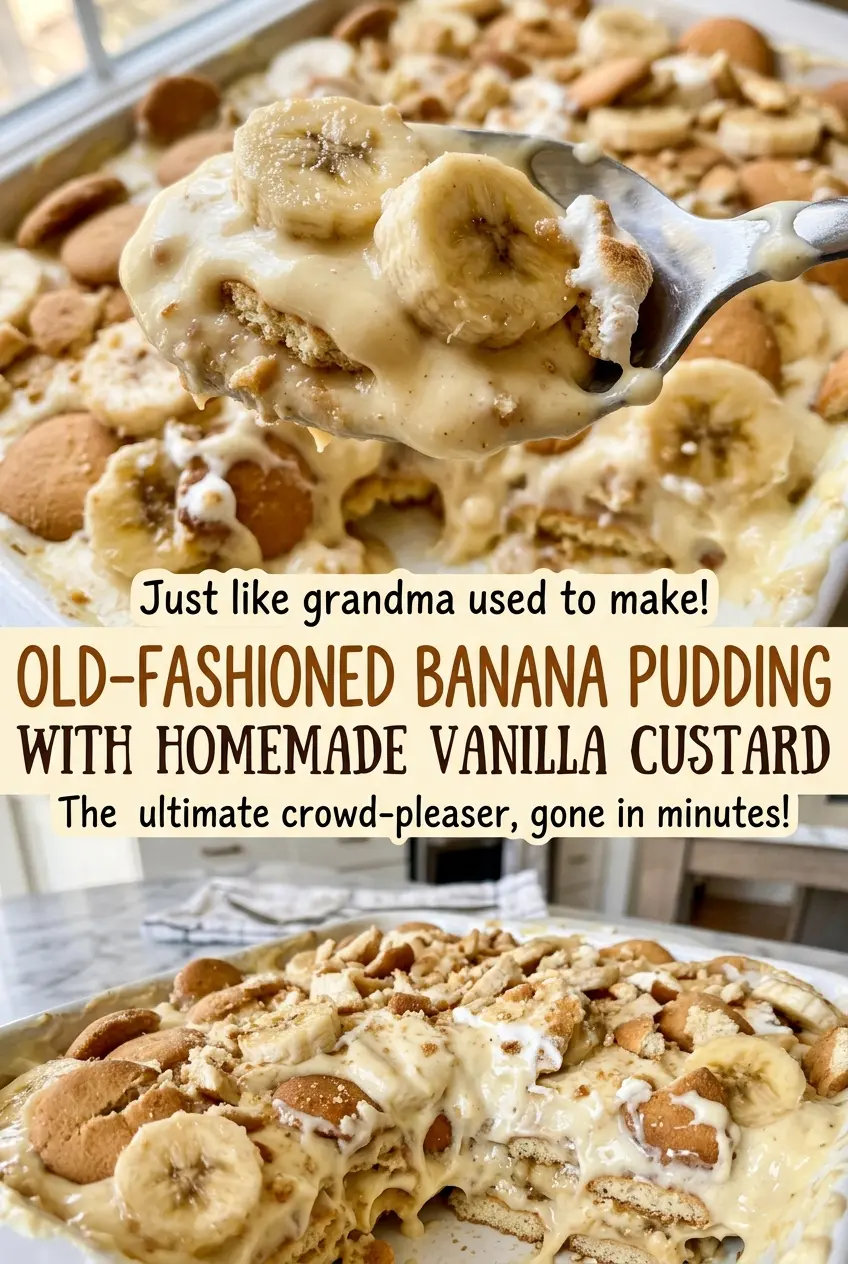
Tempering the yolks is what keeps the custard smooth. A little hot milk warms them gently before they go into the saucepan, so they thicken into the custard instead of turning into little bits of scrambled egg. Once the pudding is assembled, the meringue goes over the hot custard and bakes until golden. After a long chill, the wafers soften into the layers and the bananas stay tucked between the creamy custard.
Kitchen Note
Keep the bowl for the egg whites clean, and take care not to leave any yolk behind when separating the eggs. The whites should turn glossy and hold stiff peaks; if they stay loose, the meringue won’t keep its tall finish.
Save this old-fashioned banana pudding for its homemade vanilla custard, softened wafers, and golden meringue topping.
Why This Custard Needs a Full Minute of Bubbles
A custard thickened with cornstarch can look ready before it has finished cooking. The milk mixture starts to thicken as it heats, and the tempered yolks make it thicker still, but that first change isn’t the finish line. Letting the custard bubble while you whisk for a full minute gives the cornstarch time to do its job. Skip that minute and the pudding may seem thick in the pan, then loosen after it’s layered and chilled.
That steady whisking matters because the bottom of the saucepan gets hotter than the surface. Without it, the custard can catch or form lumps before the rest of the mixture thickens. Use medium heat and keep the whisk moving across the base and into the corners. When the bubbles are breaking through the surface and the custard looks thick and glossy, you’re ready to take it off the heat. Stirring in the butter and vanilla after cooking gives the finished custard a smooth, rich texture without risking scorched vanilla.
What Gives These Layers Their Classic Texture
- Whole milk gives the custard its creamy body. It’s worth using whole milk here; lower-fat milk makes a less rich custard, even though the cornstarch still helps it thicken.
- Egg yolks add richness and help the custard set. Separate the eggs carefully so the whites stay free of yolk for whipping; save those whites for the meringue rather than discarding them.
- Cornstarch provides the custard’s dependable structure. Whisk it into the sugar and milk before heating so it’s evenly dispersed; adding it later can leave stubborn lumps.
- Vanilla extract and butter round out the warm custard. Stir both in after removing the saucepan from the heat, when they can blend in smoothly without extra cooking.
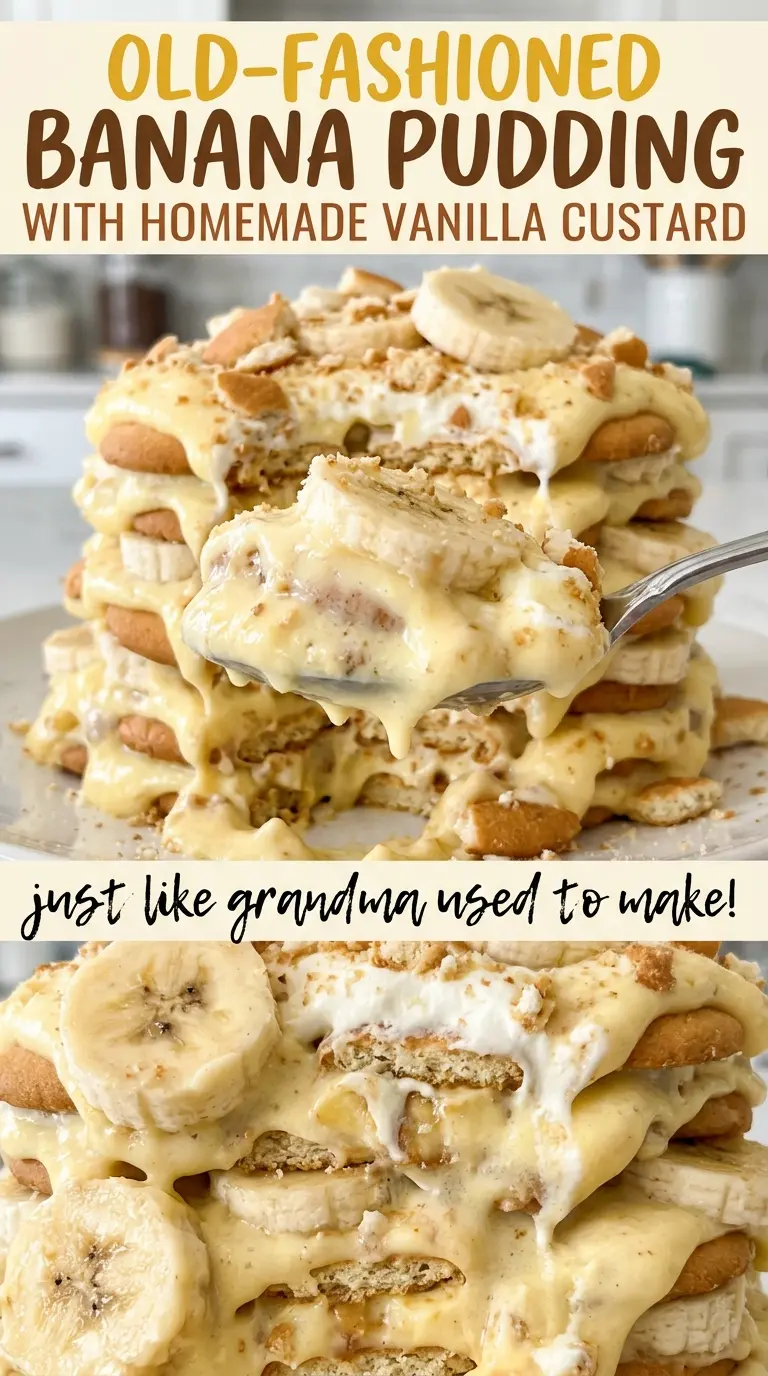
- Vanilla wafers and bananas make the familiar soft, layered center. Choose bananas that slice cleanly rather than ones already very soft, and use crisp wafers so they have enough structure to soften as the pudding chills.
- Cream of tartar helps stabilize the whipped egg whites. It’s a small but useful part of the meringue, helping it hold its shape as you beat in the sugar.
Building the Custard, Layers, and Meringue in the Right Order
Whisk the Milk Base Until It Starts to Thicken
In a 3-quart saucepan, whisk together the sugar, cornstarch, salt, and milk until there are no dry pockets or visible lumps. Set the pan over medium heat and whisk constantly for about 5–7 minutes. Look for steam and a mixture that is beginning to thicken; it won’t be as thick as the finished custard yet. Keep the whisk moving over the bottom of the pan so the cornstarch doesn’t settle and stick.
Temper the Yolks and Finish the Custard
Whisk the yolks in a bowl, then gradually whisk about 1 cup of the hot milk mixture into them. Pouring it in slowly warms the yolks without cooking them in one hot rush. Whisk the yolk mixture back into the saucepan and cook for about 2–3 minutes, until thick and bubbling. Keep whisking as it bubbles for 1 minute, then remove the pan from the heat and stir in the butter and vanilla until smooth.
Layer the Wafers, Bananas, and Custard
Heat the oven to 350°F and arrange half the vanilla wafers in the bottom of a 9×13-inch baking dish. Add half the sliced bananas, then spread on half the custard; repeat with the remaining wafers, bananas, and custard. Work while the custard is warm so it spreads across the layers instead of sitting in stiff clumps. Keep the layers fairly even, especially around the edges, where the meringue will meet the dish.
Whip and Bake the Meringue, Then Chill
Beat the egg whites with the cream of tartar until soft peaks form. Gradually add the remaining sugar while beating, then continue until the meringue is glossy and holds stiff peaks. Spread it over the hot custard, taking it all the way to the edges, and bake for about 12–18 minutes, until golden and the center of the meringue registers 160°F. Cool at room temperature for 1 hour, then cover and refrigerate for at least 4 hours before serving.
Two Ways to Adapt the Layers Without Losing the Pudding
Use gluten-free vanilla wafers
For a gluten-free version, replace the regular vanilla wafers with gluten-free vanilla wafer cookies, keeping the same layering method. The custard and meringue stay the same, though the cookie texture can vary by brand, so choose a crisp wafer that can soften between the warm custard layers.
Make it without the meringue
For a simpler, custard-topped pudding, leave out the egg whites, cream of tartar, and the sugar reserved for the meringue. Layer the wafers, bananas, and custard in the baking dish, then cool and chill as usual; you’ll get a softer top without the baked, airy finish.
Storage and Reheating
- Refrigerator: Cover and refrigerate leftovers for up to 3 days. The wafers will soften further, and the banana layers may darken as they sit.
- Freezer: Freezing isn’t recommended; the custard can turn watery and the meringue may weep after thawing.
- Reheating: Serve this pudding chilled rather than reheating it. Heat will soften the meringue and loosen the custard.
Questions That Come Up When Making Banana Pudding
Old-Fashioned Banana Pudding with Homemade Vanilla Custard
Ingredients
Equipment
Method
- In a 3-quart saucepan, whisk 2/3 cup of the sugar, the cornstarch, salt, and milk until smooth.
- Cook over medium heat, whisking constantly, until steaming and beginning to thicken, about 5–7 minutes.
- In a bowl, whisk the egg yolks.
- Gradually whisk about 1 cup of the hot milk mixture into the yolks, then whisk the yolk mixture back into the saucepan.
- Cook until thick and bubbling, about 2–3 minutes.
- Keep whisking as the custard bubbles for 1 minute.
- Remove the saucepan from the heat and stir in the butter and vanilla until smooth.
- Heat the oven to 350°F.
- Arrange half the vanilla wafers in the bottom of a 9x13-inch baking dish.
- Layer on half the bananas and half the custard, then repeat with the remaining wafers, bananas, and custard.
- In a clean bowl, beat the egg whites and cream of tartar until soft peaks form.
- Gradually beat in the remaining 1/3 cup sugar and continue beating until the meringue is glossy and holds stiff peaks.
- Spread the meringue over the hot custard, making sure it reaches the edges of the dish.
- Bake until golden and the center of the meringue registers 160°F, about 12–18 minutes.
- Cool at room temperature for 1 hour.
- Cover and refrigerate for at least 4 hours before serving.