
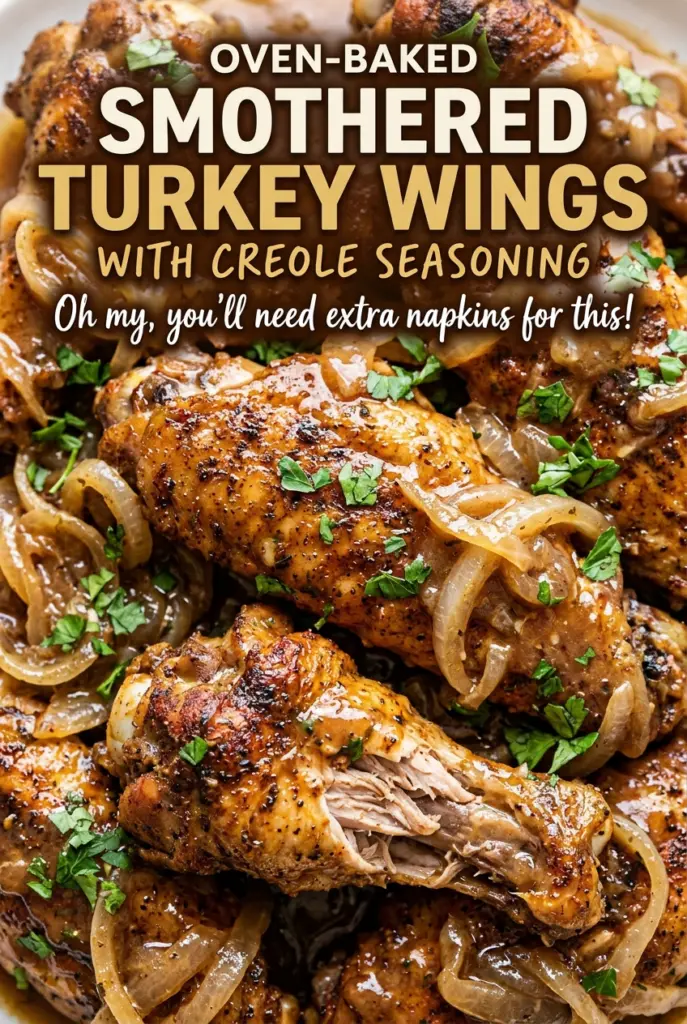
Oven-Baked Smothered Turkey Wings with Creole Seasoning
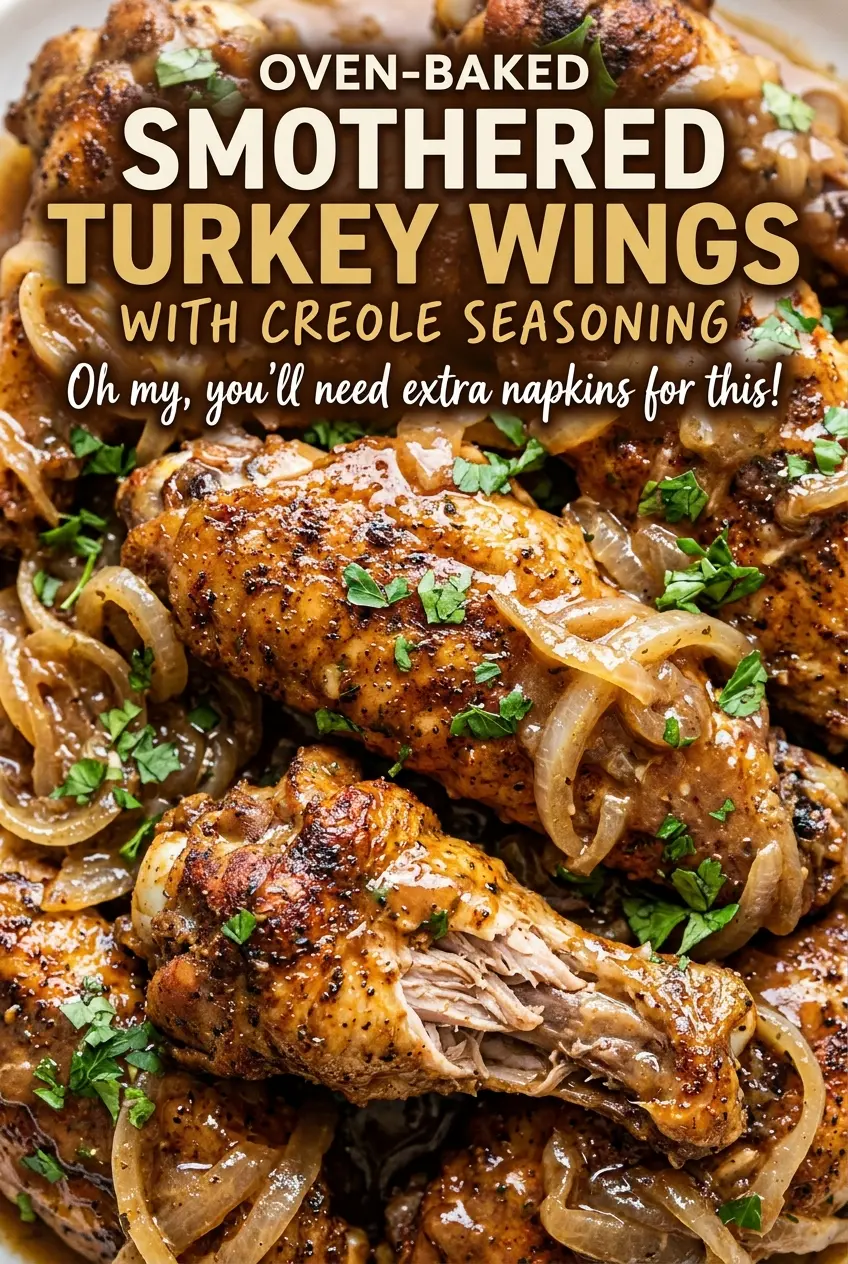
When the foil comes off, the wings are tucked into a deep layer of gravy, and the long bake has turned the meat tender enough to pull away from the…
Tip: save now, cook later.When the foil comes off, the wings are tucked into a deep layer of gravy, and the long bake has turned the meat tender enough to pull away from the joints. That covered stretch is what makes oven-baked smothered turkey wings with Creole seasoning feel like more than browned poultry with sauce poured over it: the gravy has time to settle around every piece.
I brown the wings first, then build the gravy in the same skillet. It gives the gravy a savory base before the turkey even reaches the oven, while the chopped onion, celery, and bell pepper soften into the sauce rather than staying crisp.
The oven does most of the work after that. Keep the dish covered until the wings are tender, then uncover it briefly so the tops take on a little color and the gravy thickens around them.
Kitchen Note
I stop simmering the gravy while it still looks a little loose. It should be lightly thickened, not finished-thick, because it needs to pour over the wings and will tighten more during the uncovered bake.
Save these Creole-smothered turkey wings for a cozy dinner—the gravy-rich finish and hands-off oven time make them worth keeping close.
Why the Wings Need a Skillet Before They Go Under Gravy
The long oven bake makes the turkey tender, but it doesn’t replace browning. If the wings go straight into the baking dish, they can still cook through, but you’ll miss the browned surfaces that give the finished dish its deeper, roasted flavor. That first skillet pass also leaves savory bits behind, and the gravy picks them up when the vegetables cook in the same pan.
Work in batches rather than packing every piece into the skillet at once. Crowded wings release moisture against one another and steam instead of developing color, so leave enough space for the hot pan to touch the meat. You’re not trying to cook the wings through at this stage; a few minutes per side is enough to brown the outside before the covered oven time takes over.
This is also why I don’t wipe out the skillet before starting the gravy. The browned residue is part of the base, not something to scrub away. Butter and the chopped vegetables loosen it as they cook, and the flour then carries that savory flavor through the broth.
How the Creole Seasoning, Vegetable Base, and Flour Shape the Gravy

- Turkey wings — Separated joints make the pieces easier to brown and arrange in the baking dish. Choose wings with meaty sections rather than mostly bony tips; there isn’t a direct cut swap that will cook on the same schedule.
- Creole seasoning — This blend gives the wings their defining savory, spiced coating. Brands vary in salt and heat, so the low-sodium broth helps keep the gravy from becoming too salty. Cajun seasoning can stand in at the same amount, though the blend’s flavor will shift slightly.
- Onion, celery, and green bell pepper — Finely chopping these vegetables lets them soften into the gravy instead of leaving large crunchy pieces. Their combination makes a rounded, savory base; use fresh vegetables, but ordinary grocery-store produce is fine.
- Butter and flour — Together they make the roux that thickens the broth into gravy. Unsalted butter leaves room to control the seasoning, and all-purpose flour is reliable for this stovetop method; a gluten-free adaptation is described below.
- Low-sodium chicken broth and Worcestershire sauce — The broth supplies the gravy’s body, while Worcestershire adds a small savory edge. A standard store brand works well; low-sodium broth is the better choice because both the Creole blend and the measured salt contribute seasoning.
Build the Skillet Gravy Before the Wings Go Into the Oven
Brown the Wings in Batches
Heat the oven to 350°F, pat the wings dry, and season them all over with the Creole seasoning, garlic powder, and black pepper. Heat the vegetable oil in a 12-inch skillet over medium-high heat. Brown the wings in batches for 3 to 4 minutes per side, looking for golden-brown patches rather than trying to cook the centers through. Transfer each batch to a 9×13-inch baking dish as it finishes.
Soften the Vegetables in the Same Skillet
Melt the butter over medium heat in the skillet you used for the wings. Add the chopped onion, celery, and green bell pepper, then cook for 5 to 7 minutes until they’re softened. Stir in the minced garlic and give it 30 seconds; it should smell fragrant, not toasted. If the garlic starts browning, move on to the flour promptly so it doesn’t turn bitter.
Whisk the Broth Into a Smooth Gravy
Stir the flour into the softened vegetables and cook it for 1 minute, stirring so it doesn’t sit in a dry clump. Gradually whisk in the broth, followed by the thyme, Worcestershire sauce, and salt. Adding the liquid in stages gives the flour time to blend in; pouring it all in at once is the usual cause of lumps. Simmer for 3 to 5 minutes, whisking, until the gravy is lightly thickened.
Cover for Tenderness, Then Uncover for Color
Pour the gravy over the wings and cover the baking dish tightly with foil. Bake for 2 to 2 1/2 hours, until the thickest meaty part of each wing reaches at least 165°F and the meat is very tender. Remove the foil and bake for another 10 to 15 minutes so the wings brown slightly and the gravy thickens. Rest the dish for 10 minutes before serving; the gravy settles around the wings as it stands.
Two Useful Ways to Adapt These Creole Turkey Wings
Make the Gravy Gluten-Free
Replace the all-purpose flour with the same amount of a cup-for-cup gluten-free flour blend intended for thickening or baking, and cook it with the butter and vegetables as a roux. The gravy may have a slightly different texture from the wheat-flour version, so whisk well as you add the broth and let it simmer until lightly thickened.
Make the Gravy Dairy-Free
Use vegetable oil in place of the butter when softening the vegetables and cooking the flour. The roux will still thicken the broth, though the gravy will lose the mild buttery richness. Keep the same cooking method and let the flour cook for its full minute before whisking in the broth.
Storage and Reheating
- Refrigerator: Store the wings with the gravy in an airtight container for 3 to 4 days. The gravy will firm up as it chills.
- Freezer: Freeze the wings and gravy together in a freezer-safe container for up to 2 to 3 months for best quality. Thaw in the refrigerator before reheating.
- Reheating: Warm covered in a 325°F oven until piping hot throughout, adding a splash of broth if the chilled gravy is too thick to loosen. Keep the dish covered so the wings don’t dry out.
Questions That Come Up While Making Smothered Turkey Wings
Oven-Baked Smothered Turkey Wings with Creole Seasoning
Ingredients
Equipment
Method
- Heat the oven to 350°F.
- Pat the turkey wings dry and season them all over with the Creole seasoning, garlic powder, and black pepper.
- Heat the vegetable oil in a 12-inch skillet over medium-high heat.
- Brown the wings in batches for 3 to 4 minutes per side, then transfer them to a 9x13-inch baking dish.
- Melt the butter in the same skillet over medium heat.
- Add the onion, celery, and bell pepper, and cook for 5 to 7 minutes until softened.
- Stir in the garlic and cook for 30 seconds.
- Stir in the flour and cook for 1 minute.
- Gradually whisk in the broth, thyme, Worcestershire sauce, and salt.
- Simmer for 3 to 5 minutes until lightly thickened.
- Pour the gravy over the wings and cover the dish tightly with foil.
- Bake for 2 to 2 1/2 hours, until the thickest meaty part of each wing reaches at least 165°F and the meat is very tender.
- Remove the foil and bake for 10 to 15 minutes more to brown the wings slightly and thicken the gravy.
- Rest for 10 minutes before serving.