
Red, White, and Blue Marshmallow Bars
Red, white, and blue marshmallow bars land on the table soft, chewy, and a little bit nostalgic, with that snap of cereal giving way to a melt-in-your-mouth marshmallow center. The…
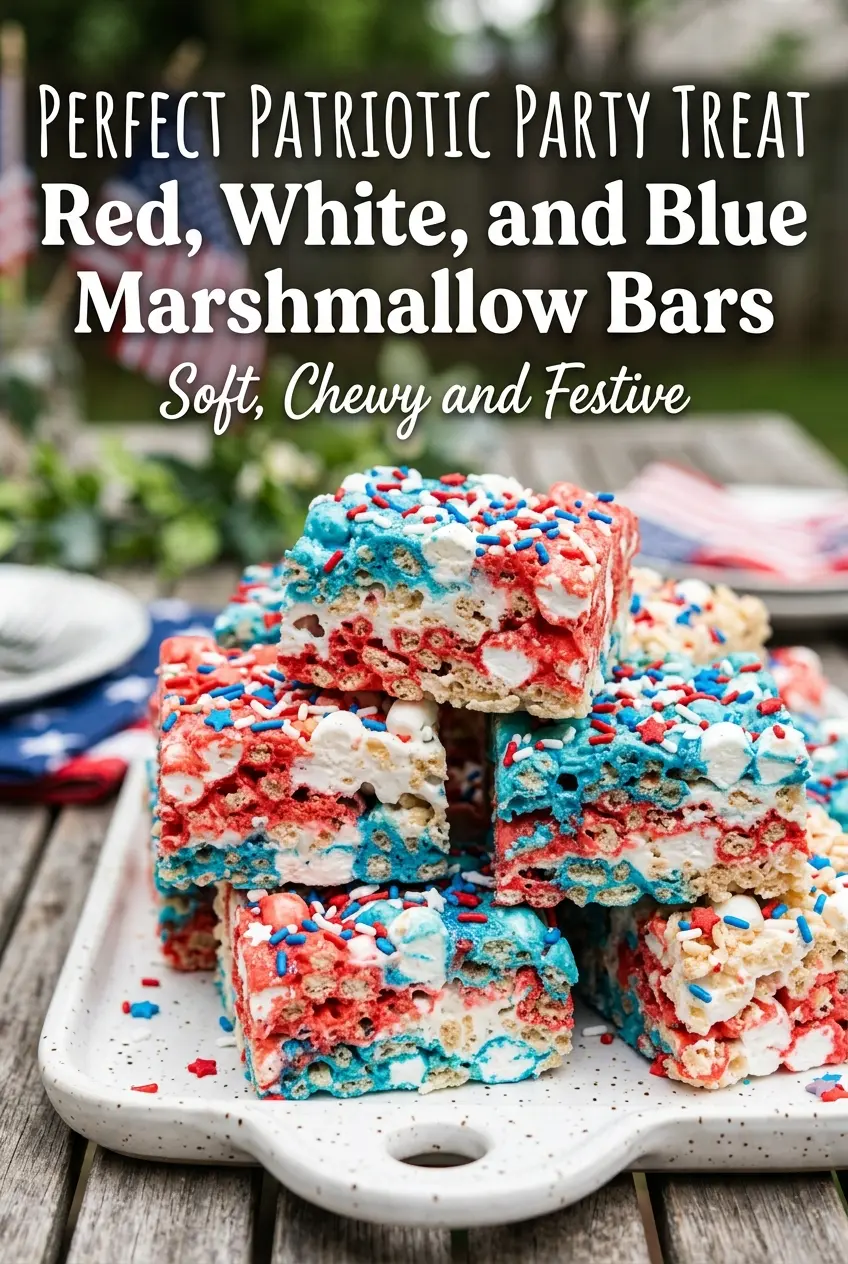
Tip: save now, cook later.Red, white, and blue marshmallow bars land on the table soft, chewy, and a little bit nostalgic, with that snap of cereal giving way to a melt-in-your-mouth marshmallow center. The stripes look festive enough for a party tray, but the real reason they disappear fast is the texture: tender bars that hold together cleanly without turning hard or sticky.
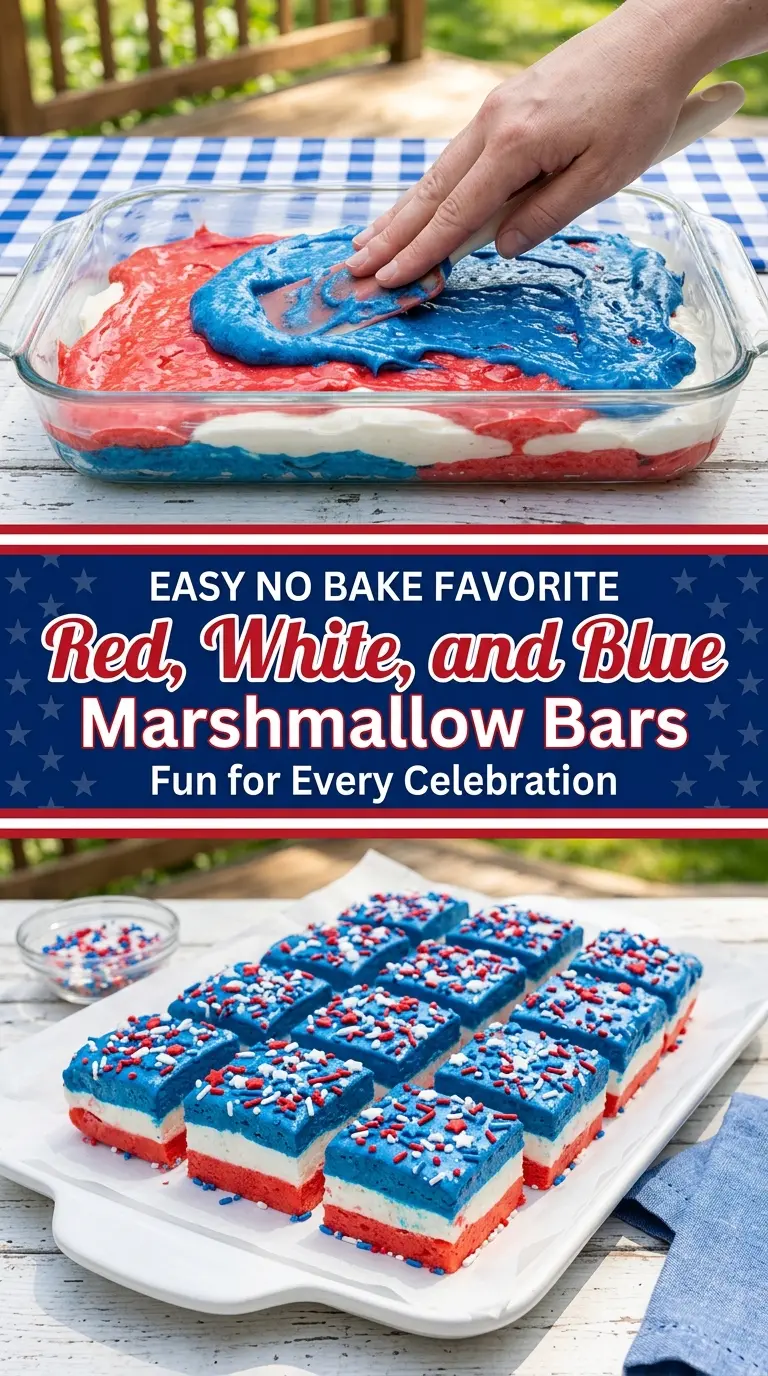
The trick is keeping the marshmallow mixture on low heat and dividing it while it’s still warm and workable. Once the melted marshmallows cool too much, the cereal won’t fold in evenly and the layers start to crack when you press them into the pan. A little vanilla rounds out the sweetness, and the extra mini marshmallows on top add that soft, bouncy finish people notice right away.
Below, I’ll walk through the part that matters most: how to keep the colors distinct without making the bars dense. I’ve also added a few practical swaps and storage notes so you can make them ahead without losing that fresh, chewy texture.
The stripes stayed separate, and the bars were still soft the next day instead of turning rock hard. I used gel coloring, and the marshmallows on top made them look like something from a bakery.
Red, white, and blue marshmallow bars with soft layers and patriotic sprinkles belong on your party dessert tray.
The Mistake That Makes Marshmallow Bars Dense Instead of Chewy
The fastest way to ruin cereal bars is to overheat the marshmallows. Once they’re cooked past the point of just-melted, they tighten up and the finished bars lose that soft pull-apart texture. Low heat is the whole game here. The butter needs to melt first, then the marshmallows should turn smooth and glossy without bubbling hard at the edges.
Another common problem is packing the mixture too firmly into the pan. Pressing with a heavy hand compresses the cereal and turns the bars from airy and chewy into thick and hard. Use lightly greased hands or a piece of parchment and press just enough to level the top. That keeps the stripes neat without smashing the texture.
- Mini marshmallows — Fresh marshmallows melt more smoothly than an old bag that’s gone stale. If the bag feels dry or the marshmallows are sticking together in hard clumps, the bars will set up firmer.
- Butter — Unsalted butter gives you control over the sweetness, but salted butter works in a pinch. The butter coats the pan and helps the melted marshmallows stay glossy instead of grabbing onto the pot.
- Crispy rice cereal — Standard crispy rice cereal is the structure here. Generic store brands work fine, but stale cereal loses crunch and makes the bars feel flat.
- Gel food coloring — Gel coloring gives strong red and blue without thinning the marshmallow mixture. Liquid coloring works, but it takes more of it to show up and can make the mixture softer.
- Mini red, white, and blue marshmallows — These are mostly for the top, where they add extra chew and make the bars look finished. If you can’t find them, use plain mini marshmallows and add extra sprinkles for color.
Building the Colors Before the Marshmallow Starts to Set
Melting the Base
Set the butter over low heat and let it melt without browning. Add the mini marshmallows and stir constantly until the mixture turns smooth, glossy, and fully melted with no hard pieces left. If the heat is too high, the marshmallow can seize into a thick, sticky mass that’s hard to divide evenly.
Coloring and Folding
Work fast once the marshmallow is smooth. Divide it into three bowls, leaving one portion white and tinting the other two red and blue. Fold in the cereal after the color is mixed, not before, so each bowl stays even and the shades don’t streak through the bars in muddy patches.
Layering the Pan
Press each colored mixture into the prepared dish in stripes, using gentle pressure to keep the layers distinct. A light touch keeps the bars tender, while a hard press squeezes out the air that gives them that soft chew. Finish with extra mini marshmallows and sprinkles while the top is still tacky so they stick instead of rolling off.
Three Ways to Make These Bars Fit the Party You’re Planning
Dairy-Free Version
Swap the butter for a plant-based butter stick that’s meant for baking, not a soft tub spread. The bars will still set, though the flavor comes out a little less rich and a bit more neutral. Keep the heat low because non-dairy fats can separate faster if they get too hot.
Gluten-Free Bars
Use a certified gluten-free crispy rice cereal if you’re serving someone who needs it. The texture stays the same, but certification matters because some cereals are made in shared facilities. The rest of the ingredients are usually naturally gluten-free, but always check the marshmallows and sprinkles.
Extra-Colorful Sprinkle Bars
If you want a louder party look, add more sprinkles on top right after pressing the bars into the pan. The result is less tidy and more festive, with a little extra crunch from the sprinkles. Don’t fold too many into the cereal mixture or the bars can get gritty.
Storage and Reheating
- Refrigerator: Store in an airtight container for up to 3 days. The bars firm up a little in the fridge, so let them sit at room temperature before serving.
- Freezer: These freeze well for up to 1 month if wrapped tightly and layered with parchment. Thaw at room temperature; don’t microwave them or the marshmallows will turn sticky and weird.
- Reheating: Reheating isn’t usually needed. If the bars feel too firm after chilling, leave them on the counter for 15 to 20 minutes instead of trying to warm them.
Answers to the Questions Worth Asking
Red, White, and Blue Marshmallow Bars
Ingredients
Equipment
Method
- Line a 9×13-inch baking dish with parchment paper so the bars lift out cleanly after setting. Ensure the parchment fits with overhang for easy removal.
- Melt the butter in a large pot over low heat until fully melted and glossy. Keep the heat low so the mixture stays smooth.
- Add mini marshmallows and stir continuously until completely melted, with no lumps. Continue over low heat until the mixture looks silky and uniform.
- Stir in vanilla extract and mix until the scent blooms and the base looks even. Turn off the heat if needed to prevent scorching.
- Divide the marshmallow mixture into three bowls so each portion can be colored separately. Use equal portions for neat patriotic stripes.
- Leave one portion white. It should remain uncolored for the contrast stripes.
- Tint one portion red with red food coloring and stir until evenly colored. The mixture should show a consistent red tone with no streaks.
- Tint one portion blue with blue food coloring and stir until evenly colored. The mixture should show a consistent blue tone with no streaks.
- Fold crispy rice cereal evenly into the white portion until fully coated. The cereal should look suspended and clumped together rather than dry.
- Fold crispy rice cereal evenly into the red portion until fully coated. Press and mix gently so the color stays vivid.
- Fold crispy rice cereal evenly into the blue portion until fully coated. Mix until the cereal is evenly distributed throughout the colored base.
- Press the colored mixtures into the baking dish in patriotic stripes. Pack it firmly for bars that slice cleanly.
- Top the bars with mini red, white, and blue marshmallows and patriotic sprinkles. Add them evenly so each square has visible color.
- Allow bars to cool and set for 30 minutes until firm to the touch. A fully set surface makes clean squares instead of sticky edges.
- Slice into squares and serve. Lift using the parchment overhang for easier cutting and removal.