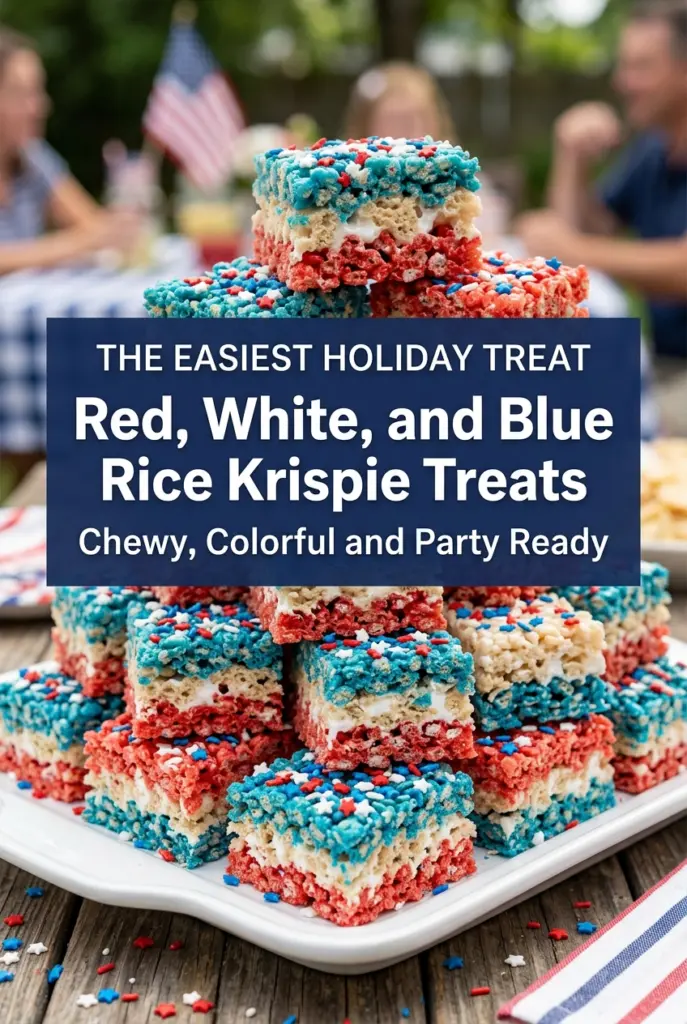
Red, White, and Blue Rice Krispie Treats
These Red, White, and Blue Rice Krispie Treats stay chewy instead of turning hard and brittle, and that matters when you’re stacking three colorful layers into one pan. The marshmallow…
Tip: save now, cook later.These Red, White, and Blue Rice Krispie Treats stay chewy instead of turning hard and brittle, and that matters when you’re stacking three colorful layers into one pan. The marshmallow mixture gets divided while it’s still warm, so each color stays distinct and each bite keeps that soft, stretchy pull people expect from a good Krispie treat. The sprinkles on top are the finishing touch, but the real payoff is the contrast between the crisp cereal, the gooey binder, and the clean stripes of color.
The trick is keeping the marshmallow base just melted, not cooked down. Once marshmallows go past smooth and glossy into thick and tacky, the treats set up denser and lose that tender chew. I also use gel coloring instead of liquid food dye, because liquid can thin the mixture and makes the colors duller. You only need a small amount of color to get a bold red and blue without changing the texture.
Below, I’ll walk through the layer order that keeps the colors sharp, the small timing detail that makes the squares cut cleanly, and a few ways to adapt these for different pans or celebrations.
The layers held their color perfectly and the treats stayed soft even after sitting out on the party table. I used gel coloring like suggested and the marshmallow mixture stayed easy to work with.
Save these Red, White, and Blue Rice Krispie Treats for the party dessert that cuts into neat patriotic layers and stays chewy for hours.
The Part That Keeps the Layers Soft Instead of Packed Down
Most layered Rice Krispie treats go wrong when the mixture gets pressed too hard or sits too long before the next layer goes on. That pushes the air out of the cereal and gives you a dense, squeaky square instead of one that breaks with a light chew. This version works because each bowl gets mixed and layered while the marshmallow is still pliable.
The other thing that matters is heat. Low heat keeps the marshmallow smooth and stretchy. High heat turns it sticky fast, which makes the mixture harder to spread and more likely to grab the cereal instead of coating it evenly. If a layer starts to tug instead of glide, that pan has already gone too cool and too stiff.
- Mini marshmallows — Mini marshmallows melt faster and more evenly than large ones, which helps you get a smooth base without overcooking it. Fresh marshmallows matter here; older ones can melt into a grainier mass.
- Unsalted butter — Butter gives the treats flavor and keeps the marshmallow from sticking to the pot. Salted butter works in a pinch, but it can edge the final flavor toward salty once the sprinkles and cereal are in the mix.
- Rice Krispies cereal — The classic cereal gives the best crisp-to-chew balance. Generic crisp rice cereal works, but some brands are denser and can make the bars feel heavier.
- Gel food coloring — Gel coloring gives you bold red and blue without thinning the marshmallow. Liquid coloring adds too much moisture and can make the layers softer and the colors less vivid.
- Patriotic sprinkles — These are mostly for finish, but add them while the top layer is still slightly warm so they actually stick. If they go on after the bars are fully cool, half of them will fall off when you cut the squares.
Building the Layers While the Marshmallow Is Still Warm
Melting the Base
Set the butter in a large saucepan over low heat and let it melt completely before the marshmallows go in. Add the marshmallows and stir until the mixture turns glossy and smooth, with no dry pockets left on the bottom. If you see the marshmallows starting to bubble, the heat is too high and the texture will set up tougher later.
Dividing and Coloring
Work quickly once the marshmallow is melted. Divide it into three bowls right away so the mixture doesn’t cool into a sticky mass before you color it. Leave one bowl plain, tint one red, and tint one blue, using just enough gel to get strong color without stirring so long that the marshmallow starts to tighten up.
Folding in the Cereal
Add 2 cups of cereal to each bowl and fold gently until every piece is coated. The goal is coverage, not compression. If you stir aggressively, the cereal breaks down and the bars turn compact instead of crisp. A rubber spatula works best because it lets you turn the mixture over without mashing it.
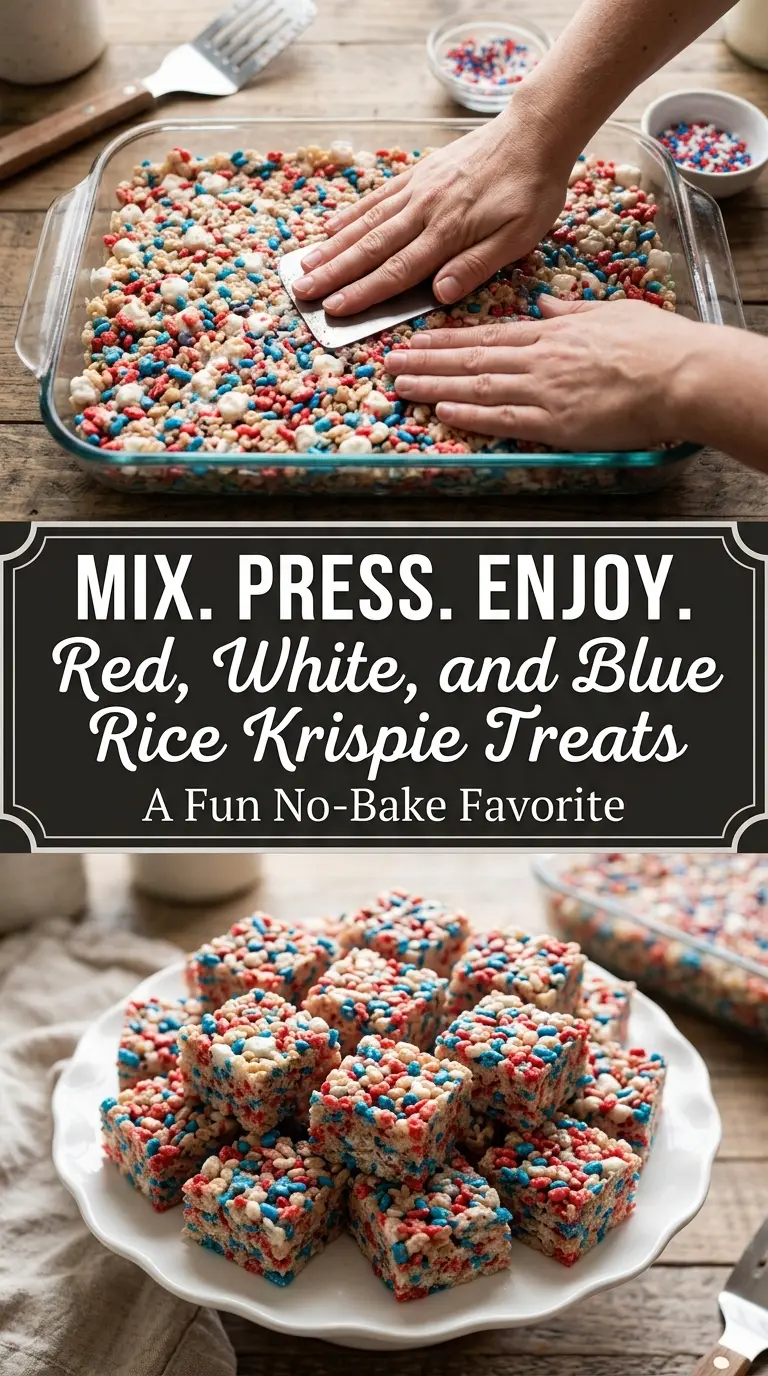
Layering the Pan
Press the blue mixture into the bottom of the greased pan first, then the white layer, then the red. Use lightly greased hands or a piece of parchment to press each layer just enough for it to hold together. Hard pressure makes the colors bleed into each other and leaves you with a brick instead of neat stripes.
Finishing and Cutting
Scatter the patriotic sprinkles over the top while the final layer is still warm. Let the pan cool for about 30 minutes before cutting, long enough for the bars to firm but not so long that they become brittle. A sharp knife greased lightly with butter gives the cleanest squares and keeps the layers from dragging across each other.
How to Make These in a Smaller Pan
Use an 8×8-inch pan if you want thicker squares, but expect a denser bite and a little more pressure when you cut them. Keep the layer order the same and press even more gently so the middle layer doesn’t squeeze out at the edges.
A Dairy-Free Version That Still Sets Well
Swap the butter for a plant-based butter stick, not a soft tub spread. The stick-style version behaves more like real butter and keeps the marshmallow mixture from becoming greasy or loose.
Gluten-Free Notes
Choose a certified gluten-free crisp rice cereal if you’re serving someone with celiac disease or gluten sensitivity. The texture stays the same, but the certification matters because some cereals pick up gluten during processing.
Storage and Reheating
- Refrigerator: Store in an airtight container at room temperature for 2 to 3 days. The bars stay chewiest this way; the fridge makes them firmer and a little harder to bite.
- Freezer: These freeze well. Wrap individual squares tightly and freeze for up to 6 weeks, then thaw at room temperature so condensation doesn’t make the tops sticky.
- Reheating: No reheating needed. If the bars feel too firm, let them sit at room temperature for 10 to 15 minutes. Microwaving softens the marshmallow unevenly and can turn the edges gluey.
Questions I Get Asked About This Recipe

Red, White, and Blue Rice Krispie Treats
Ingredients
Equipment
Method
- Grease a 9x13-inch baking dish with nonstick cooking spray so the layers release cleanly after cooling.
- Melt the butter in a large saucepan over low heat until just melted and glossy, about 1–2 minutes.
- Add the mini marshmallows and stir until completely melted, about 3–5 minutes, keeping the heat low to prevent scorching.
- Divide the melted marshmallow mixture into three bowls so each batch can be colored and layered evenly.
- Leave one bowl white for the middle layer.
- Tint one bowl red with red gel food coloring and stir until the color is uniform.
- Tint one bowl blue with blue gel food coloring and stir until the color is uniform.
- Fold 2 cups of Rice Krispies cereal into the red bowl until the cereal is fully coated.
- Fold 2 cups of Rice Krispies cereal into the blue bowl until the cereal is fully coated.
- Fold 2 cups of Rice Krispies cereal into the white bowl until the cereal is fully coated.
- Press the blue mixture into the bottom of the pan using firm, even pressure for a stable base layer.
- Add the white layer on top and press gently so it doesn’t mix with the blue layer.
- Finish with the red layer and spread it evenly with light pressure.
- Top with patriotic sprinkles so they adhere to the warm surface.
- Cool for 30 minutes until set and firm enough to cut.
- Cut into squares and serve right away for the chewiest texture.