
Bakery-Style Pumpkin Chocolate Chip Muffins
When these muffins go into a hot oven, the tops begin to rise before the kitchen has even had time to smell like pumpkin and cinnamon. That quick lift is…
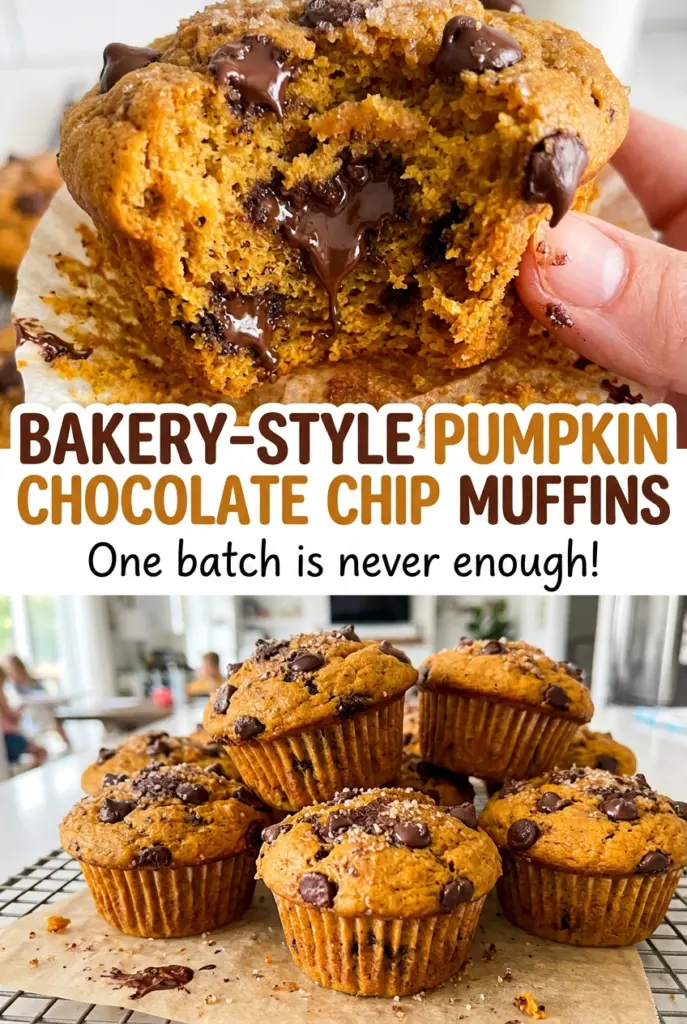
Tip: save now, cook later.When these muffins go into a hot oven, the tops begin to rise before the kitchen has even had time to smell like pumpkin and cinnamon. That quick lift is what gives them their bakery-style shape, while the centers stay soft and dotted with melted chocolate. I like this version because it uses canned pumpkin puree and neutral oil, so the batter comes together without any fussy prep.
The mixing matters just as much as the oven. Once the flour goes into the pumpkin mixture, I fold only until the dry streaks disappear; a few extra turns can leave the crumb heavier than it needs to be. Then the batter goes nearly to the top of each liner, giving every muffin enough room to form a generous dome. The finished muffins have warm spice, tender pumpkin crumb, and pockets of semisweet chocolate in every bite.
Kitchen Note
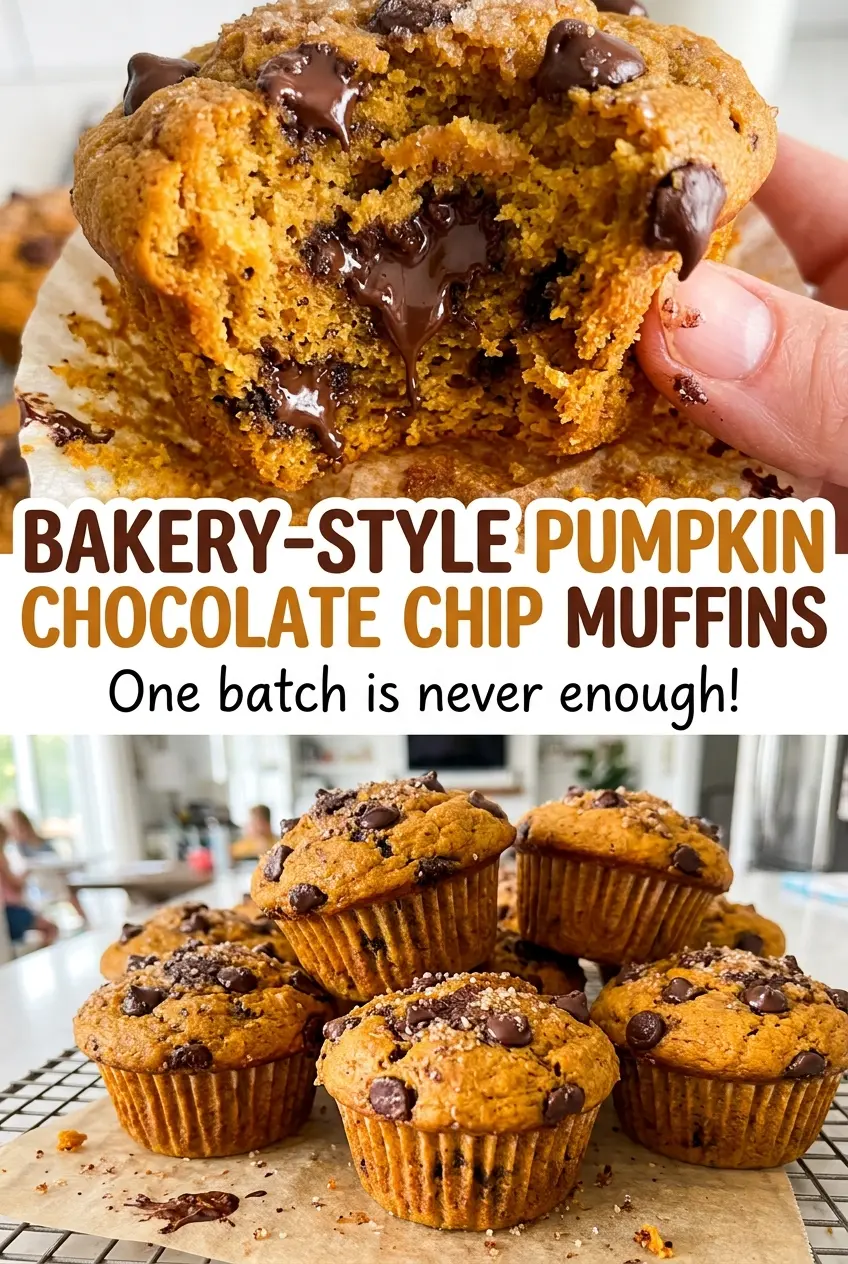
Leave the muffins in the pan for the full five minutes before moving them. The crumb is delicate straight from the oven, and that short rest helps the muffins release from the liners without tearing at the bottom.
Save these bakery-style pumpkin chocolate chip muffins for a bake day when you want tall domes, tender pumpkin crumb, and chocolate in every bite.
Why the Hot Start Gives These Muffins Their Bakery-Style Domes
The high starting temperature gives the batter a fast burst of heat while the muffins are still rising. That early lift helps build the rounded tops; lowering the oven afterward gives the centers time to bake through without keeping the outside at the hotter temperature for the whole bake. It’s a simple two-temperature method, but the transition needs to happen without opening the oven door.
Opening the door lets heat escape right when the batter is expanding, and the muffins may not rise as evenly. I reduce the temperature with the door closed, then let the muffins bake until the tops are domed and a toothpick in the center comes out with a few moist crumbs. Don’t wait for the toothpick to look completely clean; a dry center is a sign they’ve stayed in too long. The goal is a set top with a tender middle, not a dry muffin.
What Pumpkin, Oil, and the Leaveners Each Bring to the Batter
- All-purpose flour — Spoon it into the measuring cup and level the top rather than scooping straight from the bag. That keeps extra flour from packing into the cup and weighing down the crumb. The standard all-purpose flour from the grocery store works well here.
- Canned pumpkin puree — Plain puree gives the muffins their pumpkin flavor and moist texture. Choose a can labeled pumpkin puree, not pumpkin pie filling, which is already sweetened and spiced. There’s no need to drain the puree.
- Baking powder and baking soda — Together, these give the batter lift and help it rise into domed muffins. If either container has been open for a long time, replace it; weak leaveners can leave the muffins flatter and denser.
- Cinnamon, ginger, and nutmeg — The combination gives the pumpkin a rounded, warm spice flavor without relying on a premixed pumpkin pie spice blend. Fresh, fragrant spices make a noticeable difference, but everyday ground spices are fine.
- Neutral oil — Vegetable or canola oil keeps the crumb tender and lets the pumpkin and spices come through. Either one works; there’s no need to buy a specialty oil for this batter.
- Eggs and granulated sugar — Large eggs help bind the batter, while granulated sugar sweetens it and contributes to its tender texture. Use the specified egg size so the wet-to-dry balance stays consistent.
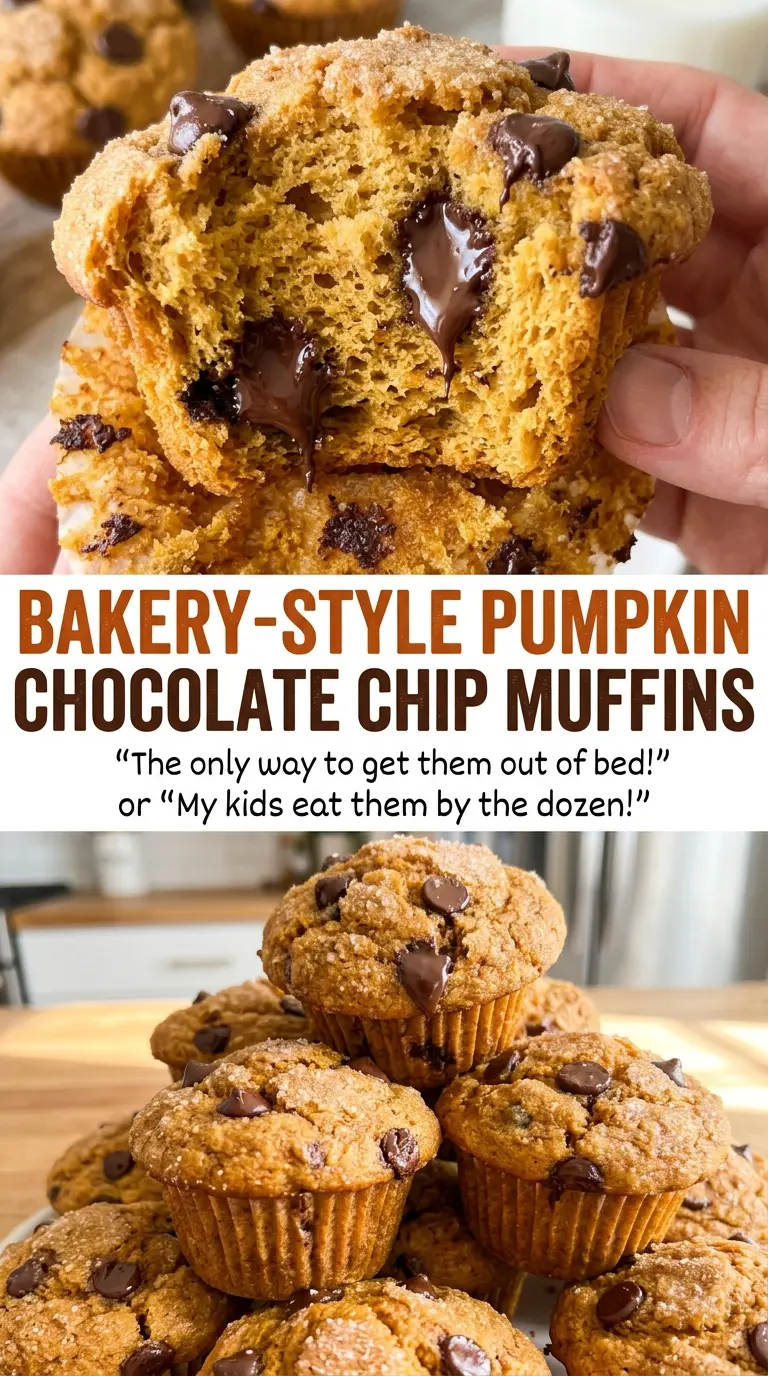
- Semisweet chocolate chips — Chips hold their shape enough to leave distinct chocolate pockets through the crumb. A familiar grocery-store brand works, or use chopped semisweet chocolate for a less uniform mix of little pieces and larger melted spots.
Mix the Batter Gently, Then Give It the Two-Temperature Bake
Whisk the Dry Ingredients Evenly
Heat the oven to 425°F and line a standard 12-cup muffin pan with paper liners. In a medium bowl, whisk together the flour, baking powder, baking soda, cinnamon, ginger, nutmeg, and salt. Take a moment to break up any small spice or leavener clumps so the dry mix looks evenly speckled. An even mix means you won’t find a concentrated pocket of baking soda or spice in one muffin.
Make the Pumpkin Mixture Smooth
In a large bowl, whisk the sugar, eggs, oil, pumpkin puree, and vanilla until the mixture looks smooth and evenly blended. Add the flour mixture and fold gently, stopping as soon as no dry streaks remain. The batter should look thick, not elastic or shiny from prolonged stirring. Fold in the chocolate chips last, using just enough turns to distribute them without working the flour any further.
Fill the Liners Nearly to the Top
Divide the batter evenly among the paper liners, filling each nearly to the top. A spoon or scoop makes it easier to keep the portions similar, so the muffins finish baking at about the same time. Wipe any batter from the pan surface before baking; stray batter can bake onto the pan around the liners. The generously filled cups give the batter room to rise into those rounded tops.
Start Hot, Then Lower the Temperature
Bake at 425°F for 5 minutes, then reduce the oven to 350°F without opening the door. Continue baking for 14–18 minutes, until the muffins look domed and a toothpick inserted into a muffin center comes out with a few moist crumbs. Begin checking at the shorter end of the range because ovens can vary. If the toothpick shows wet batter rather than a few crumbs, the centers need more time.
Cool Briefly in the Pan
Let the muffins cool in the pan for 5 minutes, then transfer them to a wire rack to cool. Use a gentle hand as you lift them; hot muffins are soft, and pulling a liner too quickly can split the base. Moving them to a rack after that brief rest lets air circulate around the sides and bottoms.
Three Easy Ways to Change the Chocolate and Spice
Make the Muffins Dairy-Free
Replace the semisweet chocolate chips with dairy-free semisweet chocolate chips. The pumpkin, oil, eggs, and spices stay the same, and the muffins keep their familiar chocolate-and-pumpkin combination.
Use Chopped Semisweet Chocolate
Swap the chips for chopped semisweet chocolate. The flavor stays close, but the pieces vary in size, so you’ll get some small flecks and a few softer, larger chocolate pockets.
Make Cinnamon the Only Spice
Leave out the ginger and nutmeg and keep the cinnamon. The pumpkin flavor comes through more plainly, with a familiar cinnamon warmth instead of the fuller, layered spice in the original muffins.
Storage and Reheating
- Refrigerator: Keep cooled muffins in an airtight container for up to 4 days. The chilled crumb will feel firmer than it does at room temperature.
- Freezer: Wrap the cooled muffins individually, then place them in a freezer-safe bag for up to 2 months. Thaw at room temperature before eating.
- Reheating: Warm a muffin in the microwave for about 10 seconds, adding a few seconds if needed. Long microwave heating can make the crumb tough, so warm it briefly.
Questions That Come Up When Baking Pumpkin Chocolate Chip Muffins
Bakery-Style Pumpkin Chocolate Chip Muffins
Ingredients
Equipment
Method
- Preheat the oven to 425°F and line a 12-cup standard muffin pan with paper liners.
- In a medium bowl, whisk together the flour, baking powder, baking soda, cinnamon, ginger, nutmeg, and salt.
- In a large bowl, whisk together the sugar, eggs, oil, pumpkin puree, and vanilla until smooth.
- Add the flour mixture to the pumpkin mixture and fold just until no dry streaks remain, then fold in the chocolate chips.
- Divide the batter evenly among the liners, filling them nearly to the top; bake at 425°F for 5 minutes, then reduce the oven to 350°F without opening the door and bake for 14–18 minutes, until domed and a toothpick inserted into a muffin center comes out with a few moist crumbs.
- Cool the muffins in the pan for 5 minutes, then transfer them to a wire rack to cool.