
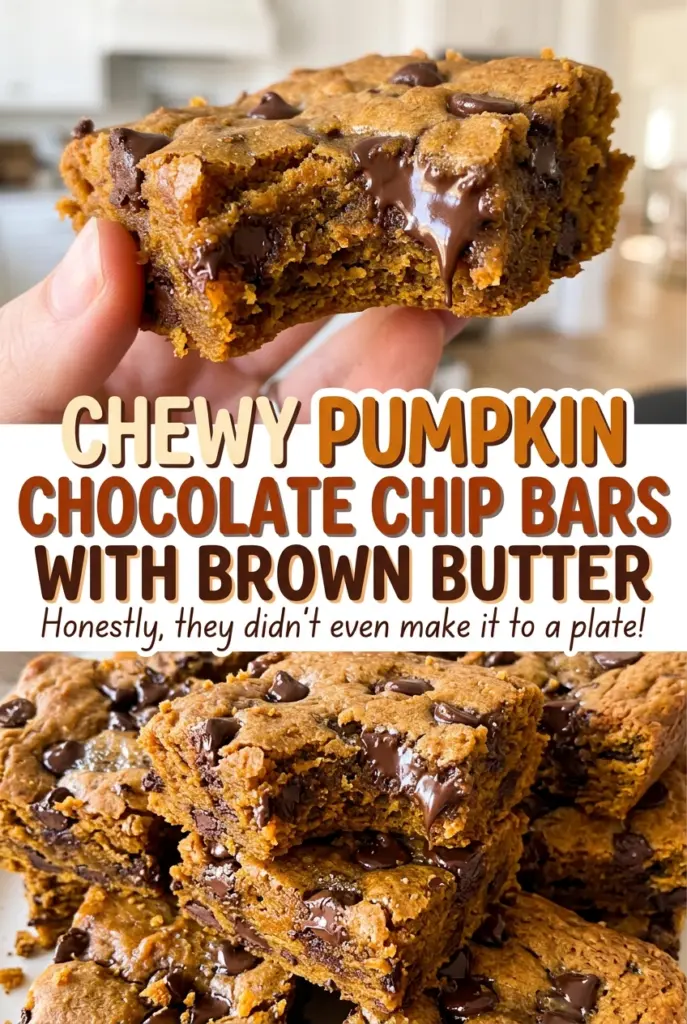
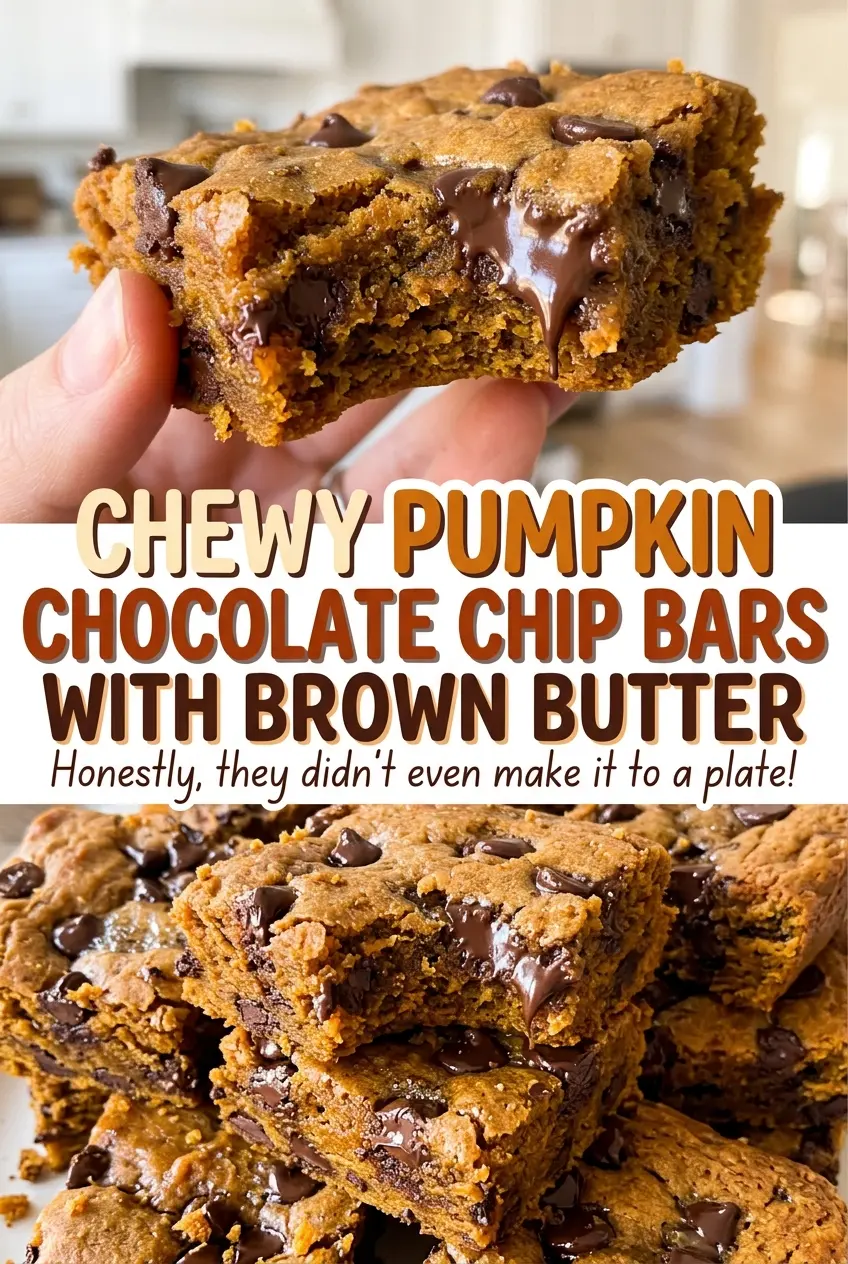
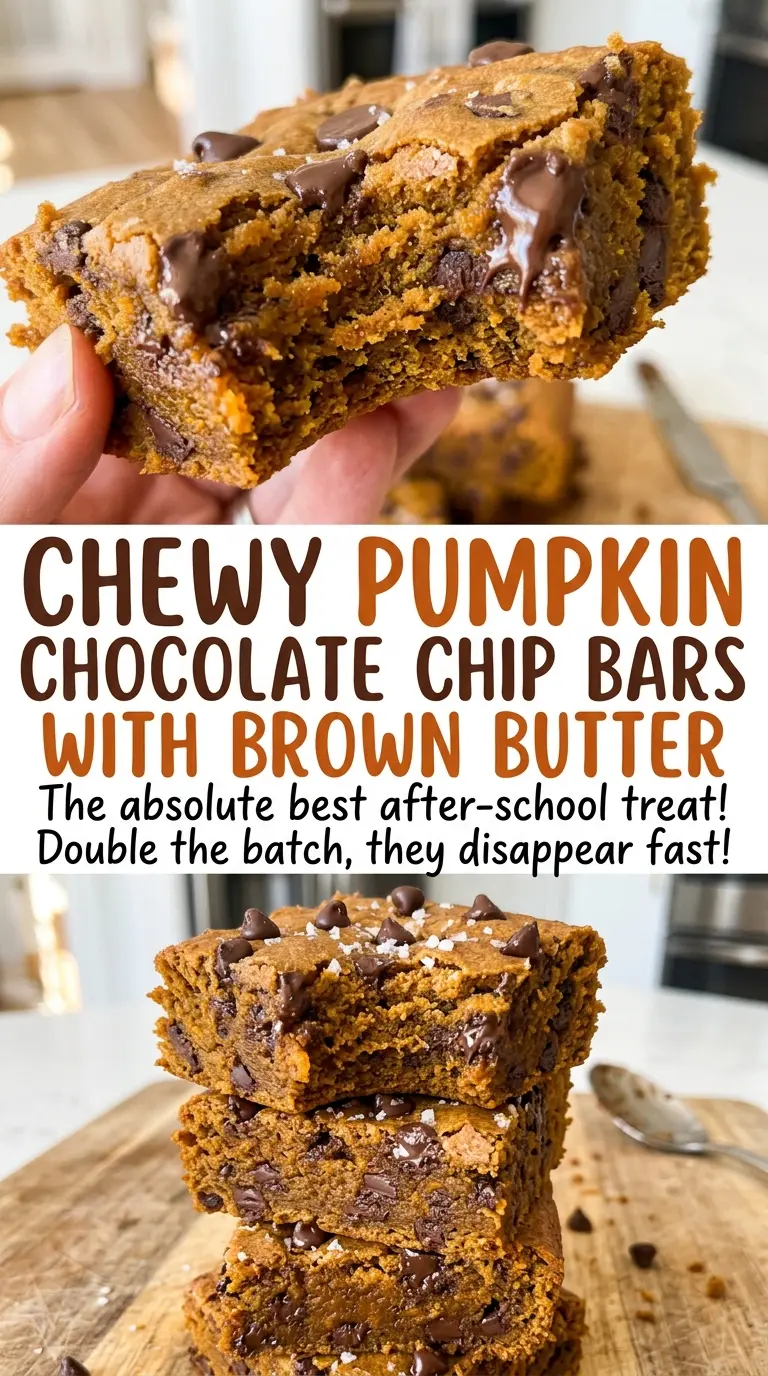
Chewy Pumpkin Chocolate Chip Bars with Brown Butter
The butter starts out quiet, then the milk solids turn golden and the whole kitchen smells nutty. That’s the moment to pour it out of the saucepan; a few seconds…
Tip: save now, cook later.The butter starts out quiet, then the milk solids turn golden and the whole kitchen smells nutty. That’s the moment to pour it out of the saucepan; a few seconds too long can take it from fragrant to bitter. These chewy pumpkin chocolate chip bars with brown butter get their deep, toasty flavor from that simple step, with chocolate chips tucked through every square.
Pumpkin brings moisture, which is lovely in a soft bar but can make the center cakey if the pan or bake time is off. I use a 9×13-inch metal pan and look for a center toothpick with moist crumbs, not a clean one. The bars finish setting as they cool, leaving the edges firm and the middle tender. Brown butter, warm spices, and semisweet chocolate make each bite taste like a proper fall bake without turning the bars into cake.
Kitchen Note
Stir the water into the browned butter as soon as it’s in the heatproof bowl. Browning drives off some of the butter’s moisture, and that little addition helps bring it back; don’t leave it out.
Save these chewy pumpkin chocolate chip bars with brown butter for a bake with tender centers, toasted butter flavor, and warm spice.
Why the 9×13 Metal Pan Matters for Chewy Centers
Bar batter has to spread far enough that the edges set before the middle dries out. In this 9×13-inch pan, the batter bakes in a relatively even layer: the perimeter firms up while the center still has a little give. A smaller pan would make a deeper layer, so the middle would need longer in the oven while the edges kept baking. That’s a tricky trade with a pumpkin batter, where a few extra minutes can take the texture from chewy to cakey.
Metal also responds more quickly to the oven’s heat than glass, which is why I stick with the specified metal pan rather than transferring the bake time to a different material. Parchment with overhang on two sides gives you a clean way to lift the cooled slab out, too. Keep the pan size and material consistent, and use the toothpick cue rather than waiting for a completely clean center. A few moist crumbs mean the bars are ready to come out and cool.
What Brown Butter, Pumpkin, and the Extra Yolk Each Bring
- Unsalted butter — Regular grocery-store butter works well; the milk solids are what brown and give the bars their nutty aroma, so a premium brand isn’t necessary. Use butter rather than a spread, which won’t brown the same way.
- Canned pumpkin puree — Plain puree gives the batter its pumpkin flavor and moisture. It’s a good place to choose a reliable can, since watery or uneven puree can change the batter’s consistency.
- Brown and granulated sugars — The brown sugar brings moisture and a caramel note, while granulated sugar balances the sweetness and helps the edges set. Packed brown sugar gives you a consistent result.
- Egg and egg yolk — The whole egg binds the batter; the extra yolk adds richness that supports a chewy, tender crumb. Room-temperature eggs blend more smoothly into the butter mixture than cold ones.
- All-purpose flour — It gives the bars enough structure to hold their shape once cut. Stir the dry ingredients together before folding them in, so the baking powder and spices are distributed without extra mixing.
- Cinnamon, ginger, and nutmeg — Together they round out the pumpkin without covering the chocolate. Fresh, fragrant spices make a difference here; if yours have been open for years, their warmth will be muted.
- Semisweet chocolate chips — They add a bittersweet contrast to the sweet, spiced batter and hold their shape in the oven. A standard bag is perfectly suitable; you don’t need specialty chocolate for these bars.
Brown the Butter, Fold Gently, and Pull the Bars on Time
Prepare the Pan and Heat the Oven
Heat the oven to 350°F with a rack in the center. Line a 9×13-inch metal pan with parchment, leaving overhang on two sides so you can lift the bars out later. Coat the parchment and the exposed sides of the pan with nonstick cooking spray. Getting the parchment settled before the batter is ready keeps you from rushing the next steps.
Watch the Butter Turn Deep Golden
Melt the butter in a 2-quart saucepan over medium heat, stirring often, for 5–8 minutes. It will foam as it cooks; watch for the milk solids to turn deep golden brown and smell nutty. If the solids darken toward black or the smell turns sharp and acrid, they’ve gone too far. Pour the butter and browned bits into a large heatproof bowl, stir in the water, and let it cool for 10–15 minutes, until warm but not hot.
Mix the Pumpkin Batter Without Overworking It
Whisk the pumpkin puree and both sugars into the butter until smooth, then whisk in the room-temperature egg, yolk, and vanilla until combined. In a separate medium bowl, whisk together the flour, baking powder, cinnamon, ginger, nutmeg, and salt. Fold the flour mixture into the pumpkin mixture just until no dry streaks remain; a few extra strokes aren’t helpful here. Fold in the chocolate chips, stopping once they’re spread through the batter.
Bake Until the Center Has Moist Crumbs
Spread the batter evenly in the prepared pan and bake for 25–32 minutes. The edges should look set, and a toothpick in the center should come out with a few moist crumbs but no wet batter. A clean toothpick is a sign to start checking earlier next time, not a goal for these chewy bars. Cool them completely in the pan on a wire rack, about 2 hours, then use the parchment to lift them out and cut into 16 bars.
Two Easy Ways to Change These Pumpkin Chocolate Chip Bars
Make the chocolate darker
Swap the semisweet chips for the same volume of dark chocolate chips. The result tastes less sweet and more cocoa-forward, which plays especially well with the toasted butter and pumpkin spices.
Make a gluten-free pan
Replace the all-purpose flour with a cup-for-cup gluten-free baking blend that includes xanthan gum, keeping the other ingredients and method the same. The bars will be a little more delicate, so let them cool completely before lifting and cutting.
Storage and Reheating
- Refrigerator: Keep the bars in an airtight container for up to 4 days. They’ll be firmer straight from the fridge than they are at room temperature.
- Freezer: Freeze completely cooled bars in a sealed container, with parchment between layers, for up to 2 months. Thaw in the refrigerator before serving.
- Reheating: Warm an individual bar in the microwave for about 10 seconds, then check it. Longer heating can melt the chocolate and dry out the edges.
Questions I Get Asked About These Pumpkin Bars
Chewy Pumpkin Chocolate Chip Bars with Brown Butter
Ingredients
Equipment
Method
- Heat the oven to 350°F and position a rack in the center.
- Line a 9x13-inch metal baking pan with parchment paper, leaving overhang on two sides, and coat the parchment and exposed sides with nonstick cooking spray.
- Melt the butter in a 2-quart saucepan over medium heat, stirring often, for 5–8 minutes until the milk solids are deep golden brown and smell nutty.
- Pour the butter and browned bits into a large heatproof bowl, stir in the water, and cool for 10–15 minutes until warm but not hot.
- Whisk the pumpkin puree, brown sugar, and granulated sugar into the butter until smooth.
- Whisk in the egg, egg yolk, and vanilla until combined.
- In a medium bowl, whisk together the flour, baking powder, cinnamon, ginger, nutmeg, and salt.
- Fold the flour mixture into the pumpkin mixture just until no dry streaks remain.
- Fold in the chocolate chips.
- Spread the batter evenly in the prepared pan and bake for 25–32 minutes, until the edges are set and a toothpick inserted in the center comes out with a few moist crumbs but no wet batter.
- Cool the bars completely in the pan on a wire rack, about 2 hours.
- Lift them out using the parchment and cut into 16 bars.