
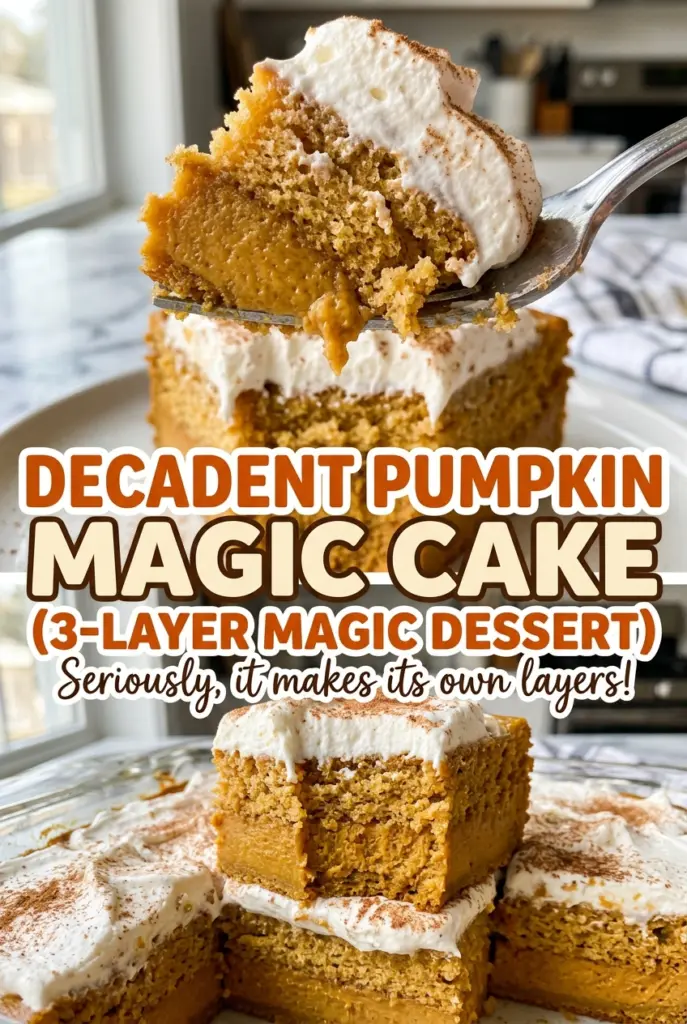
Decadent Pumpkin Magic Cake (3-Layer Magic Dessert)
Pumpkin pie has its place, but I wanted a dessert that could be cut into neat squares and still eat like custard. I tested this decadent pumpkin magic cake until…
Tip: save now, cook later.Pumpkin pie has its place, but I wanted a dessert that could be cut into neat squares and still eat like custard. I tested this decadent pumpkin magic cake until the center stayed tender while the edges held together, with pumpkin and spice in every bite. It goes into the oven as one pale batter, which makes the finished texture feel almost like a trick. It isn’t a firm sponge cake or loose pudding; it lands between the two.
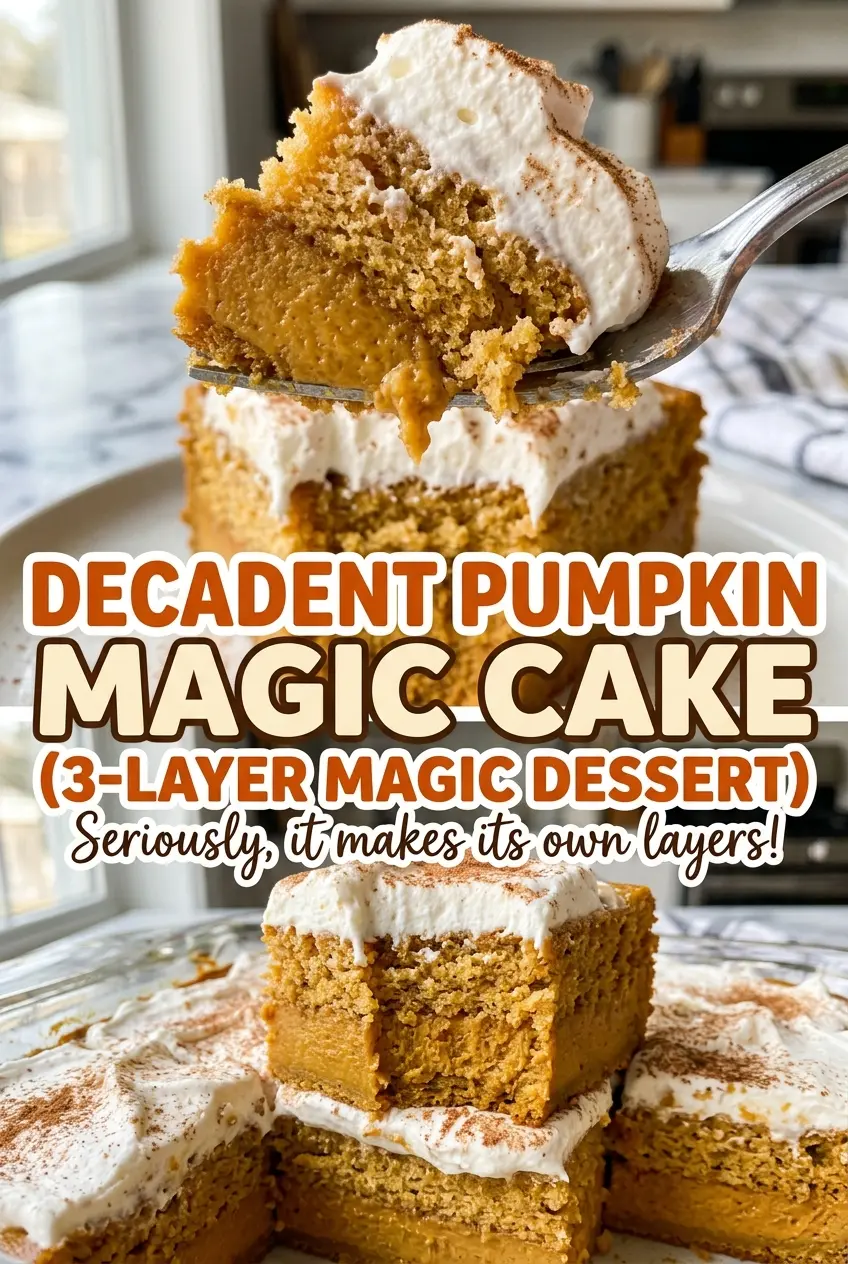
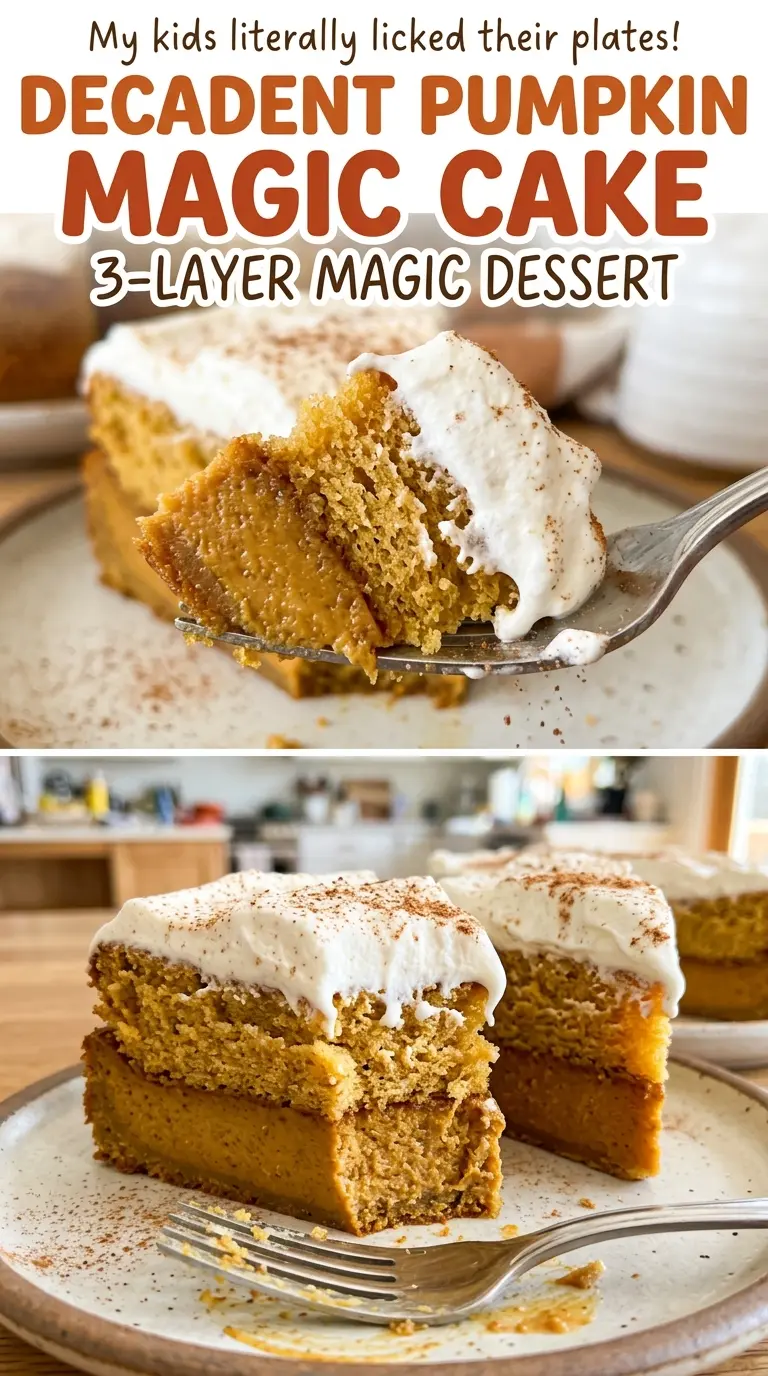
The top is lightly golden, the middle is soft and creamy, and the bottom has enough body to support a forkful. I like that the sweetness stays in the background instead of turning the pumpkin into candy. After chilling, the squares cut neatly and hold their shape, but they’re still delicate when you press a fork through. A little vanilla rounds out the spice, leaving the pumpkin clear and warm on the finish. Nothing needs a topping to make the pumpkin come through.
Kitchen Note
Grease the corners and sides of the square pan, not just the bottom. The soft edges are the first part to cling, and a thin, even coating helps each chilled square release cleanly.
Save this decadent pumpkin magic cake for its golden top, creamy middle, and easy-to-cut chilled squares.
Why the Batter Looks Too Thin Before the Three Layers Appear
This cake doesn’t get its layers from stacking separate mixtures. The yolk batter is deliberately loose once the milk is whisked in, while the beaten egg whites add air without turning the whole mixture into a conventional sponge cake. In the oven, that difference in weight and structure lets the cake settle into a denser base, a custardy middle, and a light top.
That is also why a thick, cake-like batter isn’t the goal here. Adding extra flour to make it look more familiar can weigh down the airy part and change the custard texture. The mixture should pour into the pan; it won’t look like cookie batter or a thick pumpkin loaf mix. Keep the egg-white flecks small, but don’t chase every last one until the batter is perfectly uniform. The three-layer effect comes from keeping the components distinct enough to settle naturally as the cake bakes.
The Ingredients That Let Pumpkin Custard Set Around an Airy Center
- Canned pumpkin puree — Choose plain pumpkin puree, not pumpkin pie filling, which is already sweetened and seasoned. The canned version is consistent and works well here; there isn’t a direct swap that keeps the same moisture and pumpkin flavor, so I stick with puree.
- Eggs — Separating the eggs is essential: the yolks enrich the base, and the whites supply the airy structure. Use large eggs and take care not to let yolk slip into the whites, since even a little can make them harder to whip.
- Whole milk — Its richness helps give the center a custardy texture. Lower-fat milk makes a less rich result; for a dairy-free version, use the soy milk swap in the variations below.
- Unsalted butter — Melt it and let it cool before adding it to the yolks. Unsalted butter keeps the salt level predictable, and an ordinary grocery-store butter works well; for a dairy-free adaptation, use unsalted plant-based butter.
- All-purpose flour — It gives the cake enough structure to hold its layers. Measure it without packing it into the cup; for a gluten-free version, use a cup-for-cup gluten-free baking blend made for direct replacement.
- Pumpkin pie spice and vanilla — A standard grocery-store pumpkin pie spice is fine; the vanilla rounds out its warm, familiar aroma. If you don’t have pumpkin pie spice, ground cinnamon can replace it in the same amount, though the result will taste simpler and less layered.
- Granulated sugar — It sweetens the pumpkin and helps the batter bake into a tender custard. I wouldn’t swap in a coarse sugar, which may not dissolve as evenly during the short mixing time.
Building the Batter Without Knocking Out the Layers
Whisking the Pumpkin Base
Heat the oven to 325°F and grease an 8-inch square baking pan. Beat the egg yolks with the sugar until the mixture looks pale and thick, about 2 minutes; this gives the base a smooth start. Beat in the melted, cooled butter, pumpkin puree, vanilla, pumpkin pie spice, and salt until combined. If the butter is still hot, give it more time to cool before it meets the yolks.
Loosening the Batter with Milk
Whisk in the flour just until the batter is smooth, without continuing to beat once the last dry streak disappears. Warm the milk until lukewarm, about 100°F, then whisk it in gradually. Adding it in stages helps the mixture come together evenly instead of leaving pockets of flour or a slick of butter. The finished batter should be loose enough to pour.
Folding in the Whipped Whites
In a separate clean bowl, beat the egg whites until they hold stiff peaks, about 3 to 4 minutes. Add the whites to the pumpkin mixture in three additions, folding gently so you don’t knock out all the air. Stop when no large clumps remain; small flecks of white are fine. If you keep folding until every fleck disappears, the batter loses more of the lift that helps create the light upper layer.
Baking Until the Center Sets
Pour the batter into the prepared pan and bake for 50 to 60 minutes, until the top is golden and the center is set with a slight wobble. Check the center with an instant-read thermometer; it should register at least 160°F. A browned top alone isn’t enough to judge the center. Cool the cake completely in the pan, then refrigerate it for at least 2 hours before cutting it into squares.
Small Changes That Keep the Cake’s Custard Texture
A Dairy-Free Pumpkin Cake
Replace the whole milk with unsweetened, unflavored soy milk and use unsalted plant-based butter in place of the dairy butter, in the same amounts. Soy milk gives the batter body, though the finished cake will taste a little less rich than the version made with whole milk.
A Gluten-Free Version That Still Slices
Swap the all-purpose flour for a cup-for-cup gluten-free baking blend intended to replace all-purpose flour. The custard layers remain, but the cake may have a slightly softer or more delicate crumb, so chill it fully before cutting.
A Bolder Pumpkin-Spice Note
Increase the pumpkin pie spice slightly for a more pronounced spice taste. The pumpkin stays present, but the finish leans warmer and more aromatic; keep the other ingredients unchanged so the cake’s texture stays balanced.
Storage and Reheating
- Refrigerator: Keep covered and refrigerated for up to 3 days. The chilled custard stays soft, while the top may lose a little of its freshly baked crispness.
- Freezer: Freezing isn’t recommended; thawing can make the custard layer watery and the delicate layers less distinct.
- Reheating: Serve chilled rather than reheating. Warming can soften the set custard and make the squares harder to handle.
Questions That Come Up Before You Cut the First Square
Decadent Pumpkin Magic Cake (3-Layer Magic Dessert)
Ingredients
Equipment
Method
- Heat the oven to 325°F.
- Grease an 8-inch square baking pan.
- In a large bowl, beat the egg yolks and sugar until pale and thick, about 2 minutes.
- Beat in the melted butter, pumpkin puree, vanilla, pumpkin pie spice, and salt.
- Whisk in the flour just until smooth.
- Warm the milk until lukewarm, about 100°F.
- Gradually whisk the milk into the pumpkin mixture until combined.
- In a separate clean bowl, beat the egg whites to stiff peaks, about 3 to 4 minutes.
- Fold the egg whites into the pumpkin mixture in three additions, stopping when no large clumps remain; small flecks of egg white are fine.
- Pour the batter into the prepared pan.
- Bake for 50 to 60 minutes, until the top is golden and the center is set with a slight wobble; an instant-read thermometer in the center should register at least 160°F.
- Cool completely in the pan, then refrigerate for at least 2 hours before cutting into squares.