

Easy Halloween Chocolate-Covered Pretzels: Sweet & Salty Treat
The chocolate pulls into a glossy ribbon as each pretzel rod comes out of the container, then settles into a thin, even coating. That’s the moment these Halloween chocolate-covered pretzels…
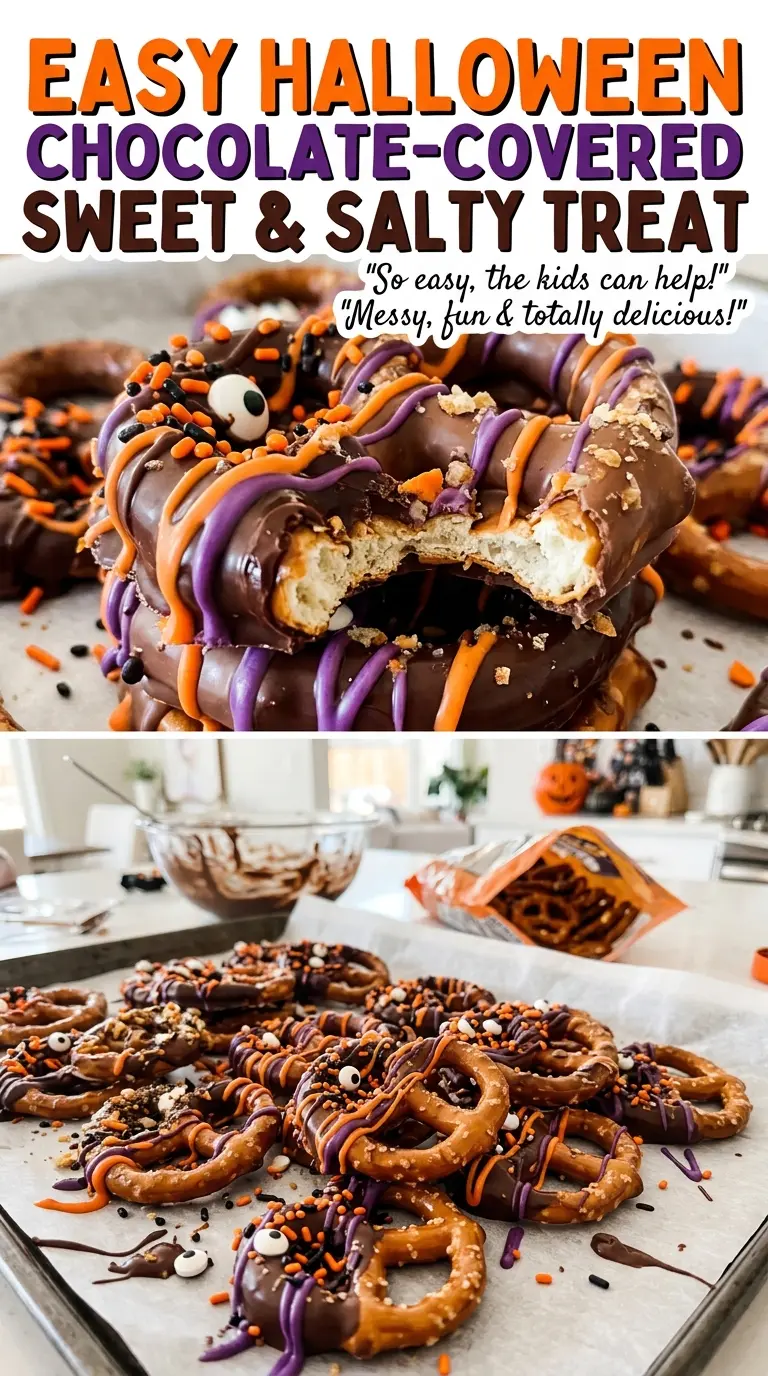
Tip: save now, cook later.The chocolate pulls into a glossy ribbon as each pretzel rod comes out of the container, then settles into a thin, even coating. That’s the moment these Halloween chocolate-covered pretzels get their sweet-and-salty balance: enough chocolate to cover most of the crisp rod, with a bare section left for an easy handle. I make them when I want a festive treat that doesn’t require baking or a long list of ingredients.
Melting wafers make the dipping manageable because they melt into a smooth coating, and using a tall microwave-safe container gives the chocolate enough depth for the rods. I work in short bursts and stir between them rather than rushing the microwave. The finished pretzels set right on a parchment-lined baking sheet, with Halloween sprinkles pressed into the coating while it’s still wet. You’ll have 24 chocolate-dipped rods ready once the coating turns firm.

Kitchen Note
Set the sprinkles within reach before you start dipping. Add them as soon as each coated rod lands on the parchment, while the chocolate is still soft enough to hold them in place.
Save these Halloween chocolate-covered pretzels for a sweet-and-salty treat with a crisp pretzel center and a festive sprinkle finish.
The Tall Container Is Doing More Than Holding the Chocolate
A tall container gives the melted wafers enough depth to coat the rods without needing to fill a wide, shallow dish. That matters with pretzel rods: dipping about two-thirds of each one means the coating needs to reach high enough to cover the edible portion while leaving a dry end to hold. The container’s sides also give you room to tilt a rod gently through the chocolate instead of dragging it across the bottom.
Let the excess chocolate drip back into the container before moving each rod to the lined baking sheet. That pause helps avoid a thick puddle collecting underneath the pretzel, which can make the finished piece harder to lift cleanly. Keep the bare end clear of chocolate, too. It gives you a convenient grip and keeps the treat from becoming one solid, overly heavy coating from end to end.
What the Wafers, Rods, and Sprinkles Each Bring
- Chocolate melting wafers — These are made to melt into a coating, so they’re a practical choice for dipping and setting. Use a fresh, dry batch and a microwave-safe container; moisture in the chocolate can make it seize. A different brand of melting wafers is the closest like-for-like alternative, since the recipe depends on a smooth, dip-able coating.
- Pretzel rods — The long shape gives you a sturdy handle and a good amount of crisp, salty pretzel under the chocolate. Look for intact rods, since a crack can make dipping awkward. For a gluten-free adaptation, use gluten-free pretzel rods in their place and choose gluten-free versions of the wafers and sprinkles as well; the texture of the rods may differ slightly.
- Halloween sprinkles — Their main job is to add a festive finish and a little extra crunch. Any Halloween sprinkle mix works, so the look matters more than a particular brand. If the mix has a range of shapes, smaller pieces tend to sit neatly on the coated surface.
The Four Moments That Keep the Coating Smooth and Neat
Line the Baking Sheet Before You Melt
Cover a rimmed baking sheet with parchment paper before you start heating the chocolate. Once the wafers are smooth, you’ll want to move straight into dipping, and a prepared pan gives every rod a place to land. The rim helps keep the parchment and pretzels contained on the sheet. Set the pan on a level surface so the coating doesn’t slide toward one side as it begins to set.
Melt the Wafers in Short Bursts
Put the wafers in a tall, microwave-safe container and heat for 30 seconds, then stir. Continue in 15-second intervals, stirring after each one, until the chocolate is smooth. The wafers may hold their shape even as they soften, so stirring helps you see whether more heat is needed. Avoid one long microwave cycle; the short intervals make it easier to stop as soon as the coating is fluid.
Dip, Drain, and Decorate
Lower about two-thirds of a pretzel rod into the chocolate, then lift it and let the excess drip back into the container. If the coating looks heavy, give it another moment over the container instead of moving the rod immediately. Set it on the parchment and add Halloween sprinkles right away. Repeat with the remaining rods, keeping the exposed ends free of chocolate.
Wait for the Coating to Turn Firm
Leave the dipped pretzels at room temperature for 30 to 45 minutes. The chocolate should look firm rather than glossy-wet, and it shouldn’t smear when you gently touch the edge of a coating. If the center of a rod still feels soft under the chocolate, give it more time before lifting it from the parchment. Once set, the coating will hold the sprinkles in place.
Small Changes for Different Diets and Halloween Looks
Make the Batch Gluten-Free
Replace the pretzel rods with gluten-free pretzel rods, and use gluten-free chocolate melting wafers and Halloween sprinkles. Keep the same dipping and setting method. Gluten-free rods can have a different shape or texture, so handle them gently as you coat them.
Switch to a White Chocolate Finish
Use white chocolate melting wafers in place of the chocolate wafers for a sweeter, lighter-colored coating that makes the Halloween sprinkles stand out. Melt them with the same short microwave intervals and stir between each one. Keep an eye on the texture as they melt, since different wafers can soften at different rates.
Give Each Rod Its Own Sprinkle Pattern
Sort the pieces in your Halloween sprinkle mix by shape or color, then use a different group on different rods. The ingredients stay the same, but the finished batch looks more varied on a platter. Keep the portions small enough that the sprinkles cling to the coating rather than sliding off.
Storage and Reheating
- Refrigerator: Store in an airtight container for up to 2 weeks. Chilling can dull the chocolate or leave condensation on the surface, so keep the container closed while it comes back to room temperature.
- Freezer: They freeze, though the pretzels may lose some crispness after thawing. Pack them in an airtight container with parchment between layers and use within 2 months for the best texture; thaw while the container is still closed.
- Reheating: These don’t need reheating. Heat softens the coating, so leave them at room temperature until ready to serve instead of warming them.
Answers to the Pretzel Problems That Come Up Mid-Dip
Easy Halloween Chocolate-Covered Pretzels: Sweet & Salty Treat
Ingredients
Equipment
Method
- Line a rimmed baking sheet with parchment paper.
- Put the chocolate wafers in a tall, microwave-safe container and microwave for 30 seconds.
- Stir, then continue microwaving in 15-second intervals, stirring each time, until smooth.
- Dip about two-thirds of each pretzel rod into the chocolate, letting excess drip back into the container.
- Place each dipped pretzel rod on the prepared baking sheet.
- Immediately add sprinkles.
- Let the pretzels set at room temperature for 30 to 45 minutes, until the chocolate is firm.