
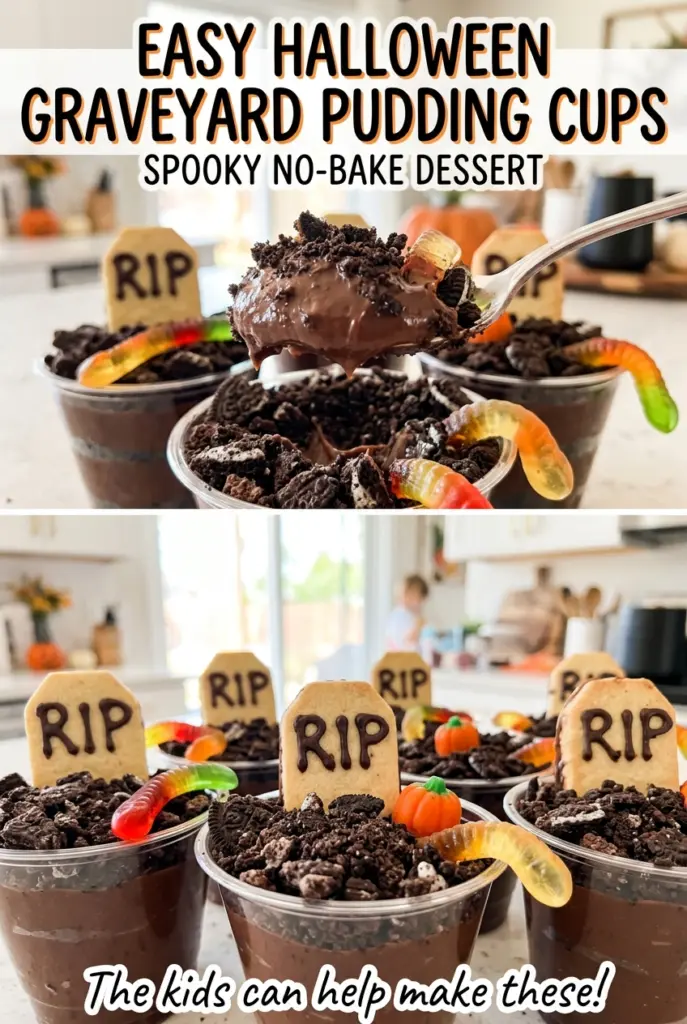
Easy Halloween Graveyard Pudding Cups: Spooky No-Bake Dessert
The first thing that makes these cups feel like a graveyard is the layer of chocolate crumbs: one minute the pudding is smooth and glossy, and the next it looks…
Tip: save now, cook later.The first thing that makes these cups feel like a graveyard is the layer of chocolate crumbs: one minute the pudding is smooth and glossy, and the next it looks like a little patch of dark soil. Clear cups show that contrast especially well, and a cookie tombstone turns each portion into its own small scene. These Halloween graveyard pudding cups keep the fun in the decorating, not in a fussy dessert that needs an oven or a long list of ingredients.
I like the way instant pudding makes the base straightforward, but it still needs its full whisk and setting time. The cold milk helps it thicken, and the short rest gives the mixture a chance to settle before it goes into the cups. Once the pudding is chilled, the fine cookie crumbs sit neatly on top instead of disappearing into a soft surface. Add the RIP cookies and gummy worms, and you have a spoonable chocolate dessert with a crisp, crumbly finish and a little Halloween mischief in every cup.
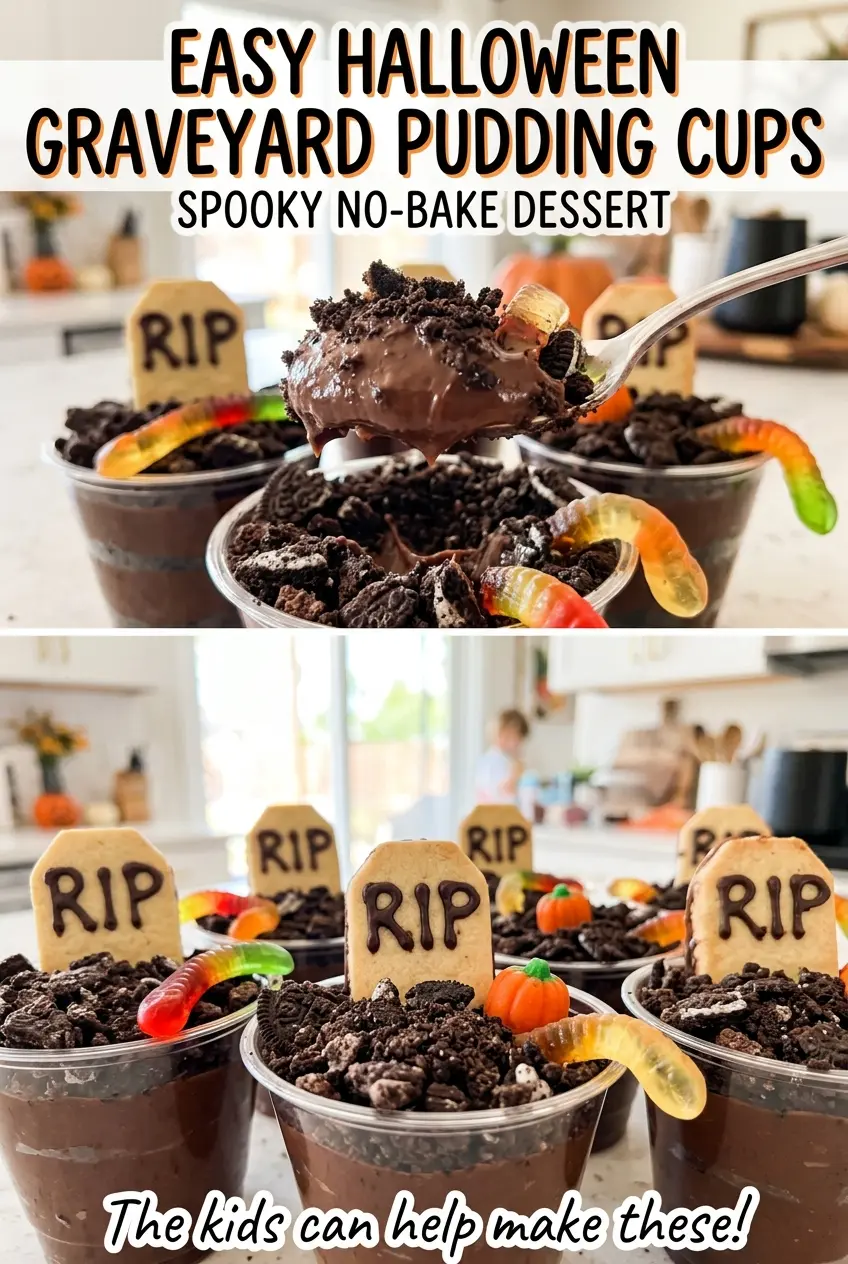
Kitchen Note
Write RIP on the Milano cookies while they’re flat on the counter. It’s much easier to steady a cookie and guide the gel before it’s standing in a cup of pudding.
Save these Halloween graveyard pudding cups for a no-bake chocolate treat with cookie-crumb soil, RIP tombstones, and gummy worms.
Why the Crumb Layer Belongs on Cold, Set Pudding
These cups work because each part has a clear job. The pudding is the soft, creamy base; the sandwich-cookie crumbs bring a drier, more crumbly texture that reads as soil. On a chilled pudding surface, the topping stays visible as its own layer, so the first spoonful gets both textures instead of a mouthful of crumbs stirred through the pudding.
That contrast is also what makes the decorations look convincing. In a clear cup, the dark topping sits above the chocolate pudding, while the Milano cookie gives the eye a vertical tombstone shape. The gummy worm adds a bright, unmistakable detail without needing extra frosting or candy. Fine crumbs help the surface look even, but you don’t need to pack them down; a loose layer looks more like dirt and stays easier to scoop.
Keep the proportions simple and let the different textures do the work. If the topping is too coarse, it looks more like broken cookies than a blanket of soil. If it’s pressed into a firm layer, the spoon has to break through it before reaching the pudding. A light, even scatter gives each cup the right balance.
What Each Ingredient Does in These Graveyard Cups
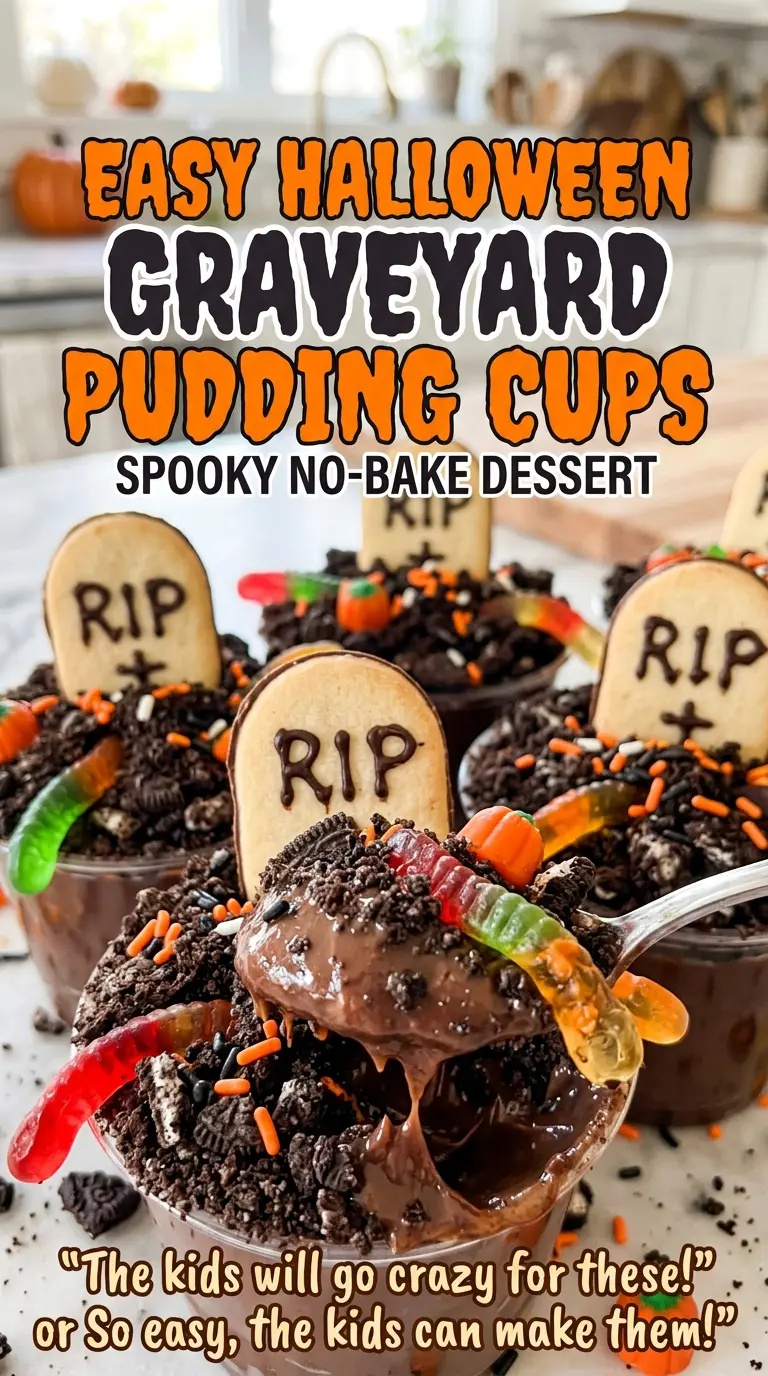
- Instant chocolate pudding mix — Instant mix gives the cups their no-bake structure and chocolate base. Use instant pudding rather than cook-and-serve; the latter depends on cooking and won’t thicken on the same schedule. The package size matters to the milk ratio, so use the specified packages rather than estimating with a different size.
- Cold milk — Cold milk is what lets instant pudding thicken as you whisk. Keep it cold until you’re ready to mix, and measure accurately; too much milk leaves the pudding looser and less able to hold the crumb topping. The pudding mix is already flavored, so there’s no need to add anything else to the base.
- Chocolate sandwich cookies — These make the dark crumb layer and bring a little crunch against the smooth pudding. A fresh, crisp package crushes into finer crumbs than cookies that have gone soft. Crush the whole cookies, filling and all, so the crumbs hold together slightly instead of becoming dry cocoa-like dust.
- Milano cookies and black decorating gel — Milano cookies have a flat, elongated shape that makes a natural tombstone, and the gel gives the “RIP” lettering contrast. Keep the writing simple and bold; a short inscription is easier to read on the cookie than small, crowded lettering.
- Gummy worms — One worm per cup adds a chewy, brightly colored accent against the chocolate. Choose gummies that are soft enough to bend when you place them, rather than stiff pieces that may tug at the crumbs or tip the cookie.
From Smooth Pudding to a Finished Graveyard
Whisk Until the Pudding Starts to Thicken
Put the instant pudding mix and cold milk in a large bowl, then whisk for 2 minutes. The mixture should look smooth, with no dry pockets of powder, and begin to thicken as you work. Scrape around the sides and bottom of the bowl so loose mix doesn’t stay stuck there. If it still looks thin right after whisking, give it the full standing time before deciding something went wrong.
Let It Set Before Filling the Cups
Let the pudding stand for 5 minutes, then divide it among six clear 10-ounce dessert cups. The pause gives the pudding more time to thicken, making it easier to portion without splashing the sides of the cups. Refrigerate the filled cups for 30 minutes before adding the crumbs. That chill gives the surface time to firm up, so the topping stays distinct.
Make a Fine Cookie-Crumb Soil
Crush the chocolate sandwich cookies into fine crumbs, then divide them over the chilled pudding. Aim for small, even pieces rather than large chunks; the finer texture covers the surface more neatly and is easier to scoop. Spread the crumbs gently across the top instead of pressing them into the pudding. If a few crumbs fall against the inside of a cup, leave them there—the scattered look suits the graveyard theme.
Write the Tombstones and Decorate
Write “RIP” on each Milano cookie with black decorating gel. Press one cookie halfway into each cup so it stands upright, then add one gummy worm. If a cookie leans, adjust it while the crumbs are still loose rather than pushing it farther down into the pudding. Keep the tombstones visible above the crumb layer so the lettering can be seen.
Small Changes That Keep the Graveyard Theme
Make chocolate dirt cups without the tombstones
Leave off the Milano cookies, black gel, and gummy worms, and keep the pudding topped with the sandwich-cookie crumbs. The result is a simpler chocolate dirt cup with the same smooth-and-crumbly contrast, just without the graveyard decorations.
Leave a patch of pudding showing
Instead of spreading the crumbs over the entire surface, cover one side of each cup and leave a crescent of chocolate pudding exposed. It gives the cups a more broken-ground look and lets the smooth pudding show through, while the tombstone and gummy worm still make the theme clear.
Make-Ahead and Serving
- Refrigerator: Cover the cups and refrigerate for up to 2 days. The pudding stays spoonable, though the cookie crumbs soften as they sit.
- Freezer: Freezing isn’t a good fit for these cups. The pudding can thaw with a grainy or watery texture, and the cookie layer loses its crumbly texture.
- Serving: Serve cold. For the crispest topping, keep the crumbs and decorations separate until close to serving, then finish each cup shortly before it goes to the table.
Questions That Come Up While Making These Pudding Cups
Easy Halloween Graveyard Pudding Cups: Spooky No-Bake Dessert
Ingredients
Equipment
Method
- Whisk the pudding mix and cold milk in a large bowl for 2 minutes, until smooth and beginning to thicken.
- Let the pudding stand for 5 minutes.
- Divide the pudding among six 10-ounce clear dessert cups.
- Refrigerate for 30 minutes.
- Crush the chocolate sandwich cookies into fine crumbs.
- Divide the crumbs over the chilled pudding.
- Write “RIP” on each Milano cookie with decorating gel.
- Press one cookie halfway into each cup.
- Add one gummy worm to each cup.