
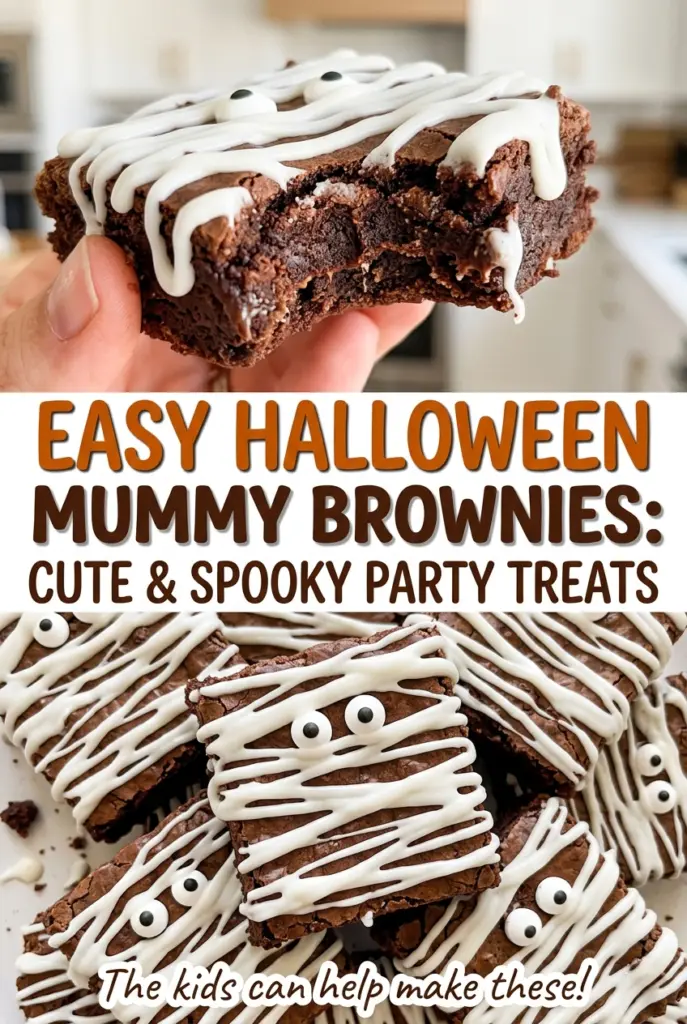
Easy Halloween Mummy Brownies: Cute & Spooky Party Treats
A tray of plain brownie squares is easy to portion, but it doesn't look like much beside a table of decorated treats. That's where these mummy brownies earn their stripes:…
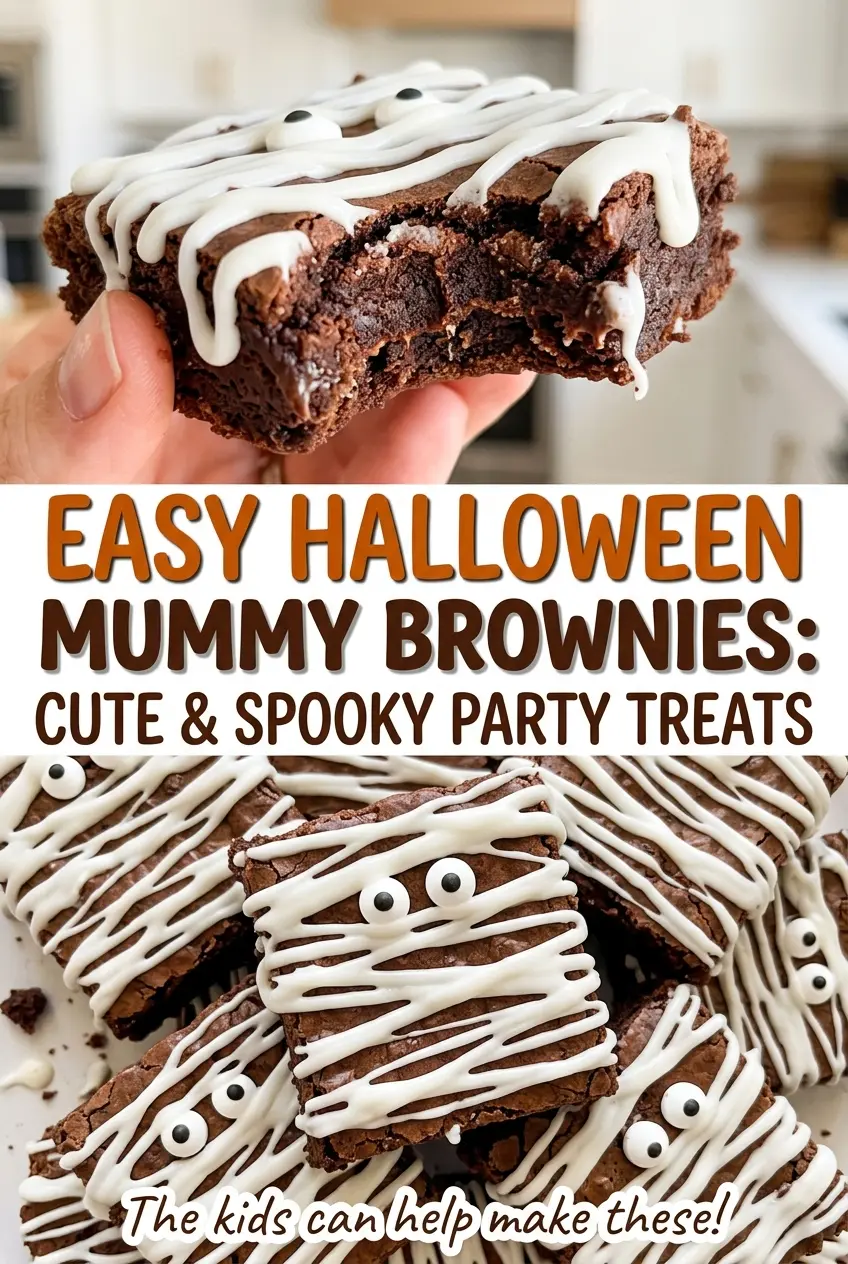
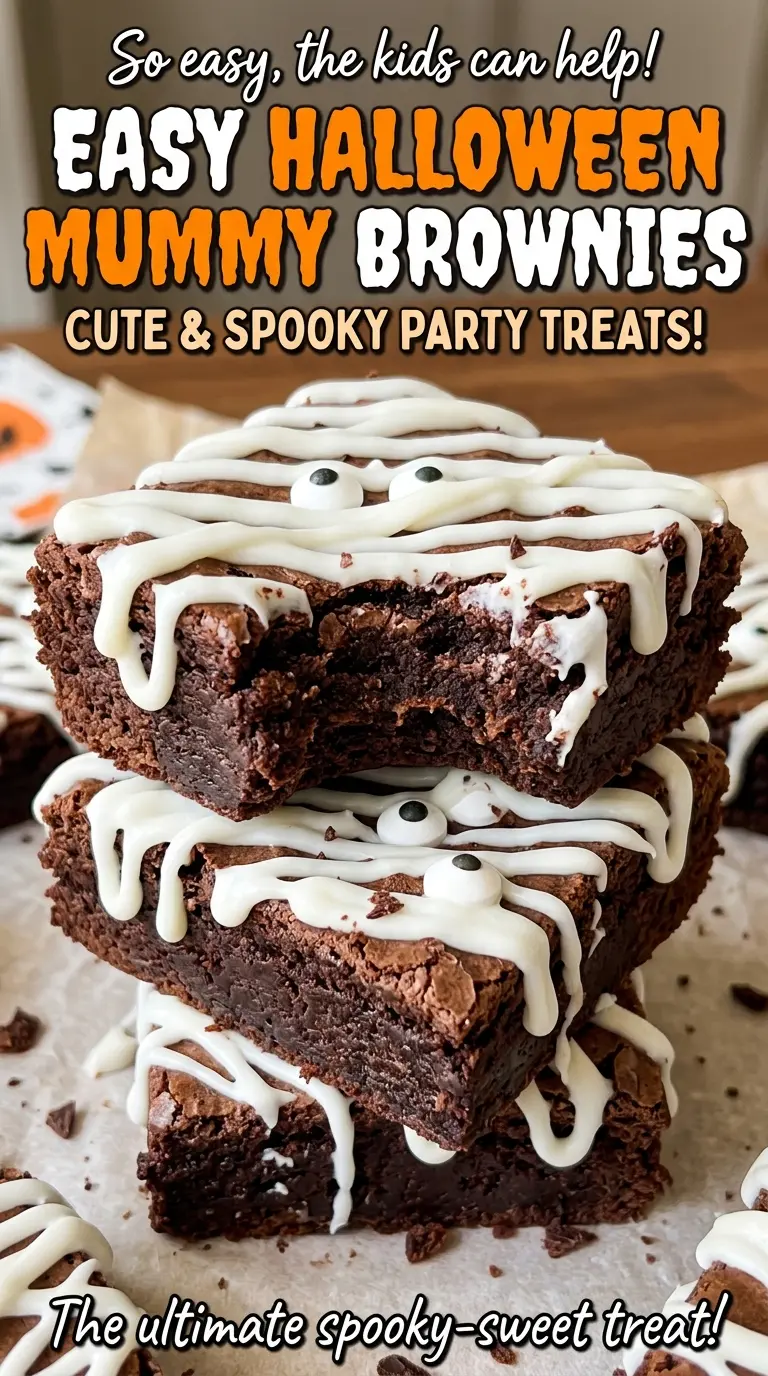
Tip: save now, cook later.A tray of plain brownie squares is easy to portion, but it doesn’t look like much beside a table of decorated treats. That’s where these mummy brownies earn their stripes: a soft, cocoa-rich square gets uneven bands of vanilla frosting and two candy eyes, turning a simple pan of brownies into an easy Halloween party treat. I like that each piece starts as a square, so the decoration can be done one at a time and no two bandages need to match.
The brownie base is rich and chocolatey, with a sweet vanilla finish and a little candy crunch from the eyes. The mummy look is playful without requiring shaped dough or a pile of decorating supplies. A zip-top bag does the piping, and the imperfect frosting lines are part of the charm. Set the finished squares on a platter and they look like a whole crowd of tiny mummies, ready to disappear one brownie at a time.
Kitchen Note
Wait until the brownies are completely cool before adding the frosting. Even a little warmth softens the lines and makes the candy eyes slide, so let the pan cool all the way through before decorating.
Save these Halloween mummy brownies for a party tray with cocoa-rich squares, sweet frosting bandages, and candy eyes.
Why These Cocoa Brownies Hold Their Shape Under the Mummy Bandages
These brownies are meant to be compact and tender, not airy like a sheet cake. The batter has no baking powder or baking soda, so it doesn’t rise into a fluffy crumb that would make a thin frosting line sink or disappear. Cocoa gives the brownies their chocolate flavor without adding melted chocolate that could make the batter heavier or harder to portion.
The texture also depends on how the flour is handled. There’s enough all-purpose flour to help the squares hold together once they’re cut, but mixing it more than necessary can make the crumb tougher. That balance gives you a brownie that feels soft when you bite into it and still supports the frosting and candy eyes. It’s a useful distinction if you’re used to cakey brownies: these should look dense, not tall and springy.
Because the decoration is applied to individual squares, even a small difference in the cut edges won’t spoil the finished look. The frosting can cross the top in loose, uneven bands, and the visible brownie between them gives each mummy its own expression. Think of the topping as a quick costume rather than precise piping work.
What the Cocoa, Butter, and Frosting Each Bring to These Mummies
- Unsweetened cocoa powder — This is the brownies’ main chocolate flavor, so use cocoa you enjoy tasting on its own. A standard unsweetened cocoa powder works well; sweetened cocoa drink mix is not a direct substitute because it adds sugar and other ingredients.
- Unsalted butter — Butter gives the base its richness and helps the cocoa and sugar come together. If salted butter is what you have, use it and leave out the separately added salt; the brownies will taste a little saltier depending on the brand.
- Large eggs — Eggs give the brownies structure as well as richness. Stick with large eggs for the intended balance; changing the egg size can alter how firmly the squares set.
- All-purpose flour — This keeps the brownies sturdy enough to cut and decorate. For a gluten-free version, use a cup-for-cup gluten-free baking flour made to replace wheat flour; the finished crumb may be a little more delicate.
- Vanilla frosting and candy eyes — Room-temperature frosting is easier to pipe through a small opening, while the eyes make the mummy faces instantly recognizable. A thick vanilla frosting is easiest to control; a loose or whipped frosting is more likely to spread instead of holding its lines.
From Cocoa Batter to Frosted Mummy Squares
Set up the pan so the brownies lift out cleanly
Heat the oven to 350°F and line a 9×13-inch metal baking pan with parchment, leaving overhang on two sides. Lightly coat the parchment and the exposed sides of the pan with cooking spray. The overhang gives you a way to lift the cooled slab out without digging a spatula into the edges. Use a metal pan for the bake time here; a different material can change how quickly the brownies cook.
Make the cocoa base and give it a short rest
Melt the butter in a large microwave-safe bowl in 30-second bursts. Whisk in the granulated sugar and unsweetened cocoa powder until combined, then let the mixture cool for 5 minutes. It should look thick and dark, with the cocoa incorporated rather than sitting in dry patches. That brief cooling period keeps the mixture from being too hot when the eggs go in.
Add the eggs, then fold in the flour
Whisk in the eggs one at a time, then whisk in the vanilla extract. Add the flour and salt and fold just until no dry streaks remain. Stop once the flour disappears; continuing to stir after that point can make the brownies tougher. Spread the batter evenly in the prepared pan so the center and edges bake at a similar pace.
Pull the pan when the center still has moist crumbs
Bake for 25 to 30 minutes, until the edges are set and a toothpick inserted in the center comes out with a few moist crumbs. A toothpick coated in wet batter means the center needs more time, while one that comes out completely clean can be a sign the brownies have gone too far. Start checking at the lower end of the baking range, since ovens can vary. Let the edges guide you along with the toothpick; they should look set rather than liquid.
Cut the cooled brownies, then pipe the bandages
Cool the brownies completely in the pan for at least 2 hours. Lift them out by the parchment overhang and cut them into 16 squares. Spoon the room-temperature vanilla frosting into a small zip-top bag, push it into one corner, and snip a small opening. Pipe uneven, overlapping lines across each square, leave a small space for the eyes, and press two candy eyes onto each brownie.
Easy Ways to Change the Mummy Look or Make a Gluten-Free Pan
Use a cup-for-cup gluten-free flour
Replace the all-purpose flour with the same amount of a gluten-free baking flour labeled as a cup-for-cup or 1-to-1 replacement. The brownies may have a slightly more delicate crumb, so let them cool fully before lifting and cutting them.
Pipe a cleaner, graphic bandage pattern
For a neater look, pipe longer, more parallel frosting lines instead of loose crisscrossing bands. Keep a clear patch for the eyes on each square. The mummies will look more uniform, though you’ll lose some of the playful, hand-wrapped effect.
Serve the cocoa brownies without decorations
Skip the frosting and candy eyes for plain cocoa brownies. You’ll get a less sweet finish and a simpler square that’s easier to pack or serve, but it won’t have the recognizable mummy look.
Storage and Reheating
- Refrigerator: Store the decorated brownies in an airtight container for up to 5 days. The frosting firms up and the brownie texture becomes denser when chilled.
- Freezer: Freeze the undecorated brownie slab or squares, wrapped tightly, for up to 2 months. Thaw before adding frosting and candy eyes for the best-looking finish.
- Reheating: These brownies are best served at room temperature, so let chilled pieces sit out until the frosting softens. Don’t microwave decorated brownies; the frosting can melt and the candy eyes may shift.
Questions That Come Up When Baking Mummy Brownies
Easy Halloween Mummy Brownies: Cute & Spooky Party Treats
Ingredients
Equipment
Method
- Heat the oven to 350°F.
- Line a 9x13-inch metal baking pan with parchment paper, leaving overhang on two sides, then lightly coat the parchment and exposed sides with cooking spray.
- Melt the butter in a large microwave-safe bowl, using 30-second bursts.
- Whisk in the sugar and cocoa powder until combined, then let the mixture cool for 5 minutes.
- Whisk in the eggs one at a time.
- Whisk in the vanilla extract.
- Fold in the flour and salt just until no dry streaks remain.
- Spread the batter evenly in the prepared pan.
- Bake for 25 to 30 minutes, until the edges are set and a toothpick inserted in the center comes out with a few moist crumbs.
- Cool the brownies completely in the pan, at least 2 hours.
- Lift the brownies out using the parchment and cut into 16 squares.
- Spoon the frosting into a small zip-top bag, push it into one corner, and snip a small opening.
- Pipe uneven, overlapping frosting lines across each brownie, leaving a small space for the eyes.
- Press 2 candy eyes onto each brownie.