
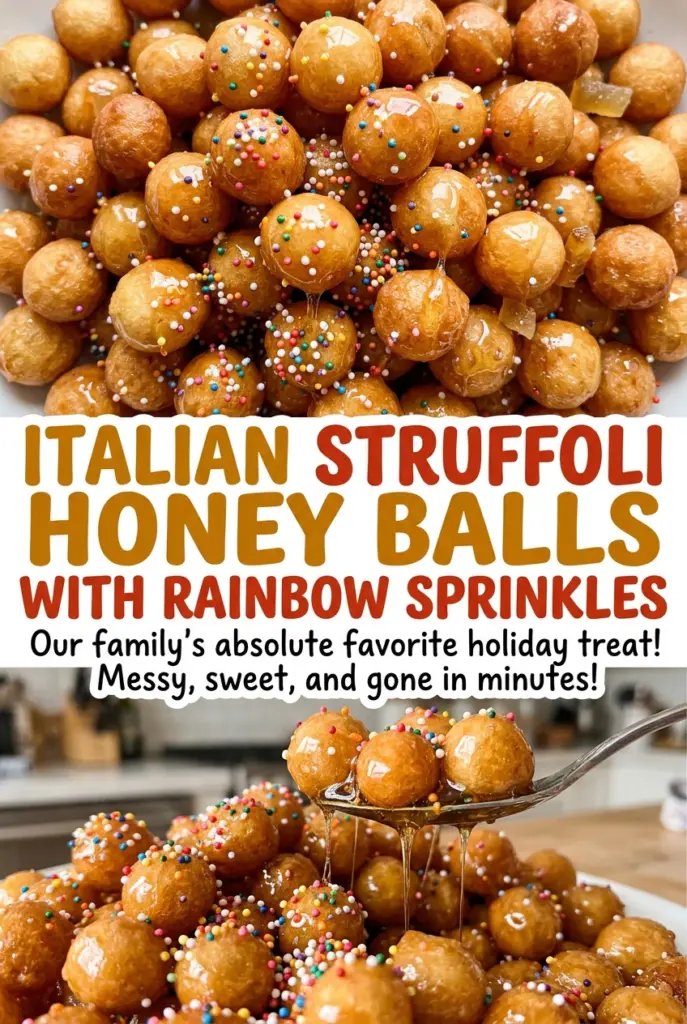
Italian Struffoli Honey Balls with Rainbow Sprinkles
The dough feels firm when it first comes together, and that’s exactly what you want before rolling it into ropes. After the pieces hit the hot oil, they puff and…
Tip: save now, cook later.The dough feels firm when it first comes together, and that’s exactly what you want before rolling it into ropes. After the pieces hit the hot oil, they puff and turn golden in just a few minutes. I like how the lemon zest keeps these Italian struffoli honey balls with rainbow sprinkles from tasting one-note once they’re tossed in honey.
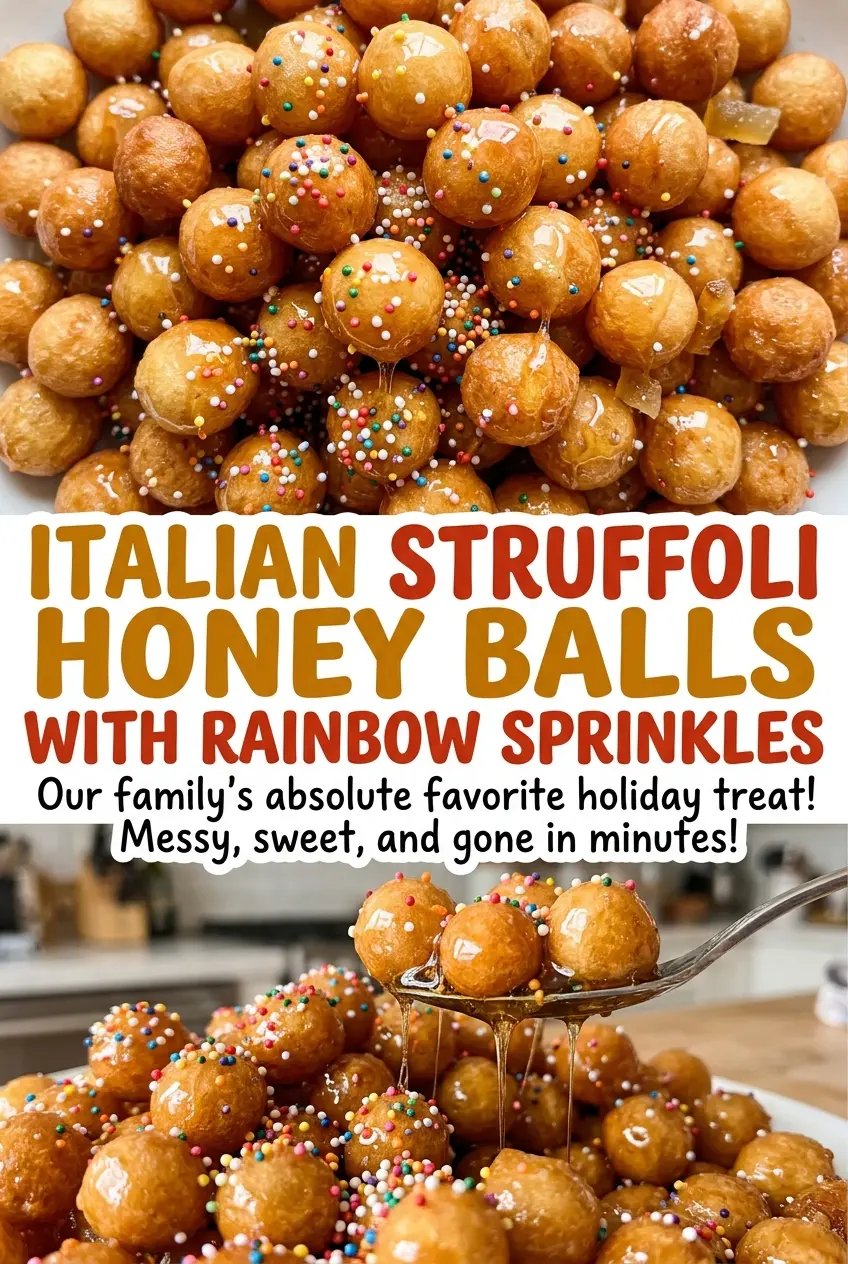
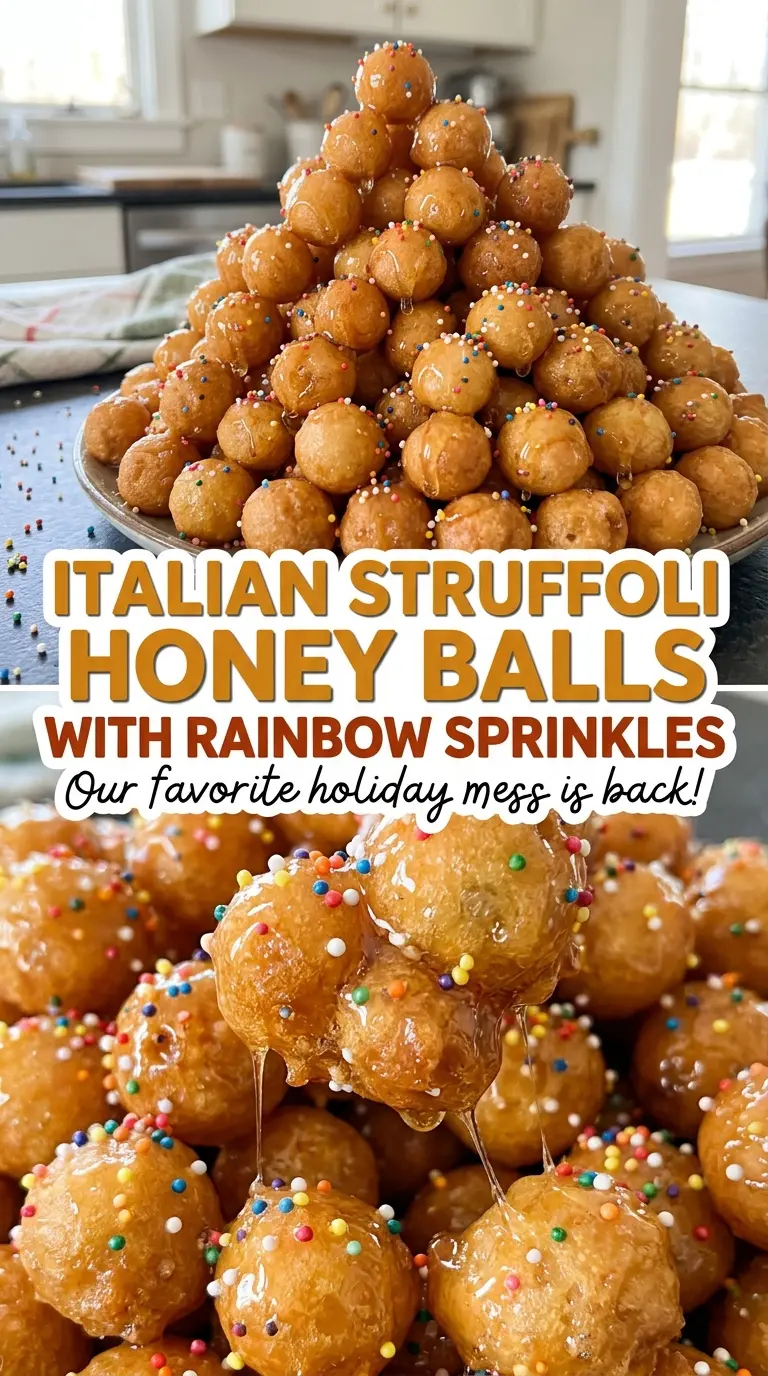
Give the dough its full rest before shaping. That half hour lets it relax enough to roll into even ropes without fighting you, while the small, uniform pieces cook at the same pace. Toss the warm struffoli with honey while both are fluid, then add the sprinkles before the coating sets. The finished platter is a glossy ring or mound of crisp-edged bites, with honey catching in all the little creases.
Kitchen Note
Keep the dough covered during its 30-minute rest. That short pause makes a firm dough much easier to roll into ropes, so you’re less likely to tug it unevenly while shaping.
Save these Italian struffoli honey balls for a platter that’s crisp, glossy, and finished with a shower of rainbow sprinkles.
Why Even-Sized Pieces Matter More Than a Longer Fry
Struffoli are small, and that size is part of what makes them work. Pieces cut to about 1/2 inch have time to puff and turn golden in the short fry. If some are much larger than others, the small ones can darken while the big ones are still catching up. Consistency matters more here than adding extra minutes to the oil.
The dough also needs to be firm and smooth before you cut it. A shaggy dough that hasn’t been kneaded enough is harder to roll evenly, and irregular ropes lead to irregular bites. I cut each rope across at the same interval, then check the pieces as I go instead of letting one section run much larger than the rest. You’ll get a more even batch without guessing which pieces are ready first.
What the Lemon, Butter, and Honey Each Bring to Struffoli
- All-purpose flour — It gives the dough enough structure to hold its shape in the oil without making the bites overly chewy. The standard, inexpensive bag works well here; measure it consistently and avoid packing it down in the cup.
- Softened butter — Rubbing it into the flour creates the crumbly base that becomes a firm dough when the eggs go in. Softened butter blends in evenly; melted butter would change that starting texture, so keep this ingredient softened rather than liquid.
- Eggs — They bring the dough together and give it the structure it needs to puff as it fries. Add them after rubbing in the butter, then stir until the mixture looks shaggy before kneading.
- Fresh lemon zest — Finely grated zest brings fragrant citrus oils into the dough without adding juice or extra moisture. A fresh lemon is worth using because the zest is a noticeable counterpoint to the honey.
- Honey — Honey is both the coating and the flavor that ties the platter together. Choose one whose taste you enjoy on its own; a bold honey will come through clearly, while a mild one lets the lemon stand out more.
- Vegetable oil and rainbow sprinkles — Vegetable oil is a neutral frying choice, and a deep-fry thermometer makes its temperature easy to track. The sprinkles are purely for the finish, so scatter them over the honey-coated struffoli while they’re still sticky.
From Firm Dough to Honey-Coated Struffoli
Rub the Butter In, Then Knead Until Smooth
Whisk the flour, granulated sugar, baking powder, and kosher salt in a large bowl. Rub in the softened butter until the mixture looks crumbly, then stir in the lemon zest and eggs until a shaggy dough forms. Knead on a lightly floured surface for 8 to 10 minutes, until the dough is smooth and firm. Cover it and let it rest at room temperature for 30 minutes before shaping.
Roll and Cut Pieces at a Steady Size
Cut the rested dough into 4 pieces, then roll each piece into a rope about 1/2 inch thick. Cut the ropes into 1/2-inch pieces, keeping their size as consistent as you can. If you rush this part and leave a mix of tiny and large pieces, they won’t finish frying together. Set the cut pieces aside while the oil heats.
Fry in Small Batches at 350°F
Pour the vegetable oil into a heavy 5-quart pot and heat it to 350°F, checking with a deep-fry thermometer. Fry the dough pieces in small batches for 2 to 3 minutes, stirring gently, until puffed and golden. Crowding the pot drops the oil temperature and makes it harder to get an even result, so leave room for the pieces to move. Let the oil return to 350°F between batches, then drain each batch on paper towels.
Warm the Honey and Coat While the Struffoli Are Warm
Warm the honey in a 2-quart saucepan over low heat for 3 to 4 minutes, until fluid and just beginning to bubble at the edges. Put the warm struffoli in a large bowl, pour the honey over them, and toss gently so the coating reaches the pieces without crushing them. Arrange them in a ring or mound on a serving platter, then scatter the rainbow sprinkles over the sticky surface. Let the platter cool for 15 minutes before serving.
Two Ways to Change the Finish Without Changing the Dough
Shape the platter as a ring or mound
A ring leaves an open space in the center and gives the platter a defined shape; a mound stacks the bites more closely for a casual, piled-up look. Both use the same warm, honey-coated struffoli, so choose the arrangement that fits your serving platter.
Leave off the sprinkles for a less-sweet finish
For a small reduction in added sugar, skip the rainbow sprinkles and serve the honey-coated bites plain. The honey still makes this a sweet dessert, but the lemon comes through more clearly without the candy-like finish.
Storage and Reheating
- Room temperature: Keep the cooled struffoli covered in an airtight container and enjoy within 2 days for the best texture. The honey coating softens as the bites sit.
- Freezer: Freezing the honey-coated struffoli isn’t recommended; the coating can turn sticky as it thaws and the fried texture suffers.
- Reheating: Serve at room temperature rather than reheating. The honey coating can become overly hot and uneven in a microwave.
Questions That Come Up When Making Struffoli
Italian Struffoli Honey Balls with Rainbow Sprinkles
Ingredients
Equipment
Method
- In a large bowl, whisk together the flour, sugar, baking powder, and salt.
- Rub the softened butter into the flour mixture until crumbly.
- Stir in the lemon zest and eggs until a shaggy dough forms.
- Knead the dough on a lightly floured surface for 8 to 10 minutes, until smooth and firm.
- Cover the dough and let it rest at room temperature for 30 minutes.
- Cut the dough into 4 pieces.
- Roll each piece into a rope about 1/2 inch thick.
- Cut the ropes into 1/2-inch pieces.
- Pour the vegetable oil into a heavy 5-quart pot and heat to 350°F, using a deep-fry thermometer to check the temperature.
- Fry the dough pieces in small batches for 2 to 3 minutes, stirring gently, until puffed and golden.
- Let the oil return to 350°F between batches, then drain the struffoli on paper towels.
- Warm the honey in a 2-quart saucepan over low heat for 3 to 4 minutes, until fluid and just beginning to bubble at the edges.
- Put the warm struffoli in a large bowl, pour over the honey, and toss gently until coated.
- Arrange the struffoli in a ring or mound on a serving platter.
- Scatter the rainbow sprinkles over them while sticky.
- Let cool for 15 minutes before serving.