
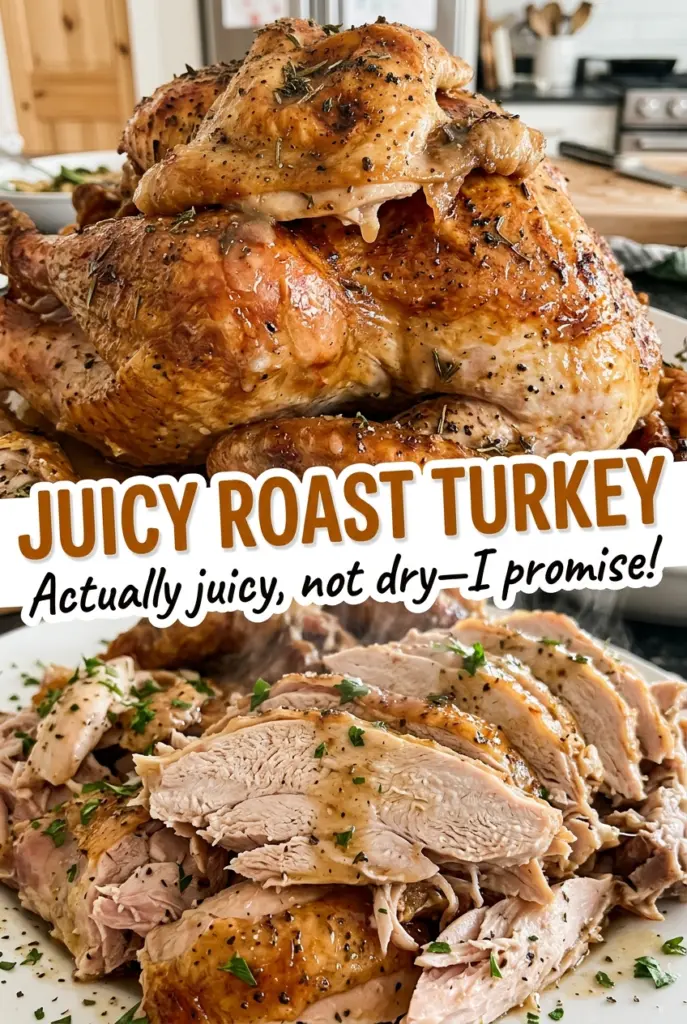
Juicy Roast Turkey
The breast can look beautifully browned while the thickest part is still catching up, which is why I don’t judge a roast turkey by its color alone. For this Juicy…
Tip: save now, cook later.The breast can look beautifully browned while the thickest part is still catching up, which is why I don’t judge a roast turkey by its color alone. For this Juicy Roast Turkey, I rely on a thermometer for doneness and give the bird time to rest before carving. Those two details make it easier to serve tender slices instead of guessing from the skin.
I use an unbrined turkey and salt it a day ahead, leaving it uncovered in the refrigerator. That gives the salt time to season the meat while the skin dries, so it roasts up better than skin that goes into the oven damp. The overnight rest is hands-off, but it makes a noticeable difference to the finished bird.
Before roasting, softened butter goes under the breast skin and over the outside, with onion, lemon, and thyme tucked loosely into the cavity. The oven does the rest at a steady 325°F. After a 30-minute rest, the turkey is ready to carve, with browned skin and moist meat.
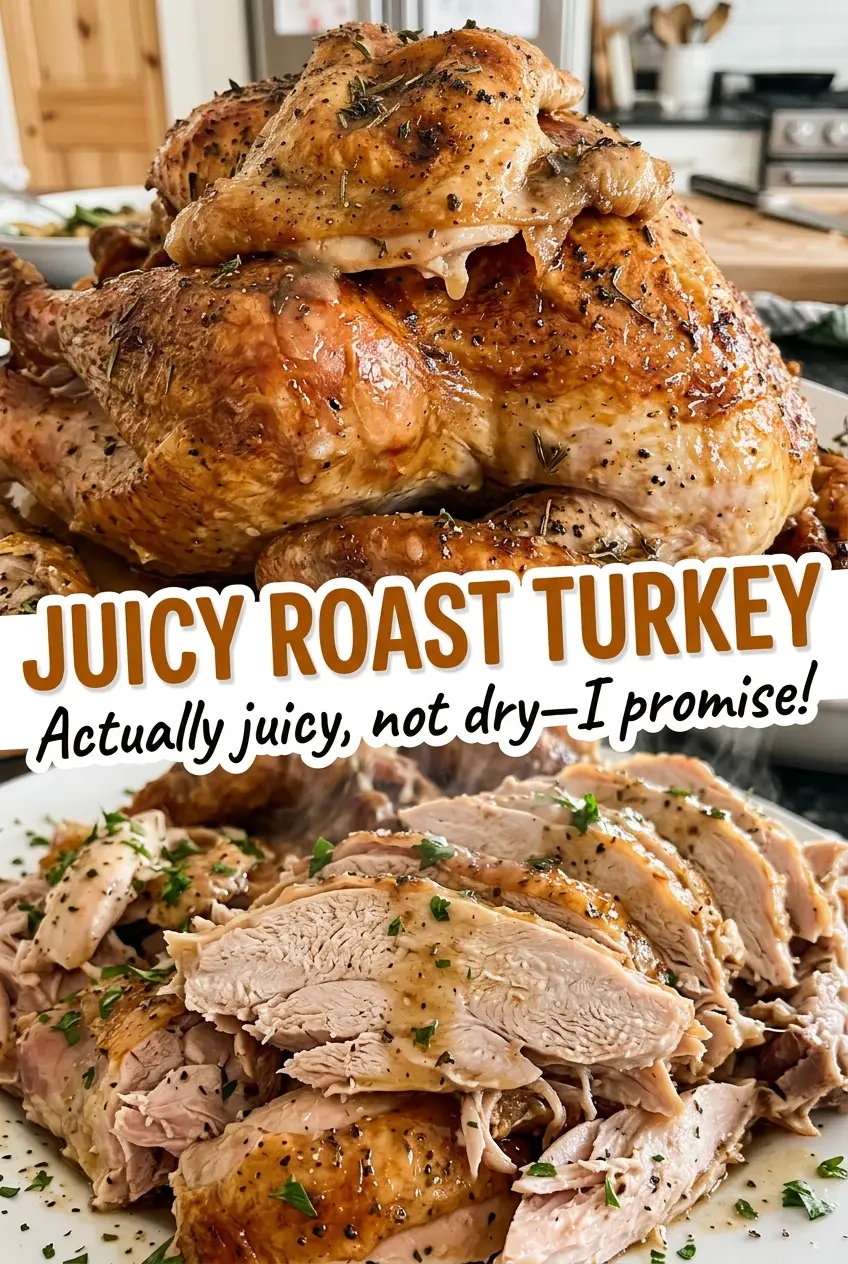
Kitchen Note
Use softened butter, not melted butter. It spreads under the breast skin without running away while you work, and mixing in the pepper first makes it easier to distribute evenly.
Save Juicy Roast Turkey for a beautifully browned bird with a simple overnight salt-and-rest routine.
Why an Unbrined Turkey Gets Salted the Day Before
A whole turkey is thick, and a quick sprinkle just before roasting mostly seasons the surface. Salting the skin and the inside of the cavity well ahead gives that seasoning time to move beyond the very outer layer. This timing matters even more because the bird here is unbrined: it hasn’t already taken on salt from a commercial brine.
Leaving the salted turkey uncovered in the refrigerator also helps the skin dry. Wet skin has to lose surface moisture before it can brown; dry skin is in a better position to color in the oven. The salt and the uncovered chill are doing separate jobs, which is why I keep both parts of the process rather than rushing straight from seasoning to roasting.
There’s a practical reason to use a 12- to 14-pound unbrined bird for this method, too. It gives you a defined size range and a salt level suited to that starting point. A turkey labeled brined or self-basting has already been treated differently, so it isn’t a like-for-like swap for this roast.
What the Butter, Salt, and Cavity Aromatics Each Contribute
- Unbrined turkey — The bird’s starting point matters because the seasoning is measured for an unbrined turkey. Choose one that is fully thawed, with the neck and giblets removed, so the cavity is ready for the aromatics and the interior can be seasoned.
- Morton kosher salt — The specific brand matters here because kosher salts differ in grain size and how much fits in a spoon. Use Morton, as written, rather than swapping in another salt measure for measure. No specialty-quality purchase is needed beyond that.
- Unsalted butter — Butter adds richness to the skin and breast, while the unsalted variety leaves the salt level under your control. An everyday butter works well; it only needs to be softened enough to spread. Salted butter would add salt you haven’t accounted for.
- Freshly ground black pepper — Grinding the pepper just before mixing it into the butter keeps its aroma lively. A pepper mill is useful, but there’s no need for an expensive peppercorn; the freshly ground texture and fragrance are what you’re after.
- Onion, lemon, and fresh thyme — These go loosely inside the cavity to lend the turkey a gentle aromatic note as it roasts. Use a firm onion, a fresh lemon, and thyme that still smells fragrant. The thyme is best fresh here; if you don’t have it, leaving it out is better than pretending a dried herb will give the same fresh, subtle character.
From Dry-Brined Bird to Ready-to-Carve Roast
Salt the Bird and Let the Skin Dry
Pat the thawed turkey dry with paper towels, then rub the kosher salt over the skin and inside the cavity. Set it breast side up on a rack in a roasting pan and refrigerate it uncovered for 12 to 24 hours. Keep the pan level and the refrigerator cold, with the bird away from ready-to-eat food. When you take it out, the skin should feel drier rather than slick.
Spread the Pepper Butter Under the Skin
Heat the oven to 325°F, then mix the softened butter with the freshly ground pepper. Gently loosen the skin over the breast and work most of the butter underneath it; go slowly so you can spread it without tearing the skin. Rub the remaining butter over the legs and outer skin. If the butter is too firm to spread, give it a little more time to soften rather than forcing it under the skin.
Add the Aromatics and Tuck the Wings
Put the quartered onion, lemon, and thyme loosely in the cavity. Leave them loose instead of packing them tightly, so the cavity isn’t crowded. Tuck the wing tips under the turkey before it goes into the oven. This small adjustment keeps the tips from sticking out where they can brown too quickly.
Roast Until Both Checks Reach Temperature
Roast for 3 to 3 3/4 hours, using the time as an estimate rather than the final test. If the skin browns too quickly, tent the turkey loosely with foil while it finishes roasting. Check the thickest part of the breast and the innermost thigh with a thermometer, taking care not to touch bone. Both readings need to reach 165°F.
Rest Before You Carve
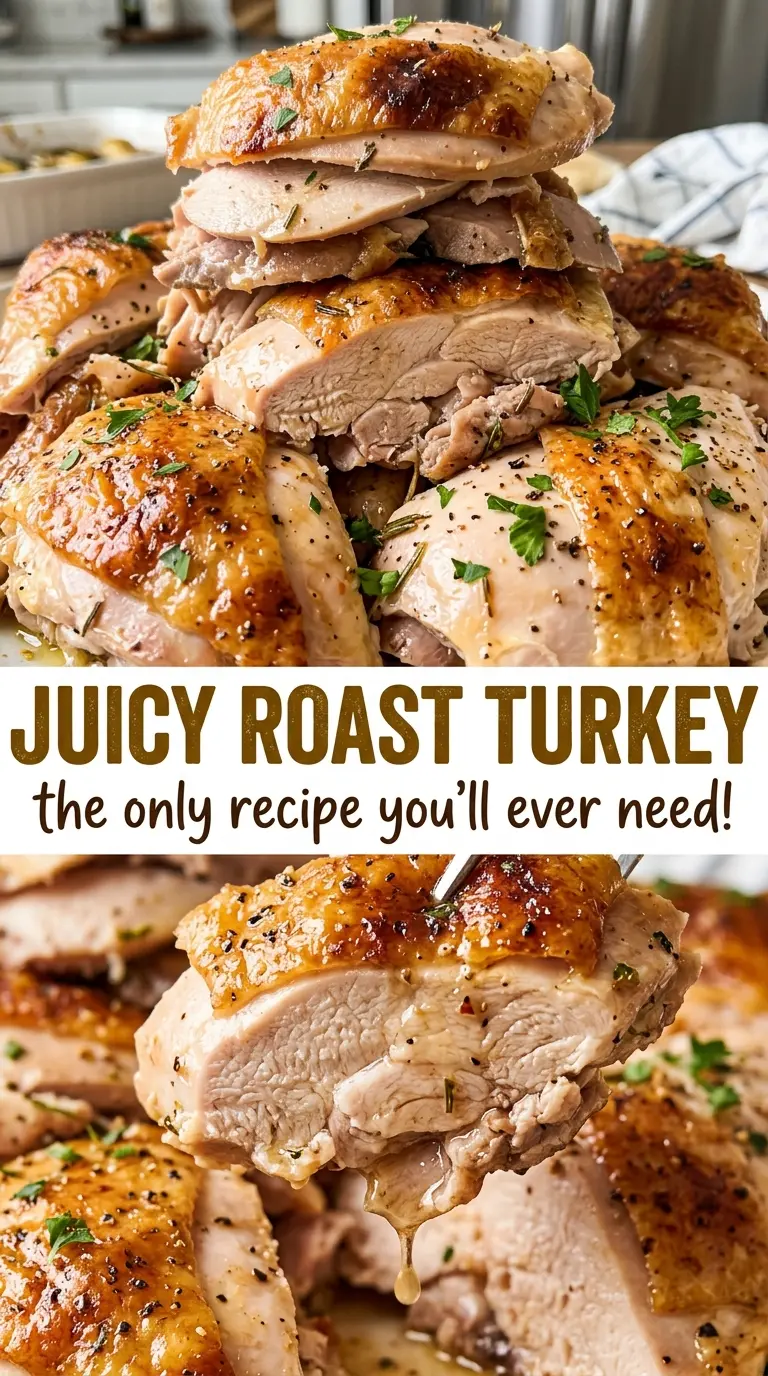
Transfer the turkey to a carving board and tent it loosely with foil. Let it rest for 30 minutes before carving; cutting right away lets hot juices run onto the board instead of staying with the meat. Use that pause to get your carving area ready. The bird will still be warm when you serve it.
Two Simple Ways to Change the Roast
Dairy-Free Roast Without Butter
For a dairy-free version, leave out the butter rather than replacing it with another ingredient. Season and roast the turkey with the other listed ingredients as usual; the skin and breast will have less buttery richness, but the bird will still roast. This changes the finish, so expect a plainer surface than the buttered version.
A Softer, Less-Citrusy Cavity
Leave out the lemon and put the onion and thyme loosely in the cavity instead. You’ll lose the lemon’s bright aroma and get a gentler, more savory scent from the remaining aromatics. The roast method and turkey seasoning stay the same.
Storage and Reheating
- Refrigerator: Refrigerate leftover turkey within 2 hours in shallow, covered containers and use it within 3 to 4 days. The skin will soften after chilling.
- Freezer: Freeze portions in airtight packaging for up to 2 to 6 months for best quality. Thaw frozen leftovers in the refrigerator.
- Reheating: Reheat only the portions you plan to serve, in a covered oven-safe dish or in the microwave, until they reach 165°F. Avoid reheating the whole bird repeatedly; that dries the meat.
Questions That Come Up When Roasting a Whole Turkey
Juicy Roast Turkey
Ingredients
Equipment
Method
- Pat the turkey dry with paper towels.
- Rub the salt over the skin and inside the cavity.
- Set the turkey breast side up on a rack in a roasting pan and refrigerate uncovered for 12 to 24 hours.
- Heat the oven to 325°F.
- Mix the butter and pepper.
- Gently loosen the skin over the breast and spread most of the butter underneath.
- Rub the rest of the butter over the legs and outer skin.
- Put the onion, lemon, and thyme loosely in the cavity.
- Tuck the wing tips under the turkey.
- Roast for 3 to 3 3/4 hours, tenting loosely with foil if the skin browns too quickly, until a thermometer inserted into the thickest part of the breast and the innermost thigh without touching bone reads 165°F.
- Transfer the turkey to a carving board and tent loosely with foil.
- Rest for 30 minutes before carving.