
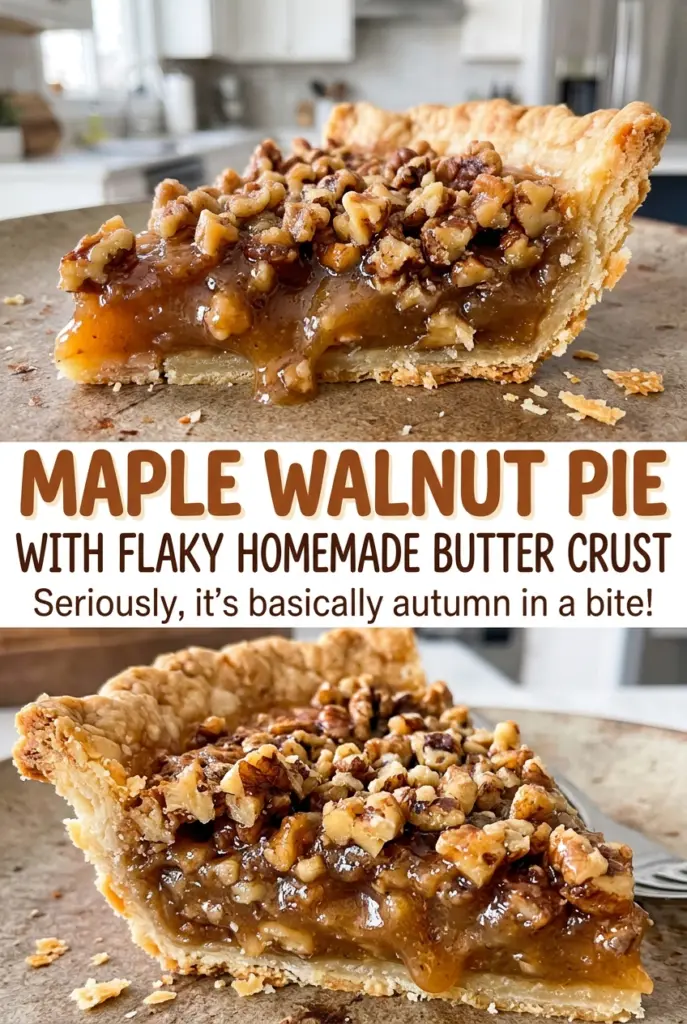
Maple Walnut Pie with Flaky Homemade Butter Crust
When the pie comes out of the oven, the center should still move a little, even though the edges look set. That gentle jiggle can seem like a sign to…
Tip: save now, cook later.When the pie comes out of the oven, the center should still move a little, even though the edges look set. That gentle jiggle can seem like a sign to bake longer, but the filling continues to settle as it cools. I give this maple walnut pie time on a wire rack before cutting so each wedge holds together without losing its soft center.
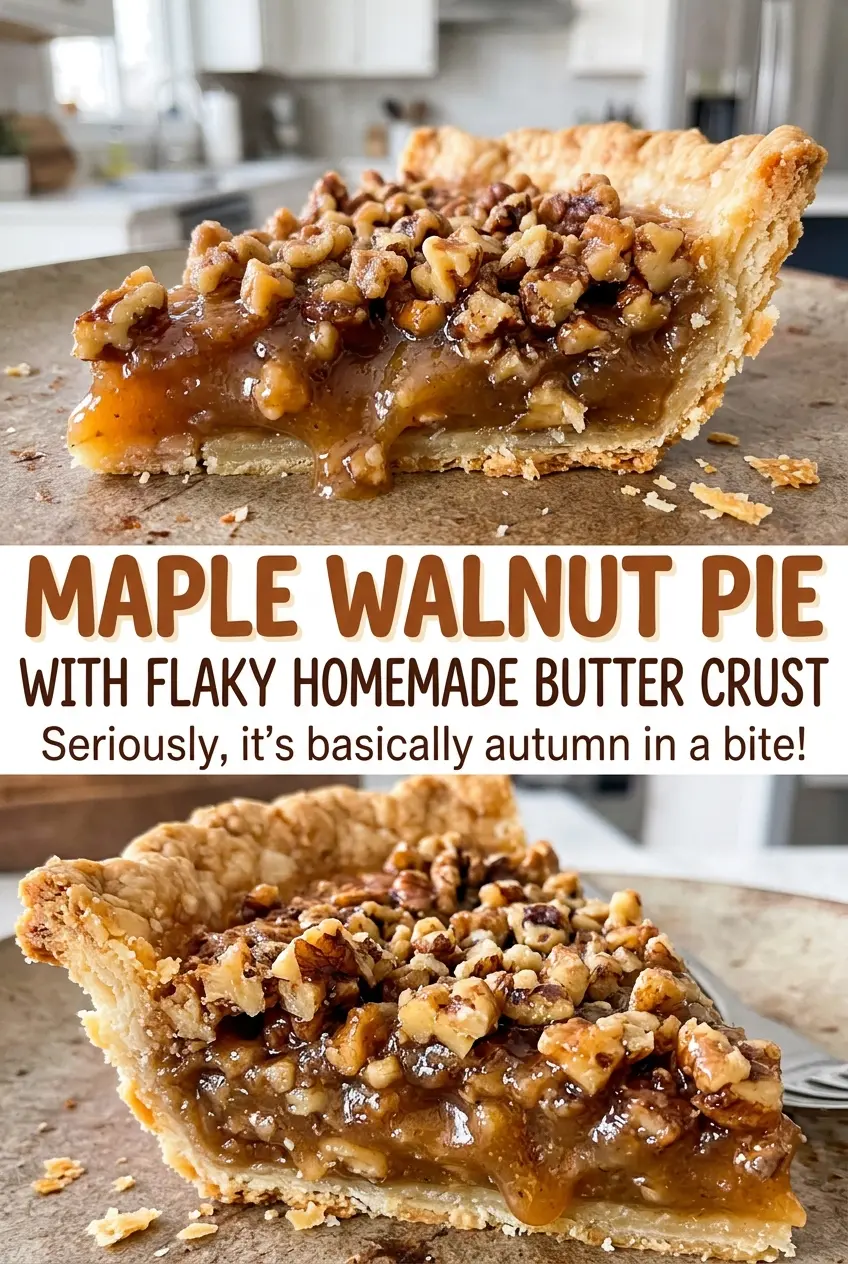
The homemade butter crust gives the sweet filling a crisp, flaky edge, and the walnuts add a pleasant crunch in every slice. I like that the filling comes together with a whisk, then goes straight into the crust—no stovetop step or extra pan to wash. The result is a pie with deep maple flavor, a golden rim, and a tender center that’s worth the wait.
Kitchen Note
Let the melted butter cool slightly before it goes into the eggs. If it’s still piping hot, it can cook little flecks of egg before the filling is whisked smooth.
Save this maple walnut pie for a baking day when you want flaky homemade crust, a tender maple filling, and crunchy walnuts in every slice.
Why I Scatter the Walnuts Before Pouring the Filling
Putting the chopped walnuts in the crust first gives me more control over where they land. If you whisk them into the filling, the pieces can cluster as you pour; scattered across the shell, they start in an even layer and each slice gets a good mix of nut and maple filling.
Pour the filling slowly over the walnuts so they stay spread around the pie plate. A few pieces may shift or float as the liquid settles, which is fine—the goal isn’t a perfectly flat layer, just an even starting point. The walnuts soften slightly as they bake, while the exposed edges toast and keep a little bite.
This order also makes assembly simpler. The filling stays smooth in the bowl, and there’s no need to fold a heavy mixture around the nuts or risk breaking them into tiny pieces.
Pure Maple Syrup, Eggs, and Walnuts Each Have a Job
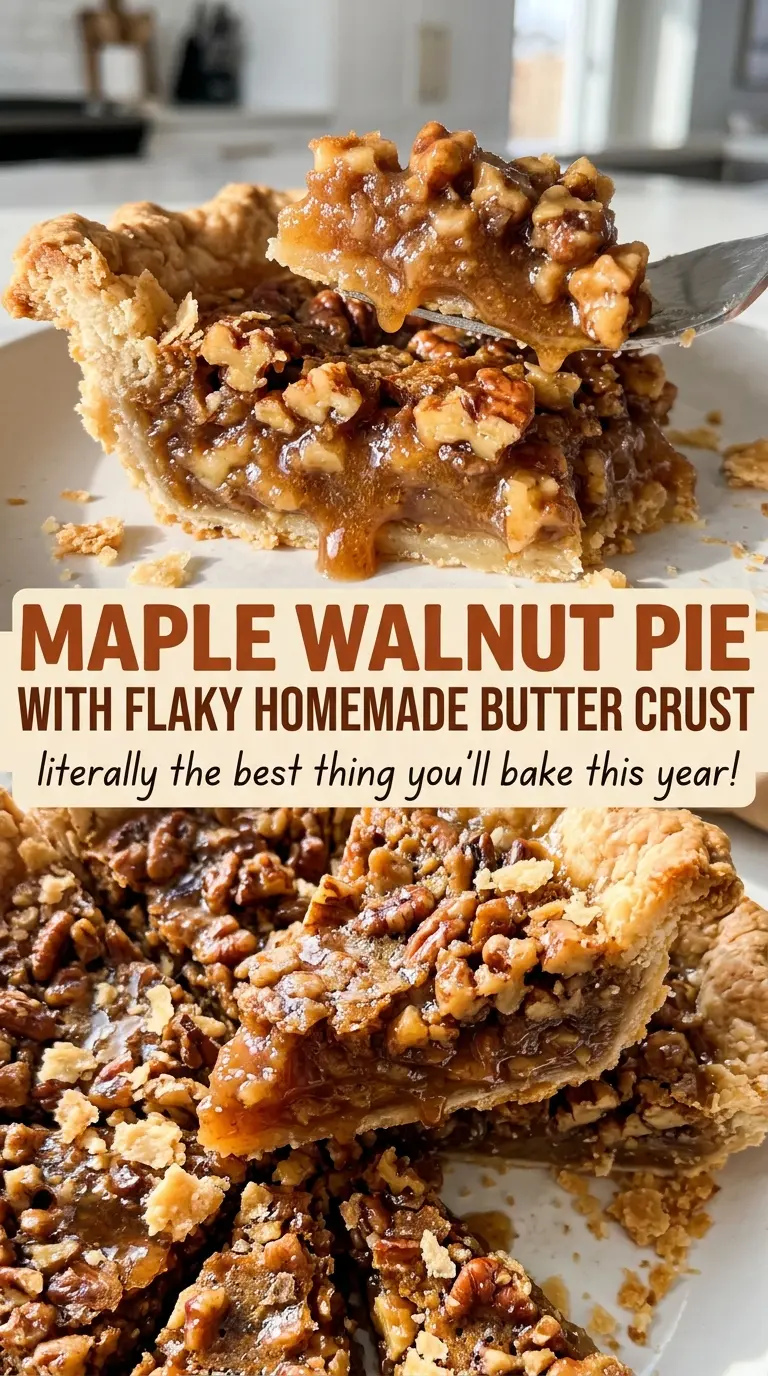
- Pure maple syrup — It supplies the filling’s distinctive maple taste and its fluid sweetness. Use pure maple syrup rather than a flavored pancake syrup; the latter won’t give the same clean maple character. A darker, more robust pure syrup makes the maple note more pronounced.
- Eggs — The eggs bind the syrup and brown sugar into a filling that sets as it bakes. Large eggs matter here because changing their size changes the balance of liquid and structure. Whisk until the mixture looks smooth, without leaving streaks of egg white.
- Walnuts — Fresh walnuts bring a buttery, slightly earthy contrast to the sweet filling. Since walnuts contain natural oils, give them a quick sniff before using; stale nuts can taste bitter. Chop them to a fairly even size so you don’t end up with a few oversized pieces beside fine crumbs.
- Unsalted butter — Cold butter gives the crust its flaky texture, while the separate melted portion enriches the filling. Choose butter that’s firm and cold for the dough; there’s no close swap within this ingredient list that gives the same crust texture.
- All-purpose flour — It gives the crust enough structure to hold the filling and crimped edge. Spoon it into the measuring cup and level it rather than packing it down, which helps keep the dough from becoming dry and difficult to roll.
- Light brown sugar and vanilla — Brown sugar rounds out the maple sweetness, and vanilla adds a familiar background warmth. Pack the brown sugar into the cup so the filling has the intended sweetness and consistency.
From Cold Butter to a Clean Slice: The Four Stages That Matter
Cut the Butter In, Then Chill the Dough
Whisk the flour, granulated sugar, and 1/2 teaspoon of the salt in a large bowl. Cut in 8 tablespoons of cold, cubed butter with a pastry blender until the pieces are about pea-size; don’t work them into a fine sand. Sprinkle all 4 tablespoons of ice water over the mixture and toss until the dough holds together when squeezed. Shape it into a disk, wrap it, and refrigerate for 1 hour.
Fit and Crimp the 9-Inch Shell
Roll the chilled dough on a lightly floured surface into a 12-inch round. Fit it into a 9-inch pie plate, leaving a 1-inch overhang, then fold the overhang under and crimp the edge. If the dough cracks as you fit it, press it back together gently rather than stretching it across the plate. Refrigerate the crust for 20 minutes while the oven heats to 350°F.
Whisk the Filling Until Smooth
Melt the remaining 2 tablespoons of butter and let it cool slightly. Whisk the eggs, maple syrup, packed light brown sugar, melted butter, vanilla, and remaining 1/2 teaspoon of salt until the mixture is smooth. Scatter the chopped walnuts in the chilled crust, then pour the filling over them. Pour steadily so the liquid reaches the gaps between the walnuts.
Bake Until the Center Still Moves
Set the pie on the center rack and bake for 50 to 60 minutes. Look for set edges, a center that jiggles slightly, and a golden crust; the middle shouldn’t look completely firm in the oven. If the crust edge browns too quickly, loosely cover that edge with foil. Cool the pie on a wire rack for at least 3 hours before slicing.
Small Changes for a Different Maple Walnut Pie
Choose a bolder maple note
Use a darker, more robust grade of pure maple syrup in the same amount. It gives the filling a deeper maple flavor; a lighter-tasting pure syrup keeps the brown sugar more noticeable.
Adjust the walnut bite
Keep the same amount of walnuts, but chop them more finely for a closer, more even texture in each bite. For bigger nut pieces and a more pronounced crunch, leave the chopped pieces on the larger side.
Make the edge your own
After folding the overhang under, use a simple crimp or a more pronounced fluted edge. The ingredients and bake stay the same, but a defined rim gives the pie a more decorative finish.
Storage and Reheating
- Refrigerator: Cover the cooled pie and refrigerate it for up to 4 days. The crust softens a little as it sits.
- Freezer: The baked pie freezes well. Wrap individual cooled slices tightly and freeze for up to 2 months; thaw them in the refrigerator.
- Reheating: Warm a slice in a 300°F oven just until heated through. Avoid a long microwave reheat, which softens the crust.
Questions That Come Up While Making Maple Walnut Pie
Maple Walnut Pie with Flaky Homemade Butter Crust
Ingredients
Equipment
Method
- Whisk the flour, sugar, and 1/2 teaspoon of the salt in a large bowl.
- Cut in 8 tablespoons of the cold butter with a pastry blender until the pieces are about pea-size.
- Sprinkle the 4 tablespoons ice water over the flour mixture and toss until the dough holds together when squeezed, adding it all.
- Shape the dough into a disk and wrap it.
- Refrigerate the wrapped dough for 1 hour.
- Roll the dough on a lightly floured surface into a 12-inch round.
- Fit the dough into a 9-inch pie plate and trim it to a 1-inch overhang.
- Fold the overhang under and crimp the edge.
- Refrigerate the crust for 20 minutes.
- Heat the oven to 350°F.
- Melt the remaining 2 tablespoons butter and let it cool slightly.
- Whisk the eggs, maple syrup, brown sugar, melted butter, vanilla, and remaining 1/2 teaspoon salt until smooth.
- Scatter the walnuts in the crust.
- Pour the filling over the walnuts.
- Bake on the center rack for 50 to 60 minutes, until the edges are set, the center jiggles slightly, and the crust is golden; loosely cover the crust edge with foil if it browns too quickly.
- Cool on a wire rack for at least 3 hours before slicing.