
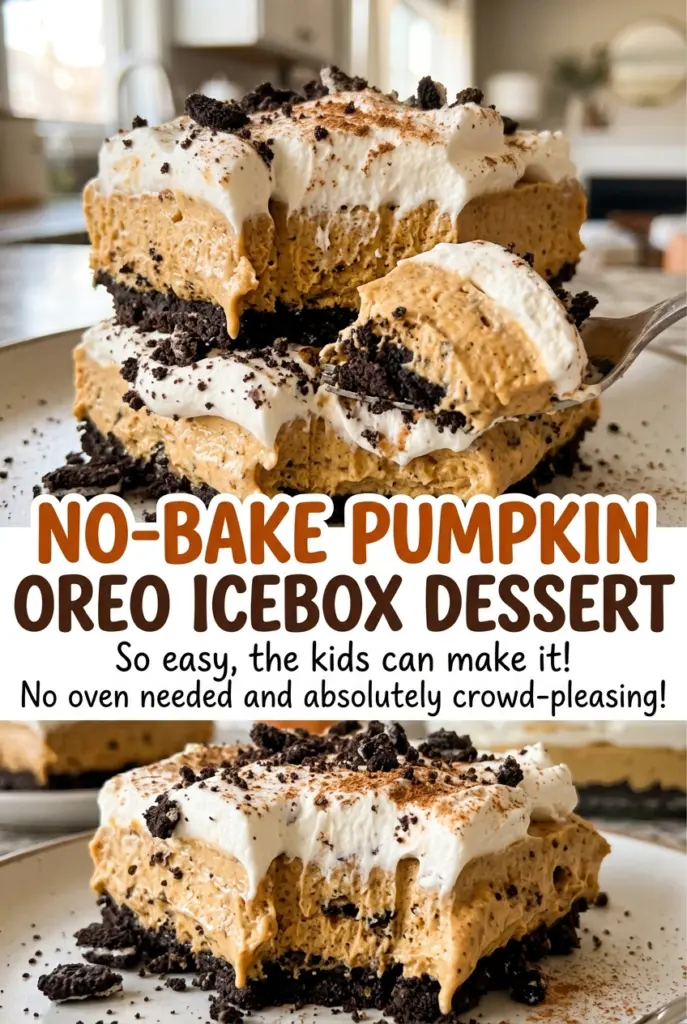
No-Bake Pumpkin Oreo Icebox Dessert
The butter turns finely crushed Oreos into a crumb mixture that packs neatly into the bottom of a baking dish. I like that sturdy chocolate base under the cool pumpkin…
Tip: save now, cook later.The butter turns finely crushed Oreos into a crumb mixture that packs neatly into the bottom of a baking dish. I like that sturdy chocolate base under the cool pumpkin layers: each forkful has a little crunch, a soft cream cheese layer, and a light, spiced filling.
This No-Bake Pumpkin Oreo Icebox Dessert is made in layers, then left to chill until it’s firm enough to cut into squares. There’s no oven to heat, and the work happens in short stretches: make the crust, spread the layers, then let the refrigerator do its part.
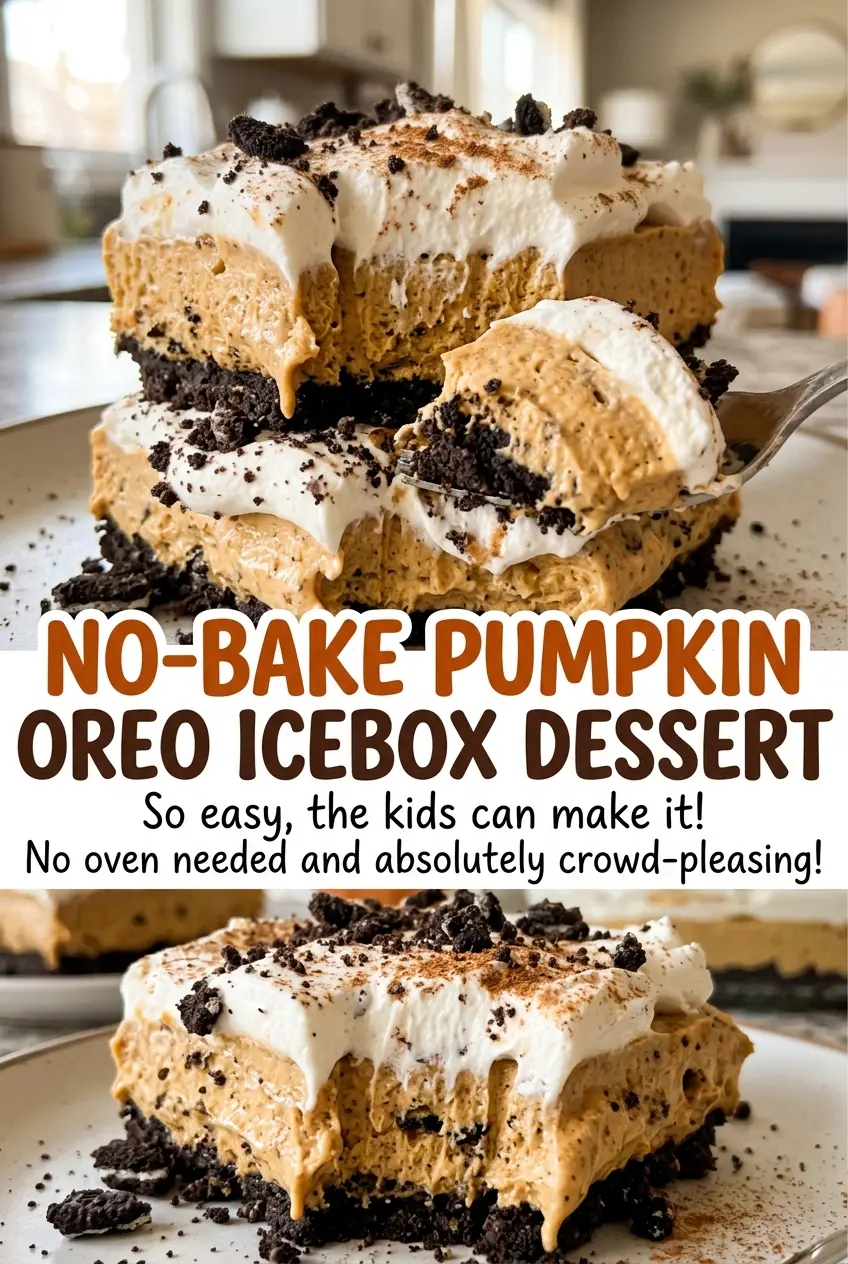
The finished dessert is rich without feeling as dense as a slice of pie. The pumpkin tastes familiar, but the Oreo crust makes every square feel like its own thing—dark, creamy, and cool from the fridge.
Kitchen Note
Press the buttered Oreo crumbs firmly into the corners of the dish, not just across the middle. A 15-minute rest in the refrigerator helps that base hold together when you add the soft layers.
Save this No-Bake Pumpkin Oreo Icebox Dessert for a make-ahead treat with a chocolate cookie base and cool pumpkin layers.
Why Instant Pudding Keeps the Pumpkin Layer Sliceable
Pumpkin puree brings moisture as well as flavor, so a pumpkin layer made with puree alone would be softer than you want for clean squares. Instant vanilla pudding gives this layer structure without cooking it. Whisking the pudding with cold milk first lets it begin to thicken before the pumpkin goes in, and pumpkin pie spice gives the filling its warm, familiar flavor.
The order matters because the whipped topping is folded in after the pumpkin mixture is already thick. That keeps the finished layer light while still helping it sit neatly over the cream cheese. Use instant pudding, not a cook-and-serve mix; the latter needs heat and won’t thicken in this no-bake method. Then give the assembled dessert enough refrigerator time for all three layers to settle into a sliceable texture.
What Each Layer Needs from Its Ingredients
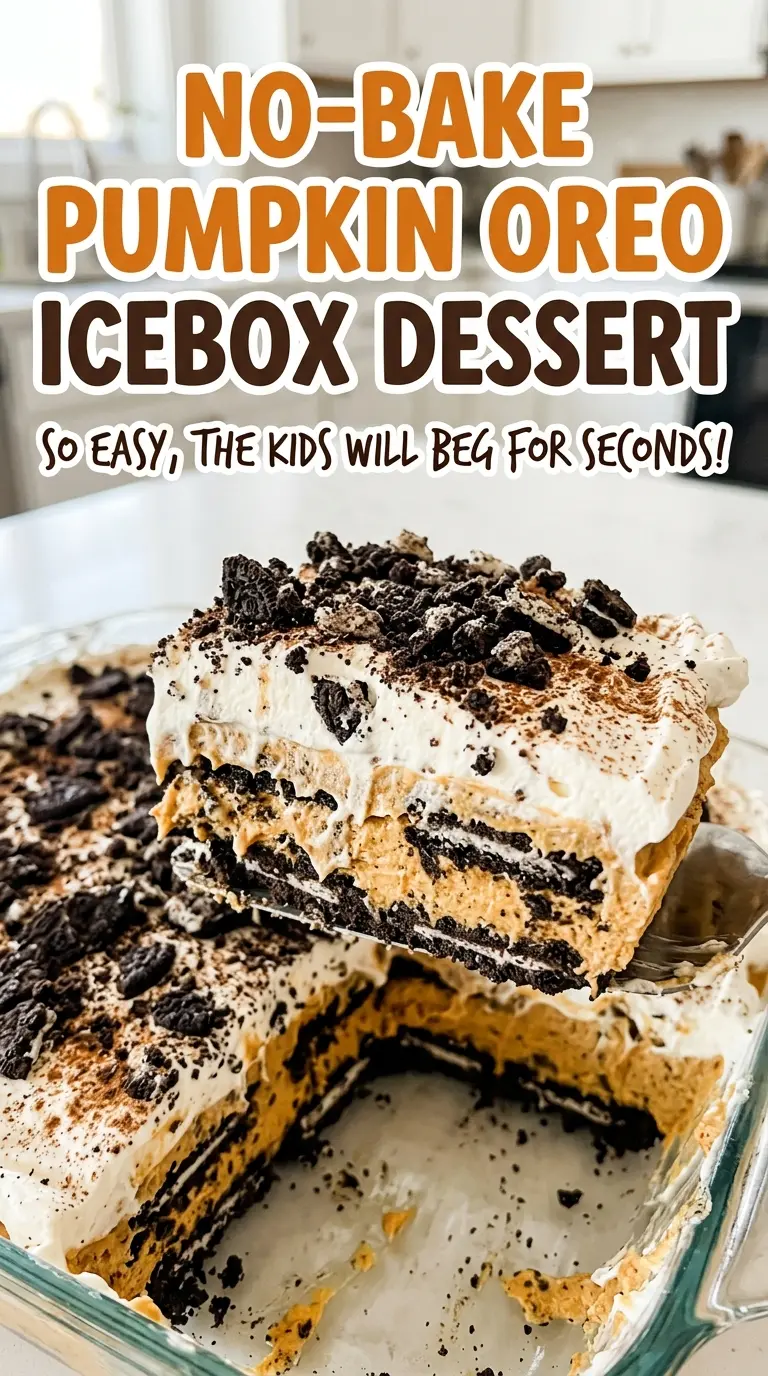
- Oreo cookies and butter — Crush the whole cookies, including the cream filling; it’s part of the crumb mixture, not something to scrape out. The melted butter binds the crumbs into a base. For a less sweet, plainer chocolate crust, chocolate wafer cookies can replace the sandwich cookies, though their crumbs may need a little more attention when you press them into the dish.
- Block cream cheese — Softened cream cheese beats smoothly with the powdered sugar and vanilla. A block gives this layer more body than a spreadable tub product, so start with softened cream cheese rather than trying to beat it straight from the refrigerator.
- Canned pumpkin puree — Choose plain pumpkin puree, not pumpkin pie filling, which is already sweetened and spiced. The puree gives the filling its pumpkin flavor and color; the pie filling would change the sweetness and seasoning of the finished dessert.
- Instant vanilla pudding mix and cold whole milk — These build the pumpkin layer’s set and keep the vanilla flavor gentle behind the pumpkin. The instant kind is essential to the no-cook method; whole milk makes a creamy filling.
- Frozen whipped topping — Thaw it before folding so it blends without frozen lumps. It’s used in both the cream cheese and pumpkin layers, then spread across the top, giving each part a lighter texture than the cream cheese or pudding mixture would have on its own.
- Vanilla and pumpkin pie spice — Vanilla rounds out the cream cheese layer, while the spice seasons the pumpkin. Pumpkin pie spice keeps the seasoning balanced without adding separate spices one at a time.
Building the Layers Without Smearing Them Together
Press a Compact Oreo Base
Lightly grease a 9×13-inch baking dish, then stir the finely crushed Oreos with the melted butter until the crumbs look evenly moistened. Press the mixture over the bottom in an even layer, paying attention to the corners so they aren’t left thin. Refrigerate the crust for 15 minutes before adding the cream cheese mixture. If loose crumbs keep shifting, press them down again rather than leaving a patchy base.
Spread the Cream Cheese Layer Smooth
Beat the softened cream cheese with the powdered sugar and vanilla until the mixture looks smooth, with no visible lumps. Fold in 1 cup of thawed whipped topping gently; folding keeps the mixture airy instead of turning it dense. Spread it evenly over the chilled crust, reaching from edge to edge. Use a light touch so the crumb layer stays in place beneath it.
Thicken and Fold the Pumpkin Filling
Whisk the instant pudding mixes with the cold whole milk for 2 minutes. Whisk in the pumpkin puree and pumpkin pie spice until the mixture looks smooth and thick, then fold in 2 cups of whipped topping. Stop when the color is even and no white streaks remain; vigorous mixing after the topping goes in can flatten the filling. Spread it carefully over the cream cheese layer.
Top and Chill Until Firm
Spread the remaining 3 cups of whipped topping over the pumpkin layer, smoothing it from the center toward the edges. Cover the dish and refrigerate for at least 6 hours, or overnight, until the layers are firm. Cutting too soon makes the soft layers slide instead of holding a clean square. Use a sharp knife to cut portions once the dessert is fully chilled.
Simple Ways to Change the Cookie Base or Serving Style
Use a Lighter, Vanilla Cookie Crust
Replace the Oreos with the same amount of vanilla sandwich cookies and keep the melted butter in the crust. The base will be lighter in color and sweeter, with less cocoa contrast against the pumpkin. Crush the cookies finely so the crust still presses into a cohesive layer.
Layer It in Individual Dessert Cups
For individual portions, divide the Oreo crumb mixture among serving cups and layer in the cream cheese mixture, pumpkin filling, and whipped topping. The crumbs won’t form a single firm crust, so this version is spooned rather than cut into squares. Cover and chill the cups until the layers are firm.
Add an Oreo Crumb Finish
Before mixing the crust, set aside a small handful of the crushed Oreos and use the rest for the base. Scatter the reserved crumbs over the whipped topping just before serving for a dry cookie crunch on top. Add them at serving time so they don’t soften during the long chill.
Storage and Reheating
- Refrigerator: Keep the covered dessert refrigerated and enjoy it within 3 to 4 days. The cookie base softens as it sits, but the chilled layers remain easy to portion.
- Freezer: Freezing isn’t my first choice for this dessert. The pudding and whipped topping layers can lose their smooth texture when thawed.
- Reheating: This is served cold, so don’t microwave it; heat will soften the layers and make them slump. Take out only the portions you’re ready to serve.
Questions That Come Up When Making This Icebox Dessert
No-Bake Pumpkin Oreo Icebox Dessert
Ingredients
Equipment
Method
- Lightly grease a 9x13-inch baking dish.
- Stir the Oreo crumbs and melted butter together until evenly moistened.
- Press the mixture firmly over the bottom of the dish.
- Refrigerate the crust for 15 minutes.
- Beat the cream cheese, powdered sugar, and vanilla in a medium bowl until smooth.
- Fold in 1 cup whipped topping.
- Spread the cream cheese mixture evenly over the chilled crust.
- Whisk the pudding mixes and cold milk in a large bowl for 2 minutes.
- Whisk in the pumpkin puree and pumpkin pie spice until smooth and thick.
- Fold 2 cups whipped topping into the pumpkin mixture.
- Spread the pumpkin mixture evenly over the cream cheese layer.
- Spread the remaining 3 cups whipped topping over the pumpkin layer.
- Cover and refrigerate for at least 6 hours, or overnight, until the layers are firm.
- Cut into squares to serve.