
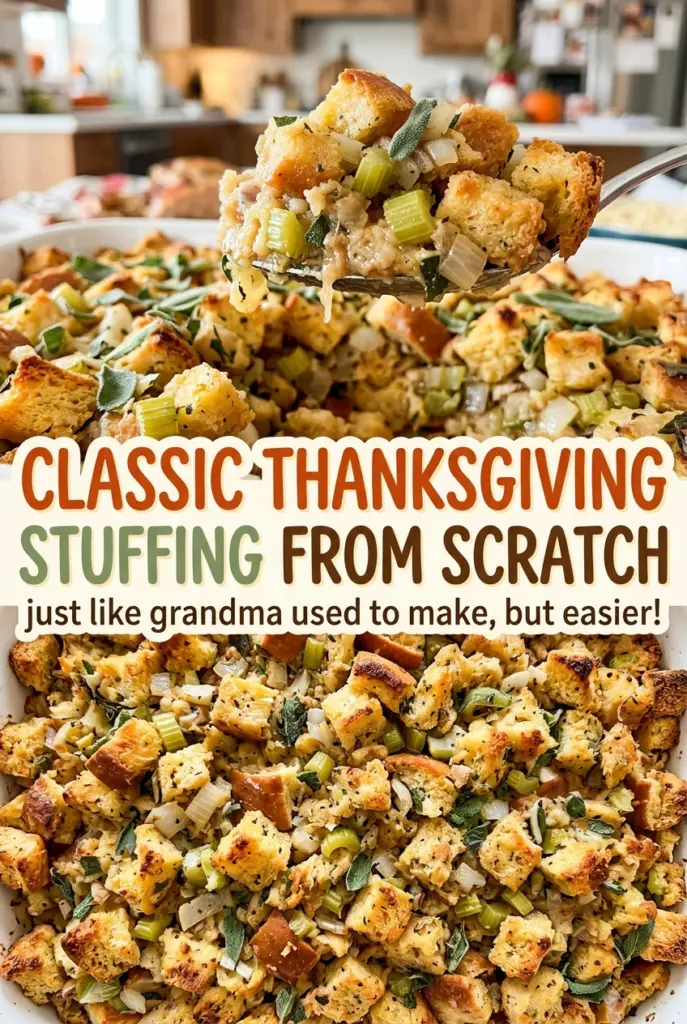
Classic Thanksgiving Stuffing from Scratch
Dry bread cubes look like a small detail, but they decide whether stuffing holds its shape or turns soft and heavy. For this classic Thanksgiving stuffing from scratch, the bread…
Tip: save now, cook later.Dry bread cubes look like a small detail, but they decide whether stuffing holds its shape or turns soft and heavy. For this classic Thanksgiving stuffing from scratch, the bread dries slowly in a low oven before it meets the broth, so it can take on the buttery vegetables without collapsing.
I like that this version starts with sturdy white bread and builds its flavor in a skillet. Onion and celery soften in butter, then sage and thyme bloom in the warmth. The kitchen smells like Thanksgiving before the bread even goes into the baking dish.
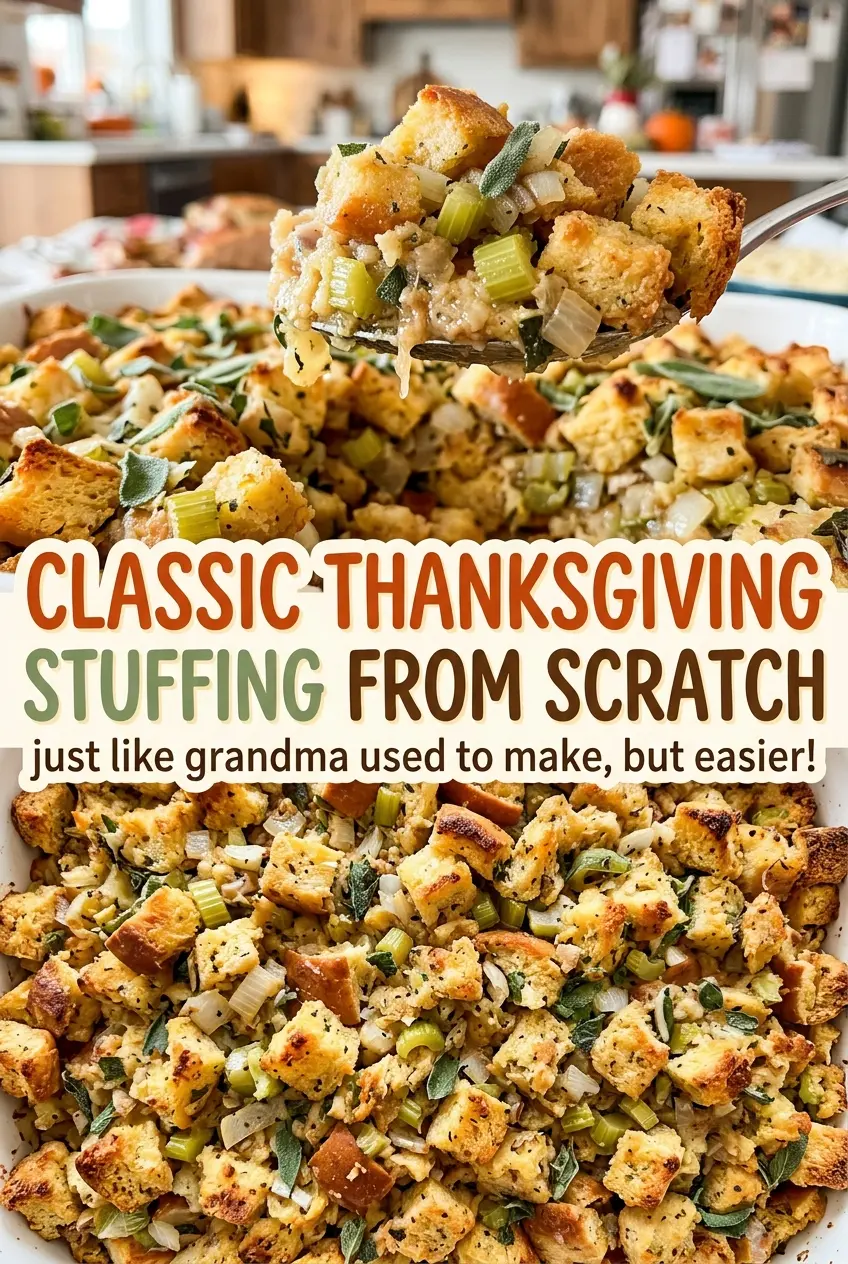
Whisking the eggs into the broth gives the mixture enough structure to serve in neat spoonfuls, while the uncovered finish brings a golden top. It’s a generous pan that serves 10, with tender stuffing underneath and crisp edges around the sides.
Kitchen Note
Grease the corners of the 9-by-13-inch dish as well as the flat bottom. Those buttery edges are the first spots to brown, and they’re much easier to serve when they release cleanly.
Save this classic Thanksgiving stuffing for a golden-topped, herb-scented pan that serves 10.
Why the Eggs Belong in the Broth, Not Stirred In at the End
Stuffing needs to be moist all the way through, but moisture alone won’t make it hold together. The eggs help bind the bread once the casserole bakes, turning the broth-soaked cubes into a cohesive side dish instead of a loose pile. Whisking them with the broth first spreads them evenly through the pan.
Pouring beaten eggs directly over the bread can leave some cubes coated while others stay bare. Mixing the eggs into the broth gives you one liquid mixture to distribute as you toss. You’re not looking for a puddle at the bottom of the bowl; each cube should be moistened, with the bread still holding its shape.
This balance is why the bread’s preparation matters just as much as the liquid. Dry cubes can absorb the broth and egg mixture without turning to paste. Once baked, the eggs set in the center, while the final uncovered stretch gives the top time to brown.
The Bread, Butter, and Broth That Build This Stuffing
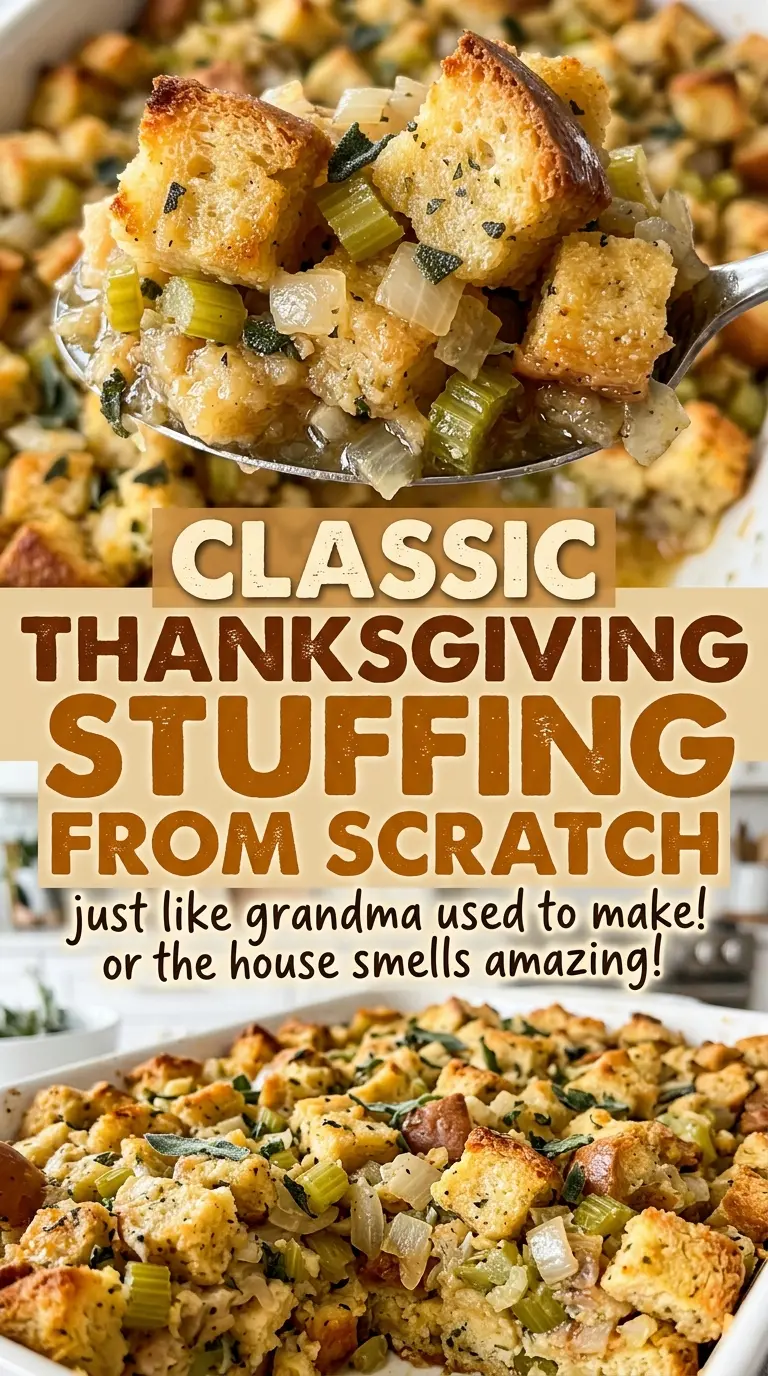
- Sturdy white bread — A firm loaf holds its shape better than soft sandwich bread once it absorbs broth. Cut the cubes evenly so they dry at roughly the same rate. If you’re shopping, choose a plain loaf with a close, sturdy crumb; the bread doesn’t need to be expensive or artisan.
- Unsalted butter — Butter carries the onion, celery, and dried herbs through the skillet and gives the stuffing its rounded, savory base. Unsalted butter lets the listed kosher salt season the whole pan without guessing how salty the butter is.
- Yellow onion and celery — Finely chopping both helps them soften in the skillet and spread through the bread instead of leaving large, firm pieces. Fresh vegetables matter here for their texture; there isn’t a direct substitute that behaves quite the same way.
- Rubbed sage and dried thyme — These dried herbs are practical for a holiday side and release their aroma when stirred into the warm butter and vegetables. Rubbed sage has a softer texture than ground sage, so use the specified form for an even mix.
- Low-sodium chicken broth and eggs — Low-sodium broth gives you control over seasoning, and the eggs help the baked stuffing set. The fresh eggs should be lightly beaten before they’re whisked with the broth, which makes the liquid easier to distribute.
- Fresh parsley — Chopped parsley adds a clean, green note among the richer butter and dried herbs. Choose leaves that look lively rather than limp, and chop them shortly before mixing so they don’t bruise and darken.
From Dry Bread Cubes to a Golden 9-by-13 Pan
Dry the bread without browning it
Heat the oven to 250°F and spread the 3/4-inch bread cubes in a single layer across two rimmed baking sheets. Bake for 45–60 minutes, stirring once, until the cubes feel dry and crisp but haven’t taken on color. If they’re piled up, the pieces underneath won’t dry as evenly, so give them room. Once they’re ready, raise the oven to 350°F and grease a 9-by-13-inch baking dish.
Soften the vegetables in butter
Melt the butter in a 12-inch skillet over medium heat, then add the finely chopped onion and celery. Cook for 8–10 minutes, stirring occasionally, until both vegetables have softened; they shouldn’t be left crunchy. Stir in the sage, thyme, salt, and pepper so the herbs meet the warm butter. Keep the heat at medium rather than rushing the vegetables over high heat.
Toss the bread with the seasoned broth
Put the dry cubes in a 6-quart bowl and add the skillet mixture and chopped parsley, tossing to distribute them. In a separate medium bowl, whisk the broth and lightly beaten eggs until combined. Pour the liquid over the bread and toss until the cubes are evenly moistened. Use a broad spoon and turn the mixture gently; crushing the bread makes the finished texture dense.
Bake until the top is golden and the center is set
Transfer the mixture to the prepared baking dish and cover it tightly with foil. Bake for 25 minutes, then remove the foil and bake for another 15–20 minutes, until the top is golden and the center reaches 165°F. If the edges are browning before the middle is ready, lay the foil back over the dish while it finishes baking. Let the stuffing rest for 10 minutes before serving so it can settle into easy-to-scoop portions.
Two Useful Swaps for Different Tables
Make it vegetarian with vegetable broth
Replace the chicken broth with the same amount of low-sodium vegetable broth. The method stays the same, and the stuffing keeps its savory, herb-forward character, though it won’t have the same poultry flavor.
Use sturdy gluten-free bread
For a gluten-free pan, use a sturdy gluten-free white bread cut into the same-size cubes. Some gluten-free loaves dry faster or crumble more readily, so check for dry, crisp cubes rather than relying only on the clock, and toss them gently once the broth mixture goes in.
Storage and Reheating
- Refrigerator: Refrigerate leftovers within 2 hours and keep them covered for 3–4 days. The top softens in storage, while the center stays moist.
- Freezer: Freeze cooled portions in airtight containers for up to 1 month for the best texture. Thaw overnight in the refrigerator before reheating.
- Reheating: Cover the portion and warm it in a 350°F oven until the center reaches 165°F. Uncover toward the end if you want to bring back some crispness; reheating uncovered the whole time can dry the edges before the middle is hot.
Questions That Come Up Before the Stuffing Goes in the Oven
Classic Thanksgiving Stuffing from Scratch
Ingredients
Equipment
Method
- Heat the oven to 250°F.
- Spread the bread cubes in a single layer on two rimmed baking sheets and bake for 45–60 minutes, stirring once, until dry and crisp but not browned.
- Raise the oven temperature to 350°F.
- Grease a 9x13-inch baking dish.
- Melt the butter in a 12-inch skillet over medium heat.
- Add the onion and celery and cook for 8–10 minutes, stirring occasionally, until softened.
- Stir in the sage, thyme, salt, and pepper.
- Put the dried bread cubes in a 6-quart bowl.
- Add the skillet mixture and parsley, tossing to combine.
- Whisk the broth and eggs in a medium bowl.
- Pour the broth mixture over the bread mixture and toss until evenly moistened.
- Transfer the mixture to the prepared baking dish and cover tightly with foil.
- Bake for 25 minutes.
- Remove the foil and bake for 15–20 minutes more, until the top is golden and the center reaches 165°F.
- Let the stuffing rest for 10 minutes before serving.