
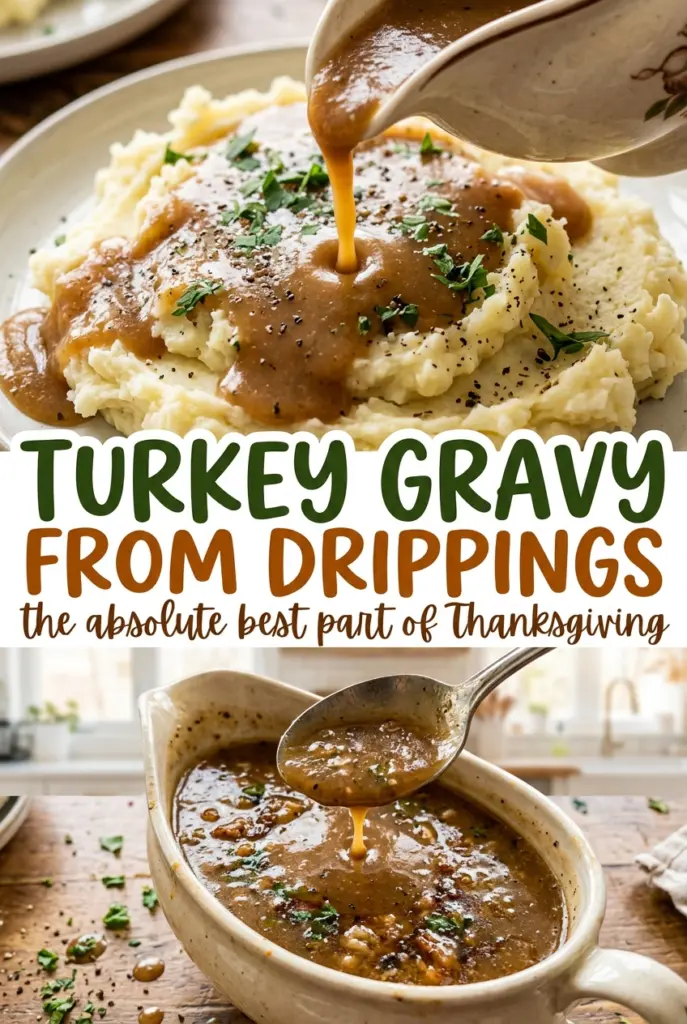
Turkey Gravy from Drippings
When the turkey comes out of the oven, the pan is full of savory juices—but there’s no telling how much fat or liquid you’ll have until you separate them. That’s…
Tip: save now, cook later.When the turkey comes out of the oven, the pan is full of savory juices—but there’s no telling how much fat or liquid you’ll have until you separate them. That’s where this turkey gravy from drippings earns its place: it uses the flavor in the pan, then brings the liquid to a measured total so the gravy doesn’t depend on guesswork.
I strain the drippings first, then measure the fat and keep the defatted juices for the gravy. Low-sodium turkey broth fills in whatever liquid is missing, and unsalted butter makes up a shortfall in turkey fat. Those small adjustments keep the gravy manageable even when the pan gives you a different amount of drippings than expected.
The flour cooks briefly in the fat before the liquid goes in, giving the gravy a smooth, savory base. A steady whisk and a few minutes at a simmer turn it into a glossy pour that clings to mashed potatoes and turkey alike.
Kitchen Note
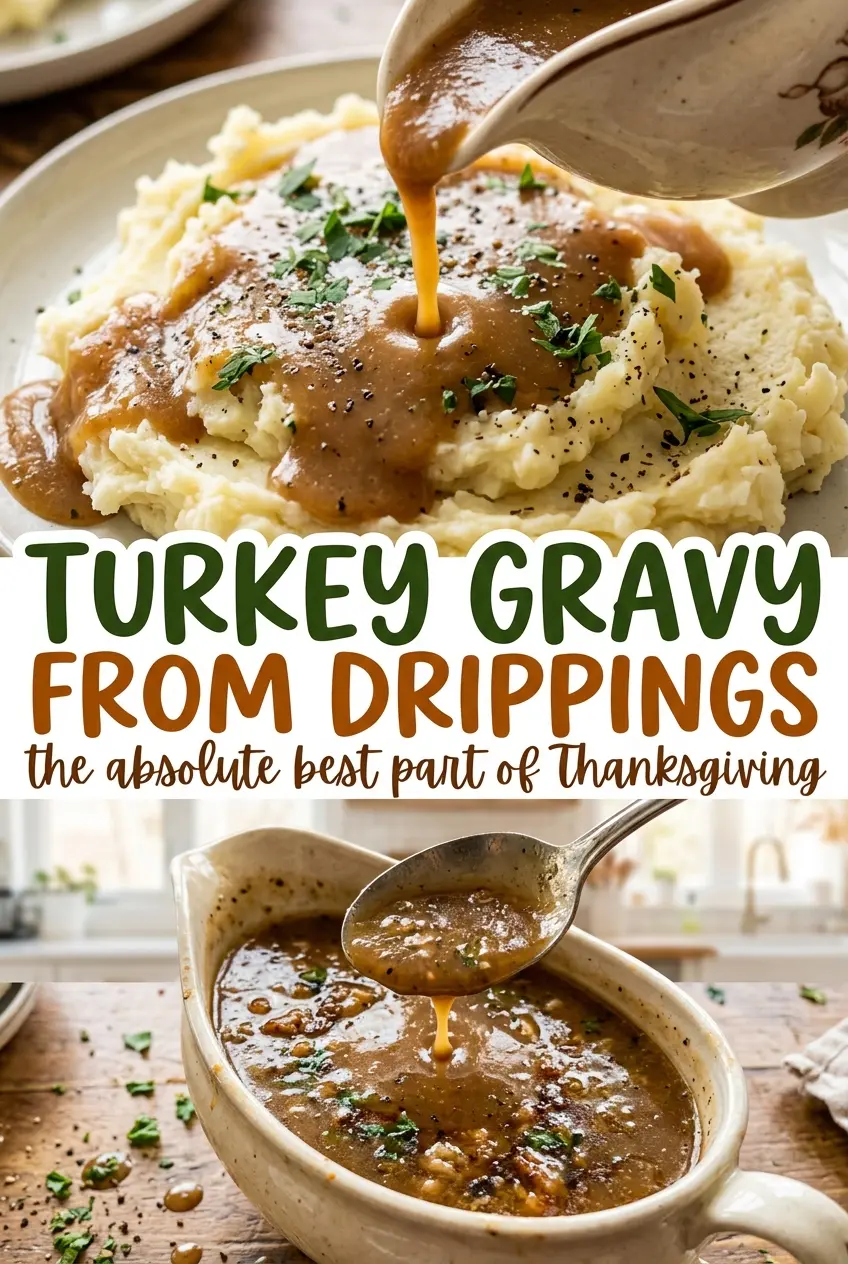
I use the back-of-the-spoon test to judge the finish: the gravy should leave a smooth coating instead of running straight off. That texture cue is more useful than trying to judge thickness from a quick glance at the bubbling pan.
Save this turkey gravy from drippings for a smooth, savory finish built from the pan juices you already have.
Why This Gravy Needs a Measured Amount of Liquid
Turkey pans vary. Some leave plenty of defatted juices behind, while others give you only a little. Building gravy around whatever happens to be in the pan can leave you with a different result every time, especially when the amount of fat is changing too.
Instead, the liquid blend has a set total: combine the defatted pan juices with low-sodium turkey broth until you reach three cups. The broth isn’t there to replace the roasted flavor; it gives the drippings a dependable volume to work with. Use more pan juices when you have them and less broth, or let the broth fill the gap.
The fat and flour are measured separately, so the thickening base doesn’t depend on how much turkey fat the pan produced. Keeping those parts distinct is what makes this gravy adaptable without turning it into a thin pool or a heavy paste. You’re using the drippings for flavor while keeping the proportions that give the gravy its body.
What the Drippings, Broth, and Flour Each Bring to the Gravy
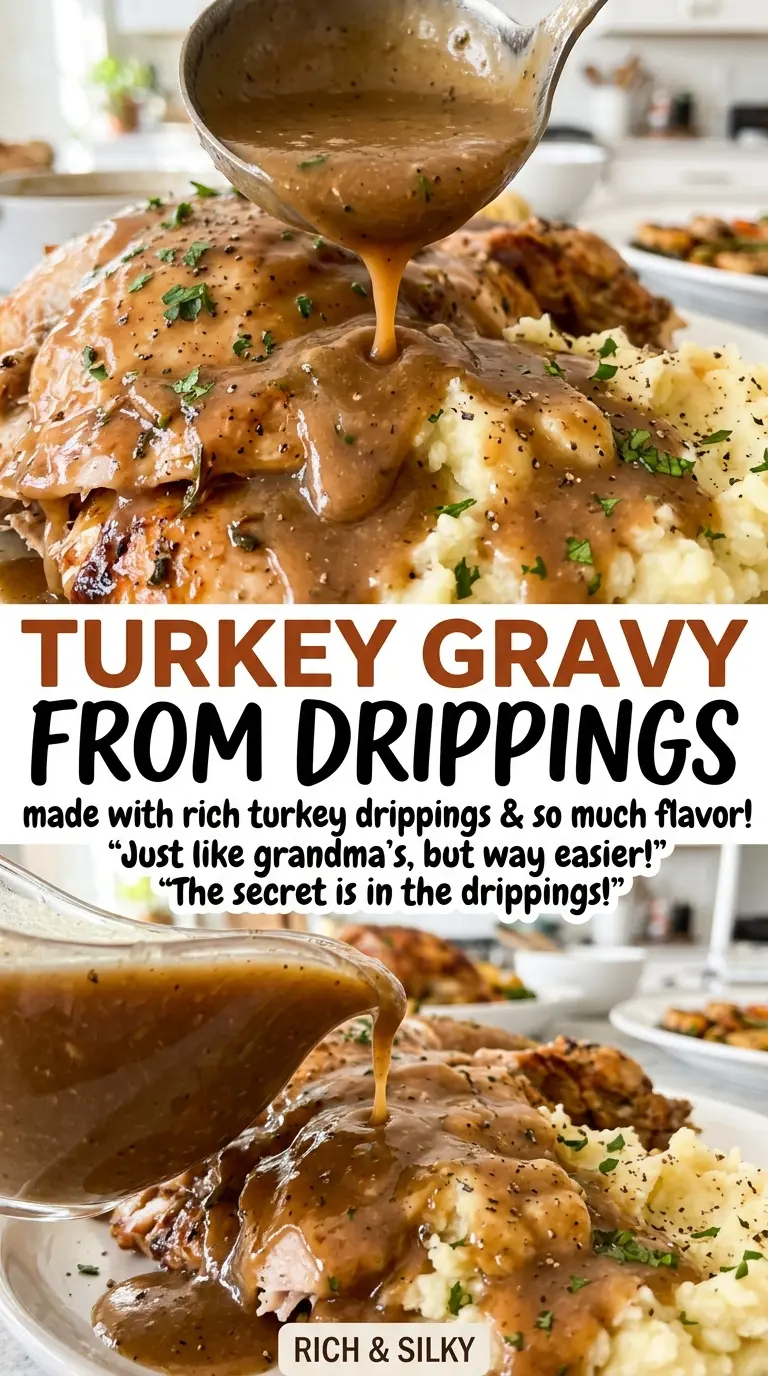
- Turkey pan drippings — These bring the concentrated roasted-turkey flavor. Strain them before measuring so the gravy starts with liquid and fat you can portion separately.
- Low-sodium turkey broth — Carton broth is fine here; it supplies the liquid needed to reach the finished volume without crowding out the pan flavor. Low-sodium broth also leaves room to season the gravy at the end.
- Turkey fat and unsalted butter — Turkey fat gives the roux a savory, roast-turkey character. Use unsalted butter only to make up any shortage, so the fat total stays consistent without adding extra salt.
- All-purpose flour — Flour thickens the liquid after it cooks briefly in the fat. A standard all-purpose flour is the right fit for this roux; changing to a different flour can change how the gravy thickens.
- Kosher salt and black pepper — They season the finished gravy, but the pan drippings can vary in saltiness. Taste before adding any salt beyond the amount in the ingredient list.
The Four Whisking Moments That Keep Turkey Gravy Smooth
Separate the fat and measure the liquid
Strain the turkey pan drippings into a fat separator or measuring cup. Measure the turkey fat separately, then combine the defatted juices with enough low-sodium turkey broth to make three cups total. If the drippings don’t provide enough fat, use unsalted butter to make up the difference. Having both measurements ready before the saucepan goes on the heat keeps the next steps moving smoothly.
Cook the flour in the fat
Heat the turkey fat and any needed butter in a 2-quart saucepan over medium heat. Whisk in the all-purpose flour and keep the whisk moving for one to two minutes. The flour should blend into the fat as a smooth paste, without dry pockets. Constant whisking helps it cook evenly rather than sticking to one spot at the bottom of the pan.
Whisk in the drippings and broth gradually
Pour in the liquid mixture gradually while whisking, rather than adding it all at once. A steady addition gives the flour-and-fat base time to loosen into the liquid; a sudden pour is more likely to leave lumps. Bring the gravy to a simmer, then cook for five to eight minutes, whisking often. It should look smooth and thicken as it cooks.
Season after the gravy thickens
Stir in the kosher salt and black pepper once the gravy has simmered. Taste it before adding more salt, since the pan juices may already be well seasoned. The finished gravy should be smooth and thick enough to coat the back of a spoon, not so thick that it sits in a mound.
How to Change the Drippings Without Losing the Gravy’s Balance
Use more drippings for a deeper turkey flavor
When you have enough defatted pan juices, use them for more of the three-cup liquid total and reduce the broth accordingly. The gravy will taste more strongly of roasted turkey, while the measured fat and flour keep the base in balance.
Make it dairy-free when you have enough turkey fat
If the strained drippings give you the full amount of turkey fat needed, use that and leave out the butter. The gravy stays dairy-free without changing the liquid or flour. If you’re short on turkey fat, this version won’t work as written with the butter replacement.
Make a broth-based gravy when there are no pan juices
Use low-sodium turkey broth for the full liquid amount and unsalted butter to provide the fat when turkey drippings aren’t available. The result is still a smooth turkey gravy, though it won’t have the same roasted flavor as one made with pan juices.
Storage and Reheating
- Refrigerator: Store covered for 3 to 4 days. The gravy will thicken as it chills.
- Freezer: Freeze in an airtight container for up to 3 months. Thaw overnight in the refrigerator for the smoothest reheating.
- Reheating: Warm in a saucepan over low heat, whisking until hot throughout. If it has thickened too much, whisk in a small splash of low-sodium turkey broth; avoid heating it too aggressively.
Questions That Come Up While Making Turkey Gravy
Turkey Gravy from Drippings
Ingredients
Equipment
Method
- Strain the turkey pan drippings into a fat separator or measuring cup and measure 1/4 cup fat.
- Combine the defatted juices with enough low-sodium turkey broth to make 3 cups total, and use unsalted butter to make up any shortage of fat.
- Heat the turkey fat and any needed butter in a 2-quart saucepan over medium heat.
- Whisk in the flour and cook for 1 to 2 minutes, whisking constantly.
- Gradually whisk in the drippings and broth mixture and bring to a simmer.
- Cook for 5 to 8 minutes, whisking often, until the gravy is smooth and thick enough to coat the back of a spoon.
- Stir in the salt and pepper.
- Taste and add more salt if needed.