
Stuffing Muffins
When the bread cubes hit the broth, the dry edges start softening first, while the centers still have a little structure. That’s the moment I watch for with stuffing muffins:…
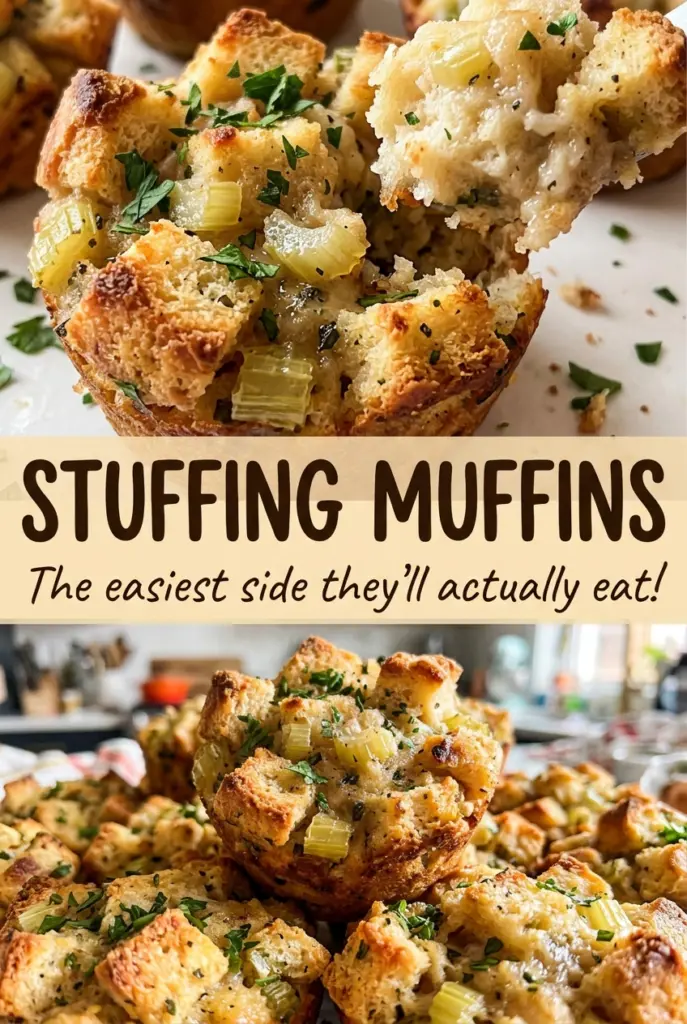
Tip: save now, cook later.When the bread cubes hit the broth, the dry edges start softening first, while the centers still have a little structure. That’s the moment I watch for with stuffing muffins: the bread should be evenly moistened, not swimming. These individual portions bring the familiar savory flavor of stuffing to the table in a shape that’s easy to serve, with golden tops and a tender middle.
I dry the bread in a low oven before adding the buttery onion and celery, then let the tossed mixture stand for five minutes. That short pause gives the bread time to take up the broth and egg instead of leaving liquid pooled at the bottom of the bowl. Once the mixture is pressed into the muffin cups and baked, each portion holds together without losing the soft texture that makes stuffing worth making.
Kitchen Note
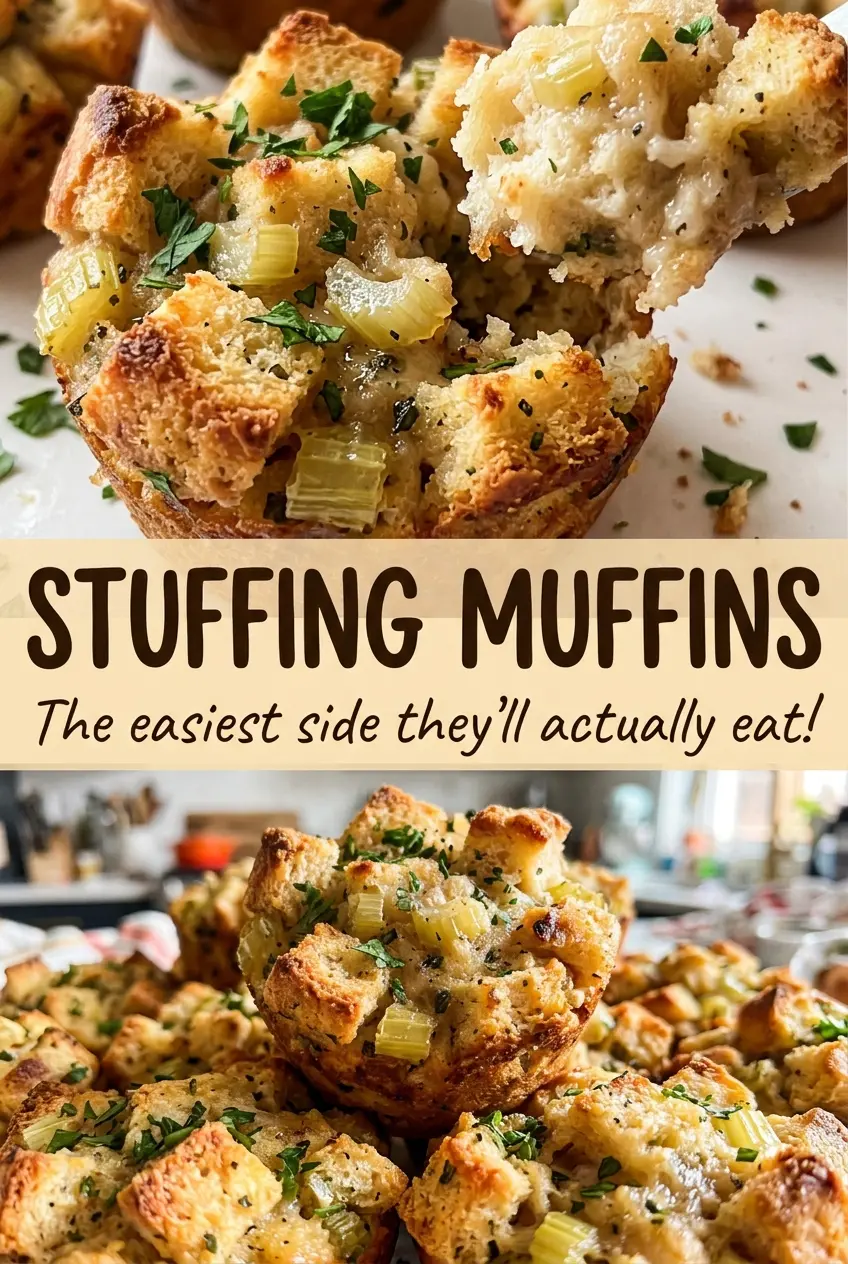
The bread should feel dry, but it shouldn’t turn golden in the oven. I stir it once as it dries; pale cubes have the right texture to absorb the broth without bringing a toasted flavor to the whole batch.
Save these Stuffing Muffins for a holiday table or a cozy dinner—each serving has its own golden top and savory, herb-scented center.
Why the Egg Helps These Stuffing Muffins Hold Together
A bowl of bread, vegetables, and broth can taste like stuffing, but it won’t necessarily lift out of a muffin cup in one piece. The eggs give the mixture a binder that sets as it bakes, helping each portion keep its shape when you loosen it from the pan. That matters here because these aren’t spooned onto a plate from a casserole dish; each muffin needs to come out as its own serving.
Even moisture makes that structure work. If some cubes stay dry while others sit in a puddle, you’ll get uneven results: loose pieces in one bite and a heavy, wet patch in another. Toss until the liquid is spread through the bread, then give the mixture a five-minute pause before filling the pan. Pressing the portions into the cups and mounding them slightly gives the tops a defined shape while the egg sets around the bread. You’re aiming for a cohesive muffin, not a tightly packed brick.
The Bread and Broth Choices That Shape the Texture
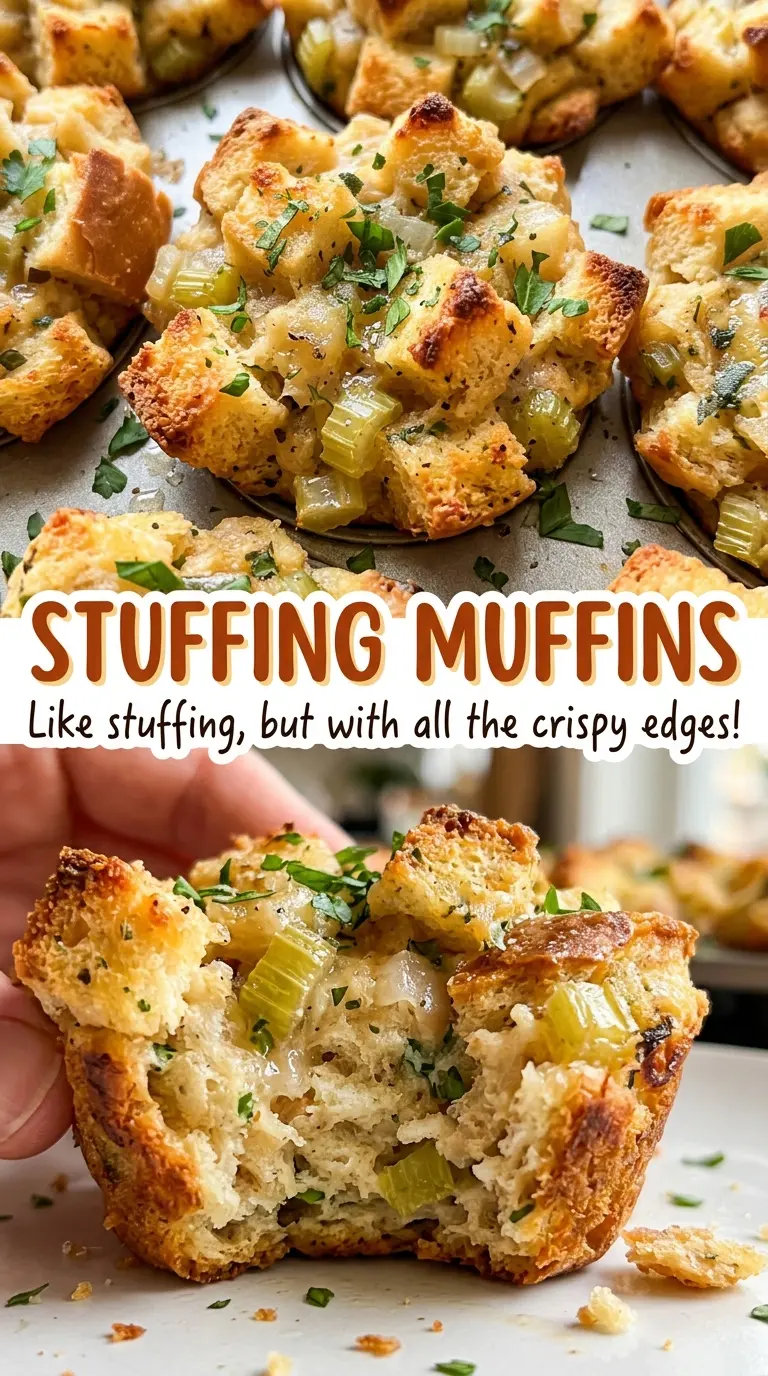
- Sturdy white bread — Bread is the structure of the dish, so choose a loaf that holds a 1-inch cube rather than collapsing into crumbs as you toss it. A basic, sturdy white loaf works well; an especially soft sandwich bread can become fragile once broth is added. If you need a gluten-free version, use sturdy gluten-free white bread in the same 8-cup measure, and judge the mixture by how evenly it moistens.
- Unsalted butter, onion, and celery — Butter carries the savory flavor of the vegetables and herbs, while onion and celery soften into the bread rather than staying crisp. Finely chopping both helps them distribute through all 12 portions. Unsalted butter keeps the seasoning in your hands, particularly since the broth and kosher salt both contribute to the final taste.
- Dried rubbed sage and dried thyme — These dried herbs bring the familiar savory character without adding extra moisture to the bread mixture. Rubbed sage has a soft, leafy texture that disperses well through the vegetables; dried thyme adds a quieter herbal note. Keep them dried for this method so the mixture stays balanced and easy to portion.
- Low-sodium chicken broth and eggs — The broth moistens the cubes, and the eggs help the baked muffins hold their shape. Low-sodium broth lets the onion, celery, and herbs come through without making the seasoning hard to control. For a vegetarian adaptation, replace the chicken broth with the same amount of low-sodium vegetable broth; the result keeps the savory, herby character while losing the chicken flavor.
From Dry Bread to Golden, Easy-to-Lift Muffins
Dry the Bread Without Toasting It
Heat the oven to 300°F and coat a 12-cup muffin pan with nonstick cooking spray. Spread the 1-inch bread cubes on a rimmed baking sheet and bake for 25 to 30 minutes, stirring once, until dry but not browned. The cubes should feel dried through rather than soft in the center, but keep their pale color. Transfer them to a large bowl so they’re ready to take on the vegetable mixture and broth.
Soften the Vegetables in Butter
Melt the butter in a 12-inch skillet over medium heat, then add the finely chopped onion and celery. Cook for 8 to 10 minutes, stirring occasionally, until both are tender. You want softened vegetables, not browned edges; they should blend into the bread instead of adding a sharp, fried note. Stir in the sage, thyme, kosher salt, and black pepper so the herbs meet the warm butter and vegetables.
Moisten, Toss, and Let the Bread Rest
Scrape the vegetables into the bowl with the bread. In a medium bowl, whisk the chicken broth and eggs, pour that mixture over the bread, and toss until the cubes are evenly moistened. Check the bottom of the bowl as you toss; liquid should be distributed through the mixture rather than collecting below it. Let it stand for 5 minutes before dividing it among the muffin cups.
Bake Until the Centers Set
Increase the oven temperature to 375°F. Divide the mixture among the prepared cups, pressing it in and mounding it slightly, then bake for 25 to 30 minutes until the tops are golden and the centers reach 160°F. If the tops brown before the centers have reached temperature, keep baking until the centers are ready rather than relying on color alone. Rest the muffins in the pan for 5 minutes, loosen the edges with a thin knife, and lift them out.
Two Simple Swaps for Different Tables
Make the Muffins Vegetarian
Use low-sodium vegetable broth in place of the low-sodium chicken broth, keeping the same 1½-cup amount. The muffins still get the moisture they need, but the flavor shifts away from chicken and lets the sage, thyme, onion, and celery stand out more clearly.
Use Gluten-Free White Bread
Swap in 8 cups of sturdy gluten-free white bread cubes cut into 1-inch pieces. Dry them until they’re dry but not browned, just as you would the white bread; gluten-free loaves vary in how much liquid they absorb, so toss thoroughly and look for evenly moistened cubes rather than adding extra broth automatically.
Storage and Reheating
- Refrigerator: Store cooled muffins in an airtight container for 3 to 4 days. The tops will soften in the refrigerator, while the centers stay tender.
- Freezer: Freeze cooled muffins in a freezer-safe airtight container for up to 2 months for best quality. Thaw them overnight in the refrigerator before reheating.
- Reheating: Warm them in a 350°F oven until heated through, checking the center reaches 165°F. Avoid reheating until the edges dry out; a microwave works for a quick single serving but softens the golden top.
Questions That Come Up When Making Stuffing Muffins
Stuffing Muffins
Ingredients
Equipment
Method
- Heat the oven to 300°F.
- Coat a 12-cup muffin pan with nonstick cooking spray.
- Spread the bread cubes on a rimmed baking sheet and bake for 25 to 30 minutes, stirring once, until dry but not browned; transfer to a large bowl.
- Melt the butter in a 12-inch skillet over medium heat.
- Add the onion and celery and cook for 8 to 10 minutes, stirring occasionally, until tender.
- Stir in the sage, thyme, salt, and pepper.
- Scrape the vegetable mixture into the bowl with the bread.
- Whisk the broth and eggs in a medium bowl, pour over the bread, and toss until evenly moistened.
- Let the mixture stand for 5 minutes.
- Increase the oven temperature to 375°F.
- Divide the mixture among the muffin cups, pressing it in and mounding it slightly.
- Bake for 25 to 30 minutes, until the tops are golden and the centers reach 160°F.
- Let the muffins rest in the pan for 5 minutes.
- Loosen the edges with a thin knife and lift the muffins out.