
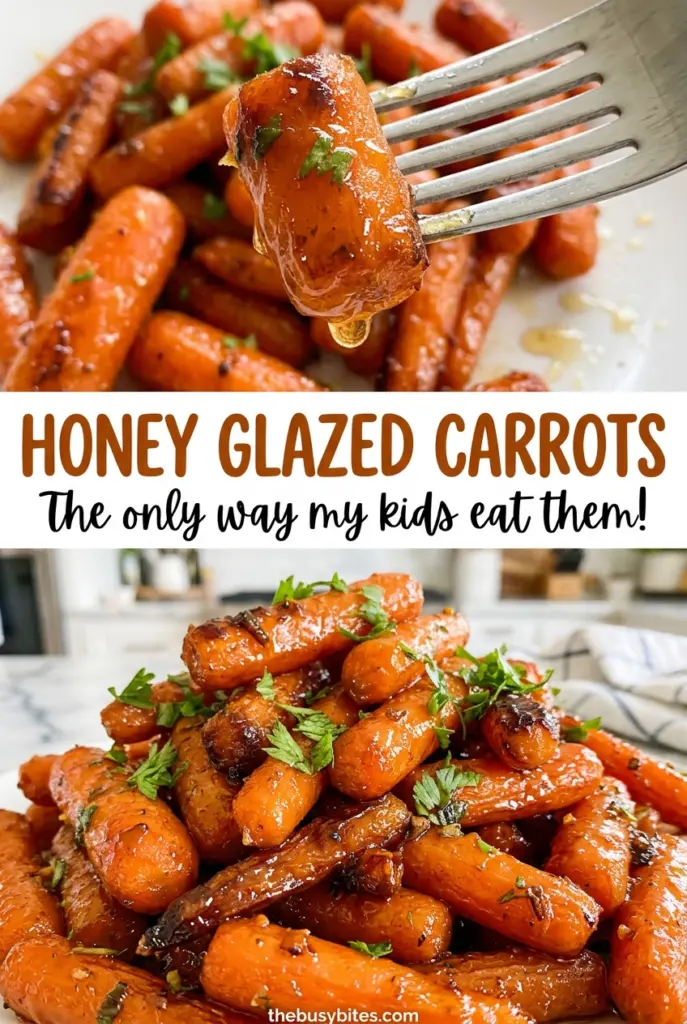
Honey Glazed Carrots
When the lid comes off, the carrots are tender, but they don't look glazed yet. The liquid is still in the skillet, and that's exactly where the honey glazed carrots…
Tip: save now, cook later.When the lid comes off, the carrots are tender, but they don’t look glazed yet. The liquid is still in the skillet, and that’s exactly where the honey glazed carrots take shape: butter and honey join the cooking liquid, then everything cooks together until the syrup clings to each slice.
I like this stovetop method because the carrots soften under a lid before the glaze goes in. That gives you a little control over the finish: the carrots get tender first, and then you can watch the liquid turn glossy as you stir. Serve them while the glaze is warm and shiny, straight from the skillet.
Kitchen Note
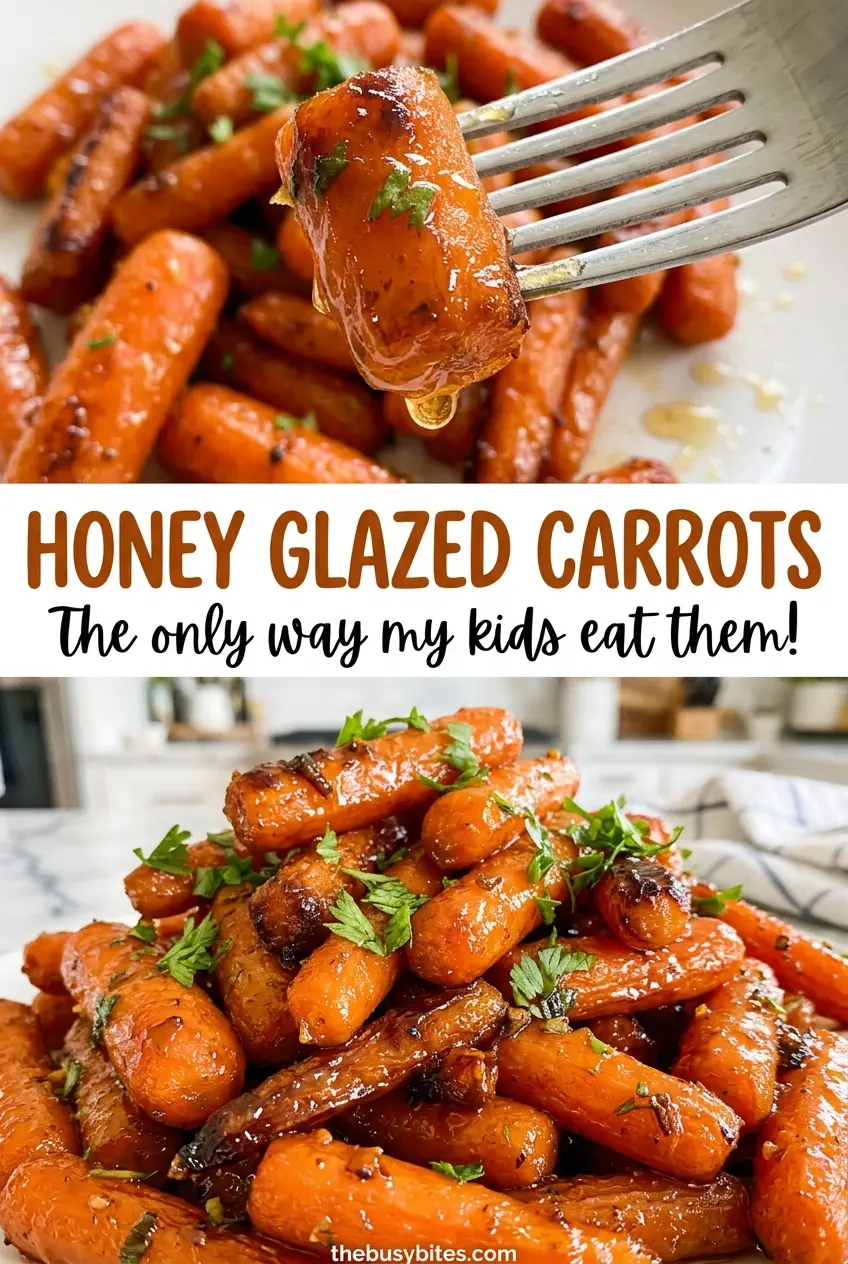
Cut the diagonal slices to the same 1/4-inch thickness, including the narrow ends of the carrots. Even pieces reach fork-tenderness at about the same time instead of leaving you with a mix of soft and firm slices.
Save these honey glazed carrots for an easy stovetop side, with tender slices and a buttery honey glaze made right in the skillet.
Why You Don’t Drain the Carrot Cooking Liquid
The water in the skillet has a job beyond softening the carrots. As the covered carrots cook, that liquid helps them turn tender without browning on the bottom. Once the lid comes off, it becomes the starting point for the glaze, carrying the butter and honey around every slice as it reduces.
Pouring it off before adding the butter and honey would leave you with less liquid to turn syrupy, and the glaze wouldn’t coat as evenly. Keep the pan uncovered for the finishing stage and stir often so the liquid reduces around the carrots rather than sticking in one spot. You’re looking for a glossy coating, not a dry skillet or a puddle of thin liquid. The shift from cooking liquid to glaze happens right in the pan, so there isn’t a separate sauce to make or a bowl to wash.
What the Carrots, Honey, and Butter Each Bring
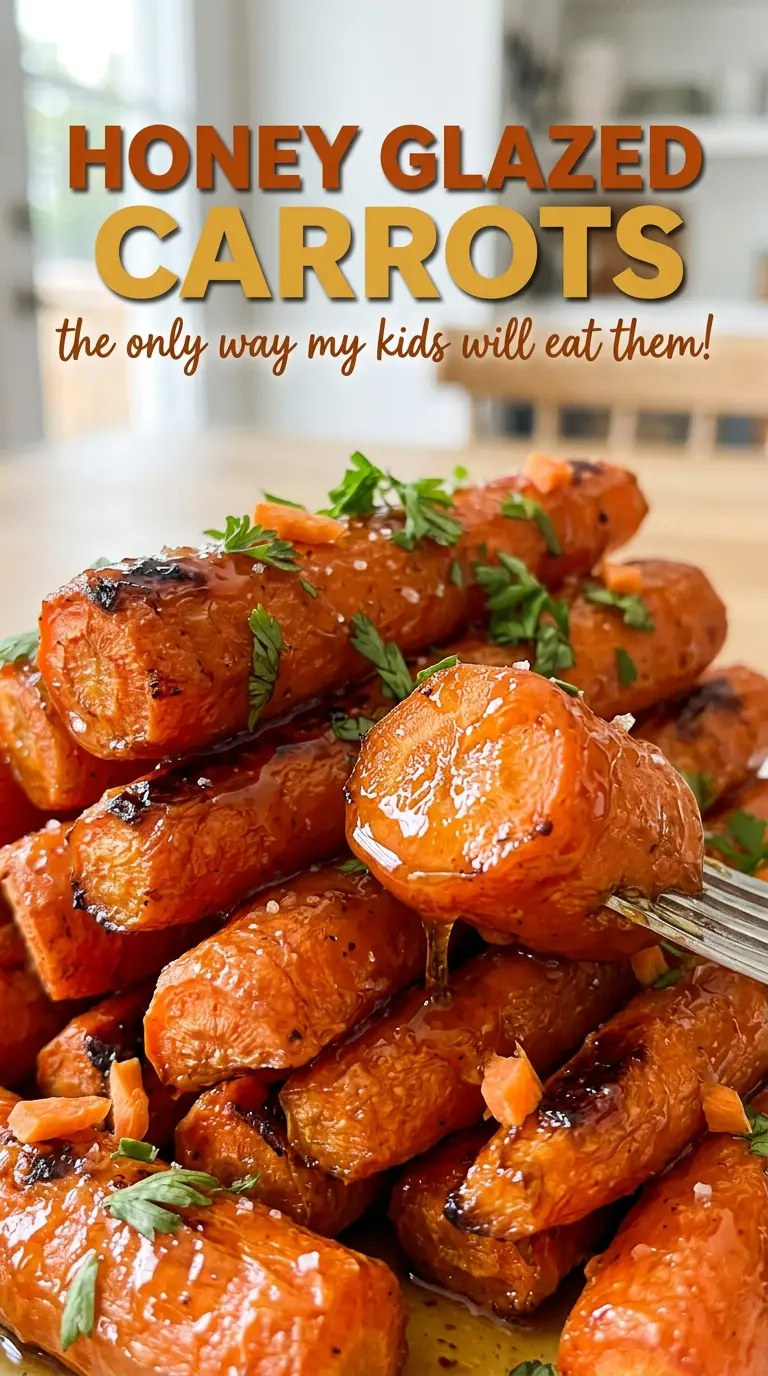
- Carrots — Firm, fresh carrots are the best choice here; they hold their shape through the covered cook and stay distinct once the glaze coats them. Standard grocery-store carrots work well, so there’s no need to seek out a specialty variety. Peel them and cut diagonal slices to the stated thickness; baby carrots are fine too if you slice them to match.
- Honey — Honey gives the glaze its particular floral sweetness and helps it become glossy as the liquid reduces. A basic mild honey is a good fit, while a strongly flavored honey will be more noticeable in the finished dish. Maple syrup can replace the honey in the same amount; it brings a woodsy, less floral sweetness.
- Unsalted butter — Butter rounds out the honey and gives the reduced liquid a richer finish. A fresh, everyday butter is all you need; the other flavors are strong enough that a specialty butter isn’t necessary. For a dairy-free version, use a plant-based butter made for cooking, keeping in mind that the glaze will taste less buttery.
From Covered Simmer to Glossy Skillet Glaze
Start the carrots in the covered skillet
Arrange the peeled, sliced carrots in a 12-inch skillet with a lid, then add the water and kosher salt. Set the skillet over medium-high heat and bring the liquid to a simmer. Once it simmers, cover the pan and reduce the heat to medium-low. If the liquid is boiling hard, lower the heat until you have a steady, gentle simmer.
Cook until a fork meets just a little resistance
Keep the skillet covered for 8–12 minutes, then test a slice with a fork. The carrots should be just tender when pierced, not so soft that they slump or split when stirred. If they still feel firm in the center, continue cooking and check again rather than moving on to the glaze. Carrots vary a little in thickness, so let the fork test guide you within the cooking window.
Reduce the honey-butter liquid until it coats
Uncover the skillet and add the butter and honey. Cook over medium heat for 2–4 minutes, stirring often to move the carrots through the liquid. At first it will look loose; keep stirring as it reduces and starts to cling to the slices. Take the pan off the heat when the liquid is syrupy and coats the carrots.
Easy Ways to Change the Honey Glaze
Use maple syrup instead of honey
Replace the honey with the same amount of maple syrup. The glaze will still coat the carrots, but the sweetness will taste woodier and less floral. Use pure maple syrup rather than pancake syrup, which can make the finish taste much sweeter.
Make the carrots dairy-free
Use a plant-based butter in place of the unsalted butter and maple syrup in place of the honey. Choose a plant butter meant for cooking, not a whipped spread. The carrots will still get a shiny sweet coating, though the flavor won’t have the same dairy-butter richness.
Give the glaze a gentler sweetness
For a less honey-forward finish, use half honey and half maple syrup while keeping the total sweetener amount the same. The honey’s floral note softens, and maple adds a rounder, warmer taste without changing the skillet method.
Storage and Reheating
- Refrigerator: Keep leftovers in an airtight container for 3–4 days. The glaze will firm up when cold and look less glossy until warmed.
- Freezer: These carrots can be frozen in an airtight container, but the thawed slices will be softer and the glaze may not look as smooth. For the best texture, serve them fresh or refrigerate leftovers instead.
- Reheating: Warm them gently in a skillet over low heat, stirring until hot; add a small splash of water if the glaze is too thick to loosen. Avoid high heat, which can make the honey coating catch on the pan.
Questions That Come Up With Honey Glazed Carrots
Honey Glazed Carrots
Ingredients
Equipment
Method
- Arrange the carrots in a 12-inch skillet with a lid.
- Add the water and salt.
- Bring to a simmer over medium-high heat, cover, reduce the heat to medium-low, and cook for 8–12 minutes, until the carrots are just tender when pierced with a fork.
- Uncover, add the butter and honey, and cook over medium heat for 2–4 minutes, stirring often, until the liquid is syrupy and coats the carrots.