
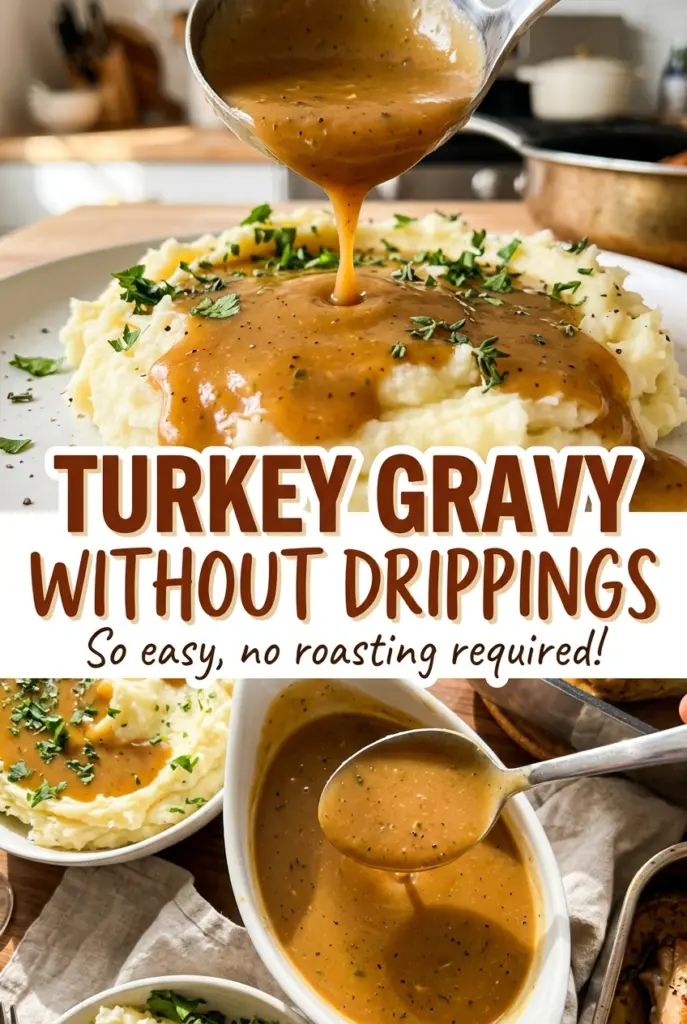
Turkey Gravy Without Drippings
As soon as the butter melts in the saucepan, you’ve got the start of gravy—even if there isn’t a drop of turkey drippings to be found. I like having this…
Tip: save now, cook later.As soon as the butter melts in the saucepan, you’ve got the start of gravy—even if there isn’t a drop of turkey drippings to be found. I like having this version ready for the moments when the roast hasn’t given up enough juices, or when I want a dependable gravy without waiting for the roasting pan. Turkey gravy without drippings gets its body from a simple butter-and-flour roux, so the result is smooth, savory, and easy to make on the stovetop.
The part that makes the difference is cooking the flour in the butter before the broth goes in. Keep the whisk moving until the roux looks smooth and pale golden, then add the broth gradually so it blends in without lumps. A short simmer thickens it into a gravy that coats the back of a spoon, and the low-sodium broth leaves room to season at the end. It’s a practical little saucepan of gravy with a soft, silky finish.
Kitchen Note
Measure the broth before you melt the butter and keep it beside the stove. Once the flour is in the pan, having the broth within reach lets you focus on whisking instead of stopping to measure.
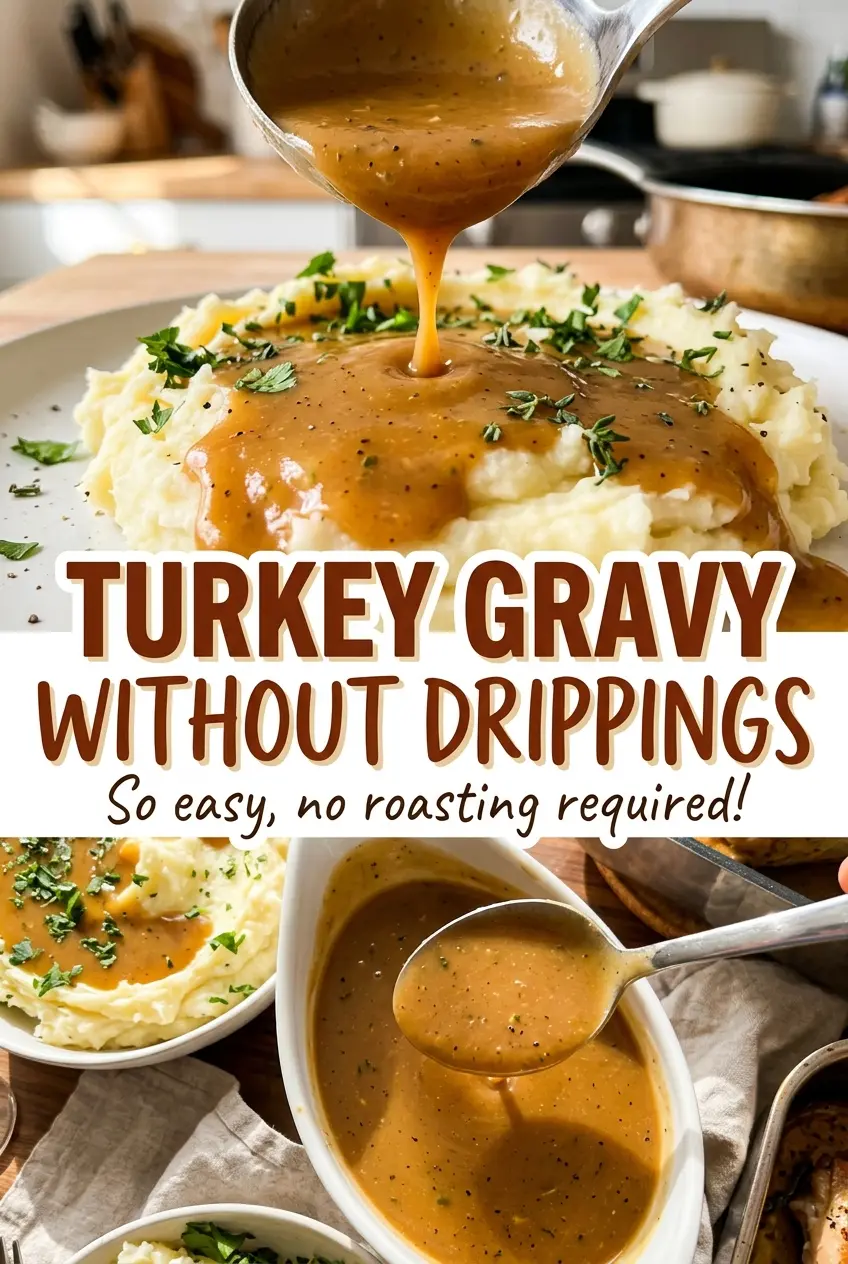
Save this turkey gravy without drippings for a smooth, spoon-coating sauce you can make right on the stovetop.
Why the Pale Roux Matters More Than Turkey Drippings
Drippings bring the flavor of a roast, but they aren’t what makes gravy thick. Here, butter and flour create the roux that gives the broth its body. Cooking that roux until it’s pale golden lets the flour cook through while keeping its thickening power. Take it much darker and the flavor will shift toward toasted and nutty, which isn’t the gentle turkey gravy this method is designed to make.
There’s also a reason to whisk the broth in gradually instead of pouring it all in at once. The roux loosens in stages, giving you a chance to blend each addition smooth before adding more. That’s much easier to control than trying to chase floury lumps around a full saucepan. Once the broth is incorporated, a simmer does the rest of the thickening; no pan juices or long reduction are needed.
Low-sodium turkey broth keeps the gravy’s turkey flavor in the foreground without making the seasoning hard to manage. Since the liquid reduces slightly as it simmers, salt goes in at the end, when you can taste the finished gravy and judge it properly.
What Butter, Flour, and Broth Each Contribute to Dripping-Free Gravy
- Unsalted butter — Butter carries the flour into a smooth roux and gives the gravy a rounded, rich taste. A standard grocery-store butter works well; the unsalted kind makes the final seasoning easier to control. For a dairy-free adaptation, use a plant-based butter stick in the same amount, rather than a soft tub spread.
- All-purpose flour — This is the thickener, and it also gives the gravy its familiar soft, velvety texture. Ordinary all-purpose flour is fine; sifted or specialty flour won’t improve the result. For a gluten-free version, use the cornstarch method in the variations below rather than swapping flour cup-for-cup.
- Low-sodium turkey broth — The broth supplies most of the gravy’s flavor, so choose one you’d be happy to sip. A carton from the grocery store is perfectly suitable. Low-sodium chicken broth works as an equal-amount substitute, though the finished gravy will taste less distinctly like turkey.
- Kosher salt and black pepper — These season the finished gravy without masking the broth. Add them after simmering, as written, so you can taste the actual thickness and saltiness before serving.
From Pale Roux to Spoon-Coating Gravy in One Saucepan
Melt the Butter Without Browning It
Set a 3-quart saucepan over medium heat and melt the butter. Give it a moment to become fully liquid, but don’t let it brown; this gravy starts with a mild, buttery base. Keep the flour and broth close by so you’re ready to move straight into the roux. The saucepan should have enough room for whisking once all the broth is added.
Cook the Flour Until the Roux Turns Pale Gold
Whisk the flour into the melted butter and keep whisking constantly for 2 to 3 minutes. The roux should look smooth, with no dry flour at the edges, and shift to a pale golden color. If you stop stirring, the flour can cook unevenly against the bottom of the pan. Keep the heat at medium and watch the color rather than waiting for a deep brown roux.
Whisk in the Broth Gradually
Pour in the turkey broth a little at a time while whisking, blending each addition into the roux before adding more. The mixture may look thick at first, then loosen into a smooth liquid as the broth goes in. If you spot small floury lumps, keep whisking before continuing. Once all the broth is incorporated, bring the gravy to a simmer over medium heat.
Simmer Until It Coats a Spoon
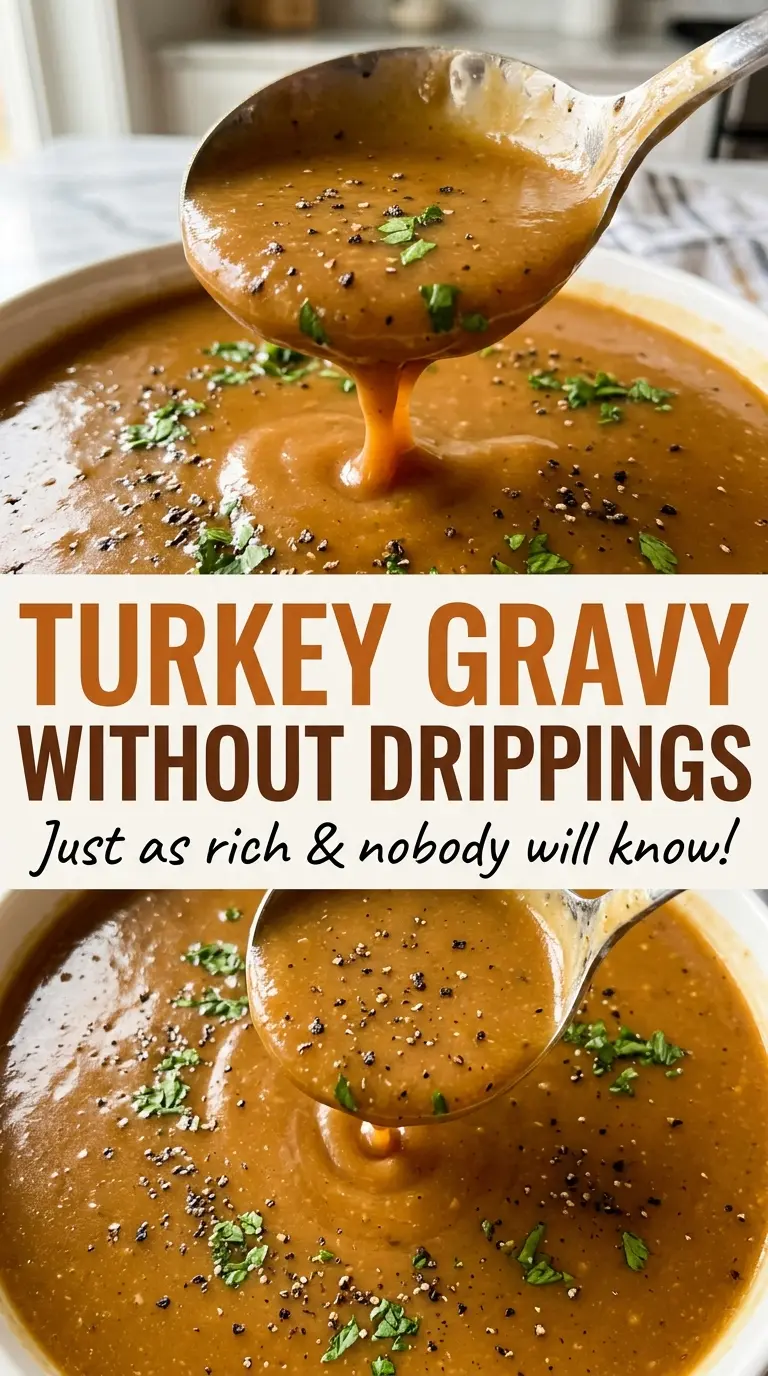
Simmer the gravy for 5 to 8 minutes, whisking occasionally. It’s ready when it thickens enough to coat the back of a spoon instead of running off like broth. Stir in the kosher salt and black pepper, then taste. If it still seems thin, use the spoon test to judge the texture rather than relying on how it looks while bubbling.
Simple Ways to Adapt This Dripping-Free Gravy
Make It Gluten-Free with a Cornstarch Slurry
Replace the flour with 3 tablespoons of cornstarch. Take a little of the measured cold turkey broth and whisk it with the cornstarch until smooth; melt the butter, add the remaining broth, and bring it to a simmer before whisking in the slurry. Simmer until thickened, then season. The gravy will look glossier and feel a little less velvety than the flour-thickened version.
Give It a Pepper-Forward Finish
For a sharper, more peppery gravy, increase the black pepper to taste when you season at the end. Adding it after the simmer keeps its bite more noticeable than cooking it in the roux. The change is small, but it gives the mild turkey broth a little more edge.
Storage and Reheating
- Refrigerator: Store the gravy in a covered container for 3 to 4 days. It will firm up as it chills.
- Freezer: Freeze in an airtight container for up to 3 months for the best quality. The texture may separate slightly after thawing, but whisking as it warms helps bring it back together.
- Reheating: Warm it gently in a saucepan, whisking until smooth; loosen it with a splash of broth if it has become too thick. Reheat leftovers to 165°F, and avoid turning the heat high, which can make the gravy scorch on the bottom.
Questions That Come Up When Making Gravy Without Drippings
Turkey Gravy Without Drippings
Ingredients
Equipment
Method
- Melt the butter in a 3-quart saucepan over medium heat.
- Whisk in the flour and cook for 2 to 3 minutes, whisking constantly, until the roux is smooth and pale golden.
- Gradually whisk in the turkey broth until smooth.
- Bring the gravy to a simmer over medium heat.
- Simmer for 5 to 8 minutes, whisking occasionally, until thick enough to coat the back of a spoon.
- Stir in the salt and pepper.