

Bacon-Wrapped Green Bean Bundles
When the bacon starts to brown, the butter-and-brown-sugar glaze bubbles around the edges of the pan first. The beans are tucked inside each bundle, so they need a head start…
Tip: save now, cook later.When the bacon starts to brown, the butter-and-brown-sugar glaze bubbles around the edges of the pan first. The beans are tucked inside each bundle, so they need a head start before they go into the oven; otherwise, the bacon can be ready while the beans are still too firm. These bacon-wrapped green bean bundles solve that timing problem with a quick boil before wrapping.
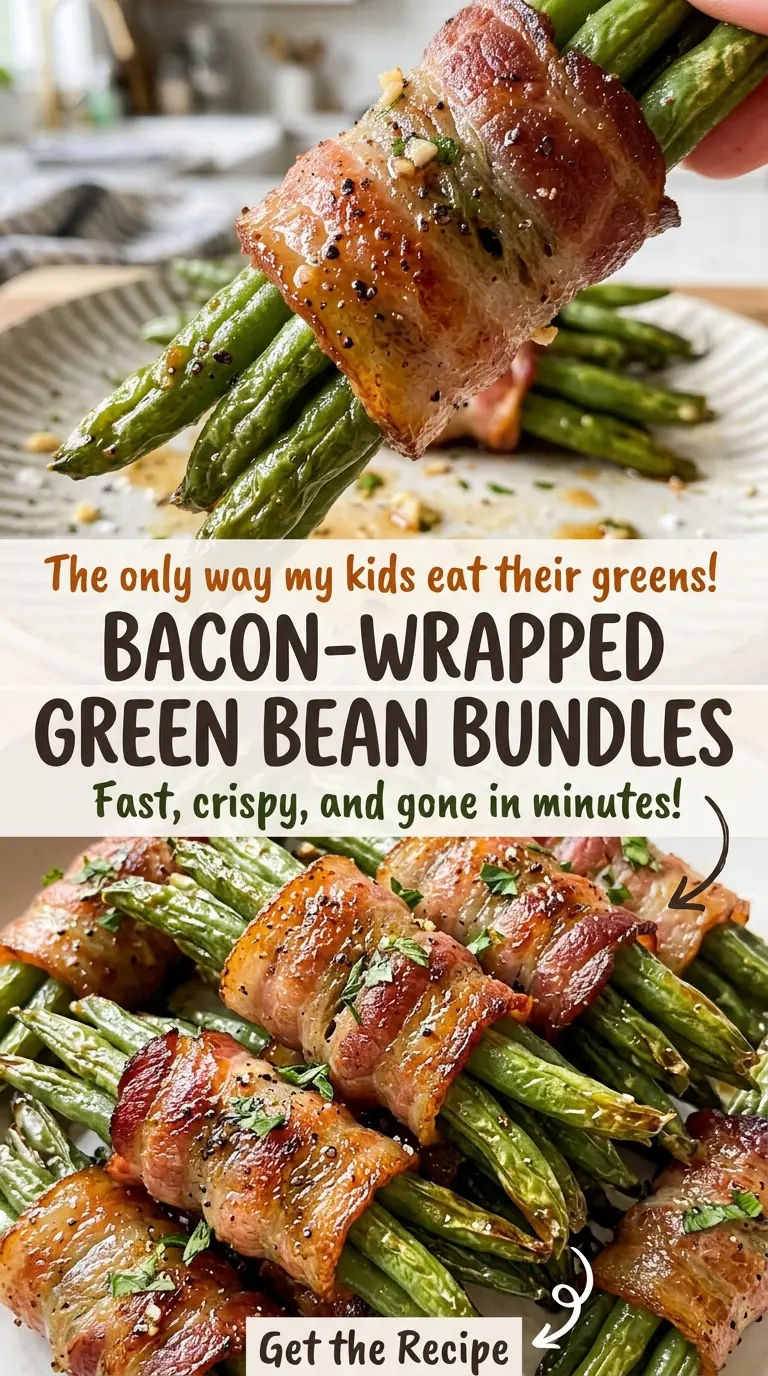
I blanch the fresh beans for three minutes, cool them under cold water, then wrap them in regular-cut bacon and brush them with a simple buttery glaze. The oven does the rest: the bacon turns crisp, the beans become tender, and the sugar cooks into a glossy coating with savory garlic and black pepper. They’re a warm, neatly portioned side with crisp edges and tender green beans inside.

Kitchen Note
Pat the cooled beans thoroughly dry before wrapping. Excess water clinging to them can dilute the glaze and leave moisture on the pan instead of letting the coating cling to the bundles.
Save these bacon-wrapped green bean bundles for a side with crisp bacon, tender beans, and a buttery brown-sugar glaze.
The Brown-Sugar Glaze Needs Oven Time to Turn Glossy
This glaze goes on before baking because the oven is where its texture comes together. Melted butter makes it easy to brush over the bundles, while the brown sugar warms and settles onto the bacon as everything cooks. The result is a thin, shiny coating rather than a thick sauce sitting on top.
That timing also lets the sweetness balance the salty bacon and the peppery, savory beans. If you wait until the bundles come out of the oven to add the glaze, the sugar won’t have the same time to melt and cling. Brush it over the bacon before baking, covering the tops and sides without pouring the mixture into a puddle on the parchment. As the bundles roast, the coating deepens in color along with the bacon.
Fresh Beans and Regular-Cut Bacon Keep the Timing in Sync
- Fresh green beans — They hold their shape through blanching and baking, so the bundles stay tidy instead of turning soft and loose. Choose firm beans without limp or shriveled spots; canned beans are too tender for wrapping, and frozen beans can release extra moisture.
- Regular-cut bacon — Its thickness suits the time the beans need in the oven. Thick-cut bacon takes longer to crisp, which can leave the beans overcooked before the bacon is ready. An everyday grocery-store brand works well here; specialty bacon isn’t needed.
- Unsalted butter — It gives the glaze a rich base without adding extra salt to the bacon. Use a fresh block or stick of butter; there’s no need for a premium brand in a glaze with brown sugar and seasonings.
- Light brown sugar — Packed sugar melts into the butter and gives the coating its gentle molasses note. Dark brown sugar has a stronger molasses taste, so it will make the glaze taste deeper and less delicate.
- Garlic powder and black pepper — Garlic powder disperses evenly through the melted butter, and pepper keeps the sweet coating from tasting one-note. Freshly ground pepper brings a sharper bite, but standard ground pepper works just fine.
From Blanching to Crisp Bacon: Four Stages That Matter
Blanch the Beans and Cool Them Quickly
Heat the oven to 400°F and line an 18×13-inch rimmed baking sheet with parchment. Bring a large pot of water to a boil, add the trimmed beans, and cook them for three minutes. Drain and rinse under cold water until the beans are cool. This short boil softens them before they’re wrapped, and the cold rinse stops them from continuing to cook in their own heat.
Make Twelve Even Bundles
Divide the beans into 12 bundles, keeping the portions as even as you can so they finish at roughly the same time. Wrap one slice of regular-cut bacon around each bundle. Set every bundle seam-side down on the lined baking sheet, which helps hold the bacon in place as it heats. Leave a little space between bundles so the bacon has room to brown.
Melt and Brush on the Glaze
Melt the butter, then stir in the brown sugar, garlic powder, and black pepper. The mixture should be loose enough to brush over the bacon; stir it again if the sugar settles while you work. Brush the glaze over each bundle rather than tipping it all onto the pan. A thin coating over the bacon gives the bundles an even finish.
Bake Until the Bacon Is Crisp
Bake for 35 to 40 minutes, until the bacon is browned and crisp and the beans are tender. The bacon should look cooked through, with a browned surface rather than pale, fatty sections. The glaze will darken as it bakes, especially where it touches the parchment, so use the bacon and bean texture to judge the finish. If your oven runs hot, start checking near the earlier end of the baking range.
Three Practical Ways to Adapt the Bundles
Make a Dairy-Free Batch
Replace the unsalted butter with the same amount of plain, stick-style dairy-free butter. It melts and brushes over the bundles in the same way, though the glaze may taste a little less rich than one made with dairy butter.
Make the Glaze Savory, Not Sweet
Leave out the brown sugar and stir the garlic powder and black pepper into the melted butter. Brush that over the bundles before baking. The result is a buttery, savory coating without the glossy sweetness of the original glaze.
Scale It Down for Three
Use half of every ingredient to make six bundles instead of twelve. Keeping the bundle size the same means the bacon and beans still cook together at the same oven temperature; judge doneness by the browned bacon and tender beans.
Storage and Reheating
- Refrigerator: Refrigerate leftovers in an airtight container within two hours and eat them within 3 to 4 days. The beans will soften, and the bacon won’t stay as crisp.
- Freezer: Freeze cooled bundles in a single layer, then transfer them to an airtight freezer container. They’ll keep for about 2 months, though the beans soften and the bacon loses some crispness after thawing.
- Reheating: Reheat in a 350°F oven until hot throughout, reaching 165°F in the center. The oven brings back more crispness than a microwave; avoid heating them until the beans turn mushy.
Questions That Come Up When Making Green Bean Bundles
Bacon-Wrapped Green Bean Bundles
Ingredients
Equipment
Method
- Preheat the oven to 400°F.
- Line an 18x13-inch rimmed baking sheet with parchment paper.
- Bring a large pot of water to a boil.
- Add the green beans and cook for 3 minutes.
- Drain the green beans.
- Rinse them under cold water until cool.
- Pat the green beans thoroughly dry.
- Divide the beans into 12 bundles.
- Wrap each bundle with one slice of bacon.
- Place the bundles seam-side down on the baking sheet.
- Melt the butter.
- Stir in the brown sugar, garlic powder, and black pepper.
- Brush the glaze over the bundles.
- Bake for 35 to 40 minutes, until the bacon is browned and crisp and the beans are tender.